PPWP Forms Integration extension enables you to grant password-protected content access via Contact Form 7. After form submission, customers will receive a quick access link allowing them to access protected content directly. What’s more, you have full control over access link restrictions such as expiring them after a period of time or a number of clicks automatically. This helps prevent your premium content from being shared without your permission.
In this guide, we’ll take you through generating a quick access link automatically after successful form submission.
- Step 1: Enable PPWP Forms Integration function
- Step 2: Attach protected content to the form
- Step 3: Restrict link access by clicks or time
- Step 4: Customize the message showing the access link
- How PPWP Forms Integration works
Requirements:
- Password Protect WordPress Lite version 1.7.8 or greater
- Password Protect WordPress Pro version 1.3.8 or greater
- PPWP Forms Integration version 1.2.0 or greater
Step 1: Enable PPWP Forms Integration Function
From your admin dashboard, navigate to Contact and click on the form that you want to create a quick access link for.
On the top menu, switch to the PPWP Pro tab and enable PPWP Forms Integration by ticking the box here.
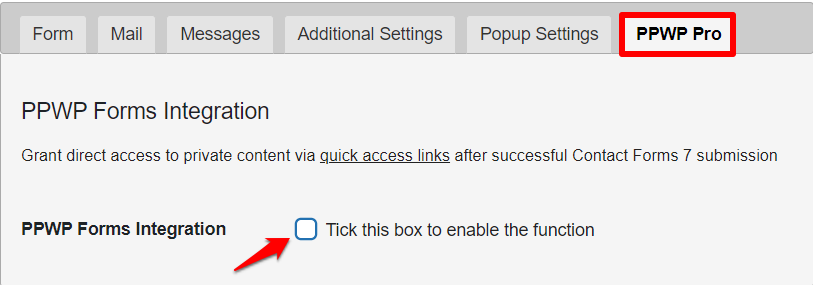
Once done, you should be able to see our PPWP Forms Integration configuration.
Step 2: Attach Protected Content to the Form
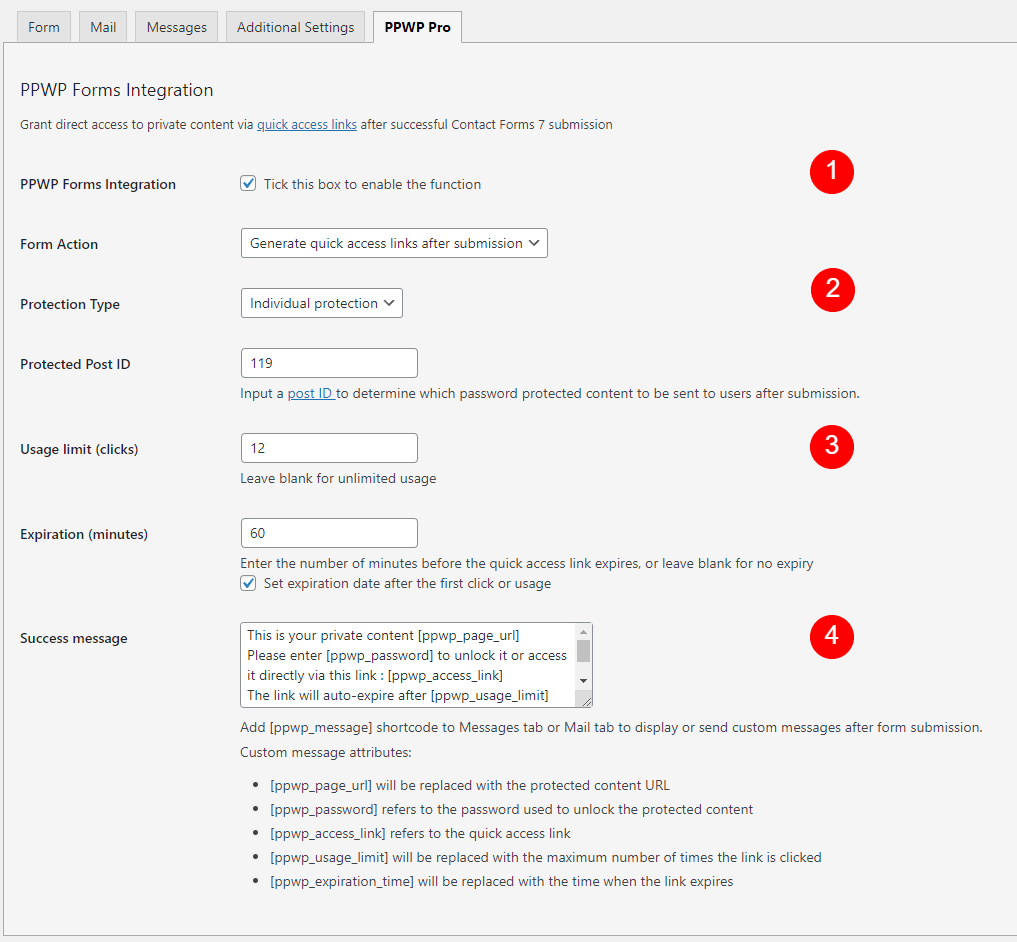
Under the Form Action section, select Generate quick access links after submission.
Under the Protection Type section, choose Individual protection.
Select the private content to be sent to users after form submission by inputting its ID in the Protected Post ID field. You can get the ID number by hovering over the desired post title.

Step 3: Restrict access link by clicks or time
In order to prevent the customers from sharing your content, you should restrict access link usage by time or clicks. Leave these fields empty to create never-expiring links.
Set expiration date after the first click or usage
Tick this checkbox to start the expiration time since the first click of usage instead of right after the submission.
Let’s say you set the link to expire after 1440 minutes (1 day). If the customer submits the form on Jun 01 but clicks the link a week later (Jun 08), he is still able to access the link within 1 day after that.
After enabling this option, you must not change the password’s label, which is used for updating the expiration date right after the first click.
- Usage limit and expiration time help to restrict quick access links, not protected content. Let’s say you set a link to auto-expire after 1 click. Once a customer clicks his quick access link, the others will see the password form (restricted content) when attempting to access that link.
Technically, when the customers click on the quick access link, our plugin will store the corresponding password as a cookie in their browser. Hence, the customer can still access the protected content without entering the password until the cookie expires.
Step 4: Customize the message showing the access link
You can include the quick access link in confirmation messages and/or confirmation emails after form submission.
To do that, simply:
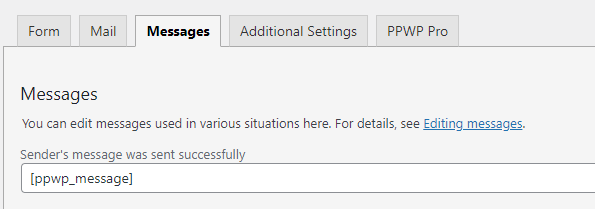
- Add [ppwp_message] shortcode to the Messages tab
- Add [ppwp_message] shortcode to the Message body field under the Mail tab
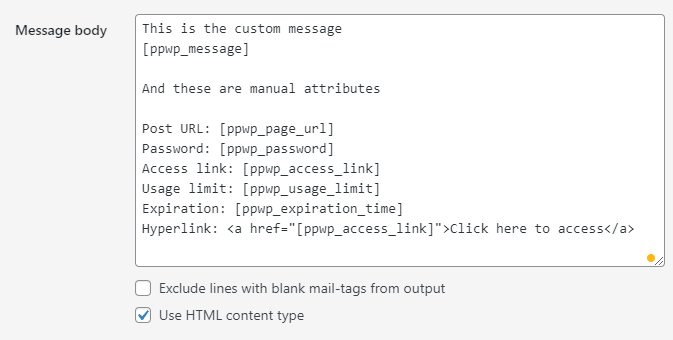
You can also customize your confirmation email by adding the following custom shortcodes separately to your Mail tab.
- [ppwp_page_url] will be replaced with the protected content URL
- [ppwp_password] refers to the password used to unlock the protected content
- [ppwp_access_link] refers to the quick access link
- [ppwp_usage_limit] will be replaced with the maximum number of times the link is clicked
- [ppwp_expiration_time] will be replaced with the time when the link expires
If you want to embed the quick access link into anchor text, please use the format below (support confirmation emails only):
<a href="[ppwp_access_link]">Click here to access</a>
Remember to tick the checkbox Use HTML content type to allow HTML in emails sent by Contact Form 7.
How PPWP Forms Integration works
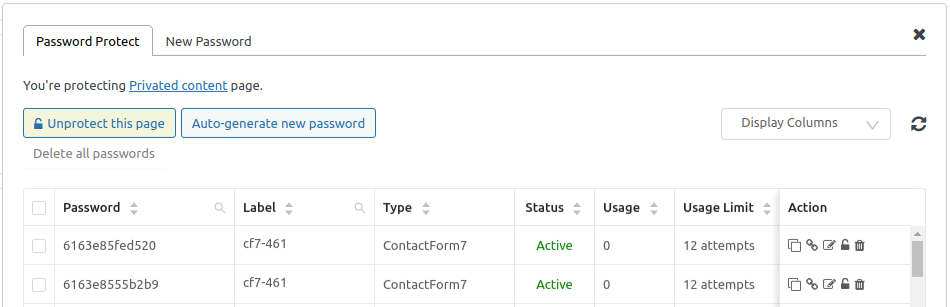
Once a user submits your form, a random password/quick access link will be generated automatically. You can see all passwords generated via Contact Form 7 under our plugin’s configuration popup.
- A password or quick access link is associated with the form, not the form tag. In other words, the number of passwords/quick access links that are generated after submission doesn’t depend on the number of contact form tags.
- When a form is deactivated, all associated passwords will be deactivated as well.
- The Set expiration date after the first click or usage option is also applied to existing passwords whose usage = 0.
