This article will show you how to require additional user information besides a password, e.g. email or username, to unlock Sitewide protection.
Requirements:
- Password Protect WordPress Lite version version 1.7.7 or greater
- Password Protect WordPress (PPWP) Pro version 1.3.7 or greater
- PPWP Password Suite version 1.3.7 or greater
- PPWP Statistics version 1.3.5 or greater
Add Additional Fields to Sitewide Password Form
After activating our plugins, navigate to Password Protect WordPress > Sitewide Protection from your admin dashboard. In the Additional Fields tab, enable the Additional Fields under Sitewide Password Form option.
Here, add additional fields to your password form by turning on the corresponding “Active” options.
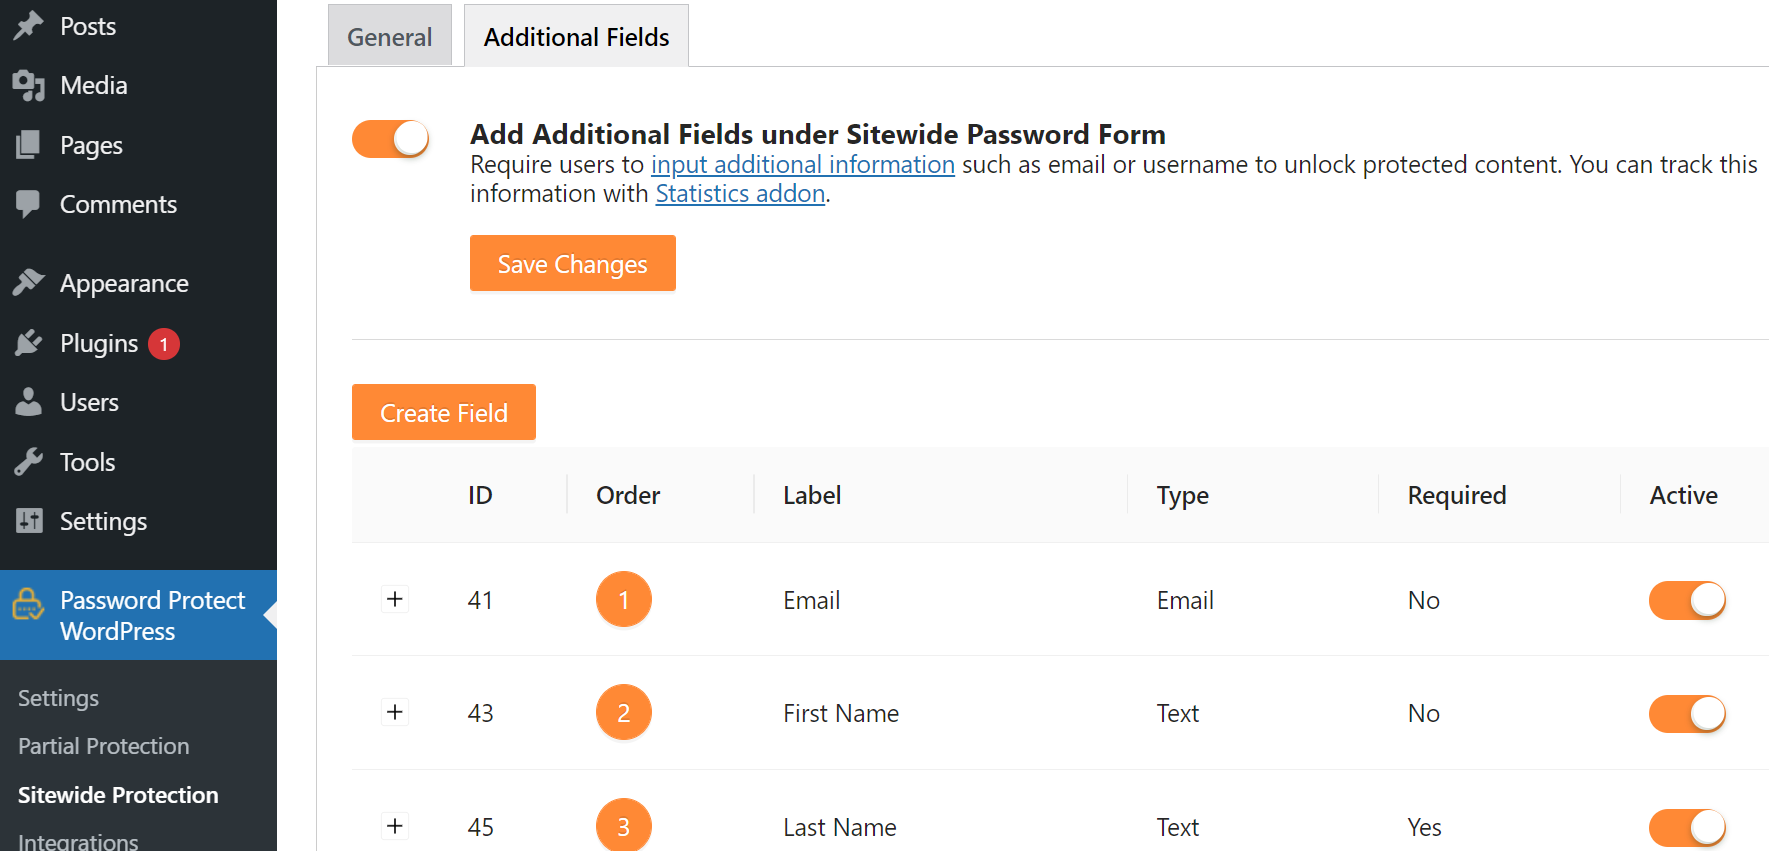
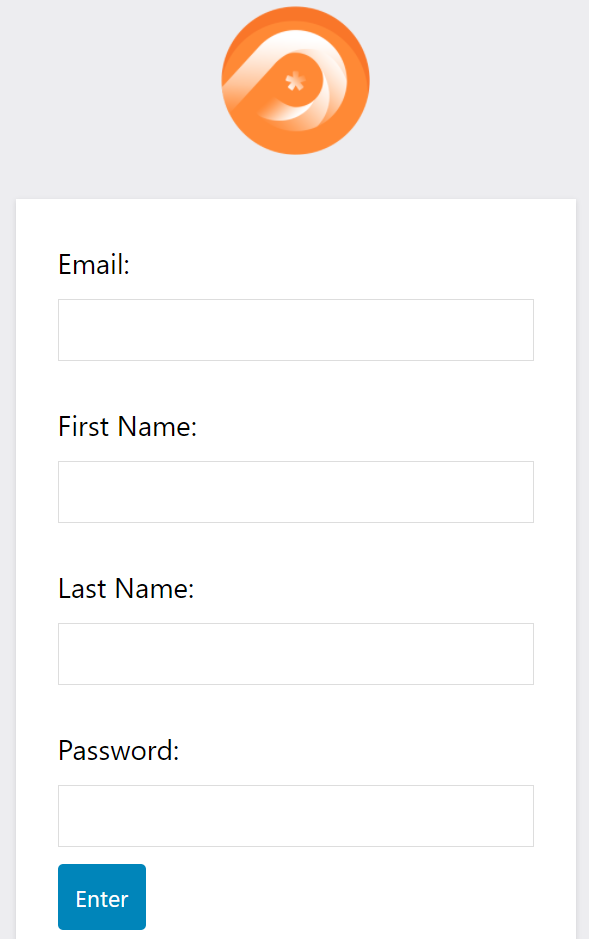
Once saved, new fields will be added to the password form as shown below.
The Field Name will display under the Statistics table while the Input Label will be shown under the password form.
It’s worth noting that:
- Once a new field is added, it cannot be removed. Instead, you can choose to hide it. That way, the collected data still shows in the Statistics table.
- The style of additional fields will follow the style of the password field, which is customized easily via WordPress Customizer.
Change the Position of Additional Fields in Password Form
If you want to display additional fields below password field, add the following code snippet into your (child) theme’s functions.php file.
add_filter('ppwp_ps_sitewide_additional_fields', function ( $fields ) {

      $found_index = - 1;

      foreach ( $fields as $index => $value ) {

         if ( strpos( $value, 'id="input_wp_protect_password"' ) ) {

            $found_index = $index;

         }

      }

      if ( $found_index === - 1 ) {

         return $fields;

      }

      $password_input = $fields[ $found_index ];

      unset( $fields[ $found_index ] );

      $index = 0; //Change the position of password field begin from 0

      array_splice( $fields, $index, 0, $password_input );

      return $fields;

   }

);
Track Additional Information
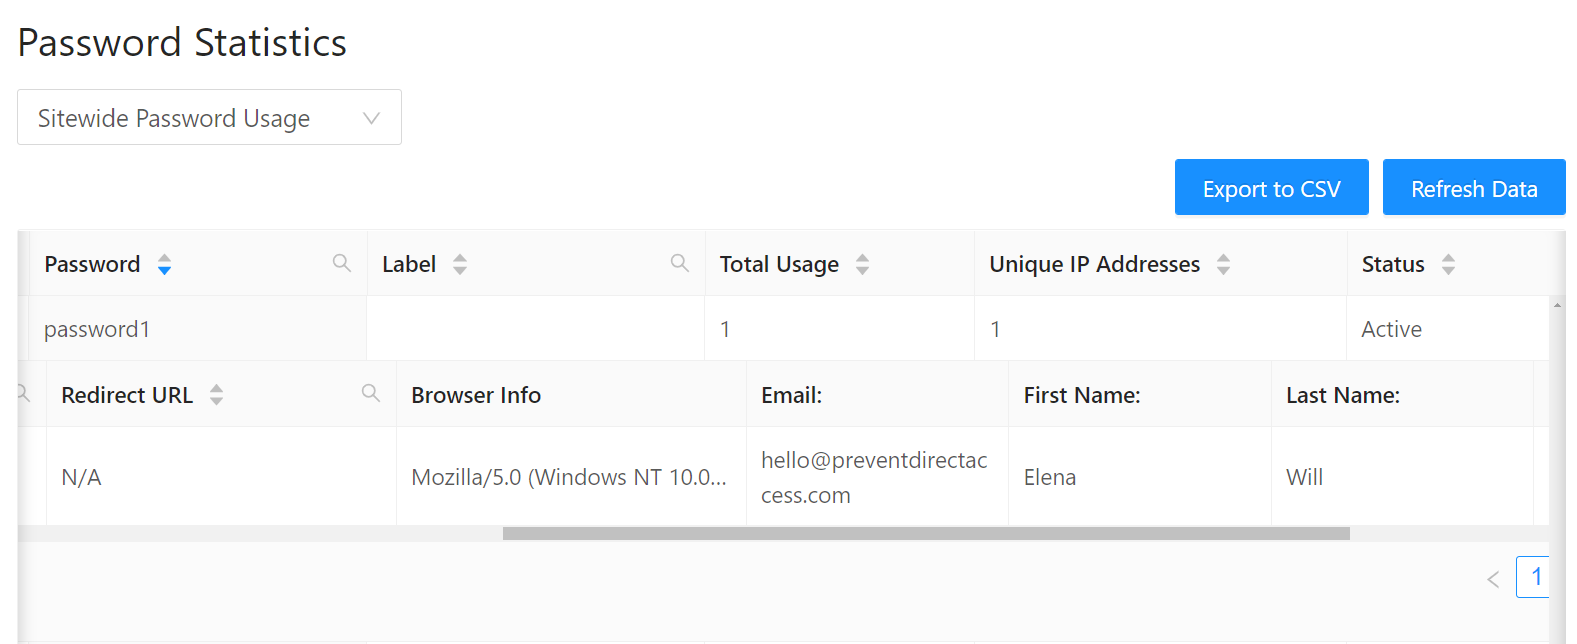
As long as PPWP Statistics is active, the additional information will be tracked.
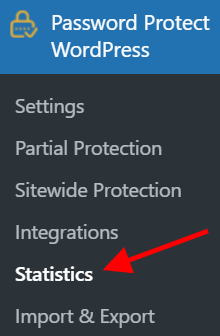
To see the recorded data, navigate to Password Protect WordPress >> Statistics from your admin dashboard.
Then switch to the “Sitewide Password Usage” table.
You need to click on the “plus” icon (+) to see the detailed information.
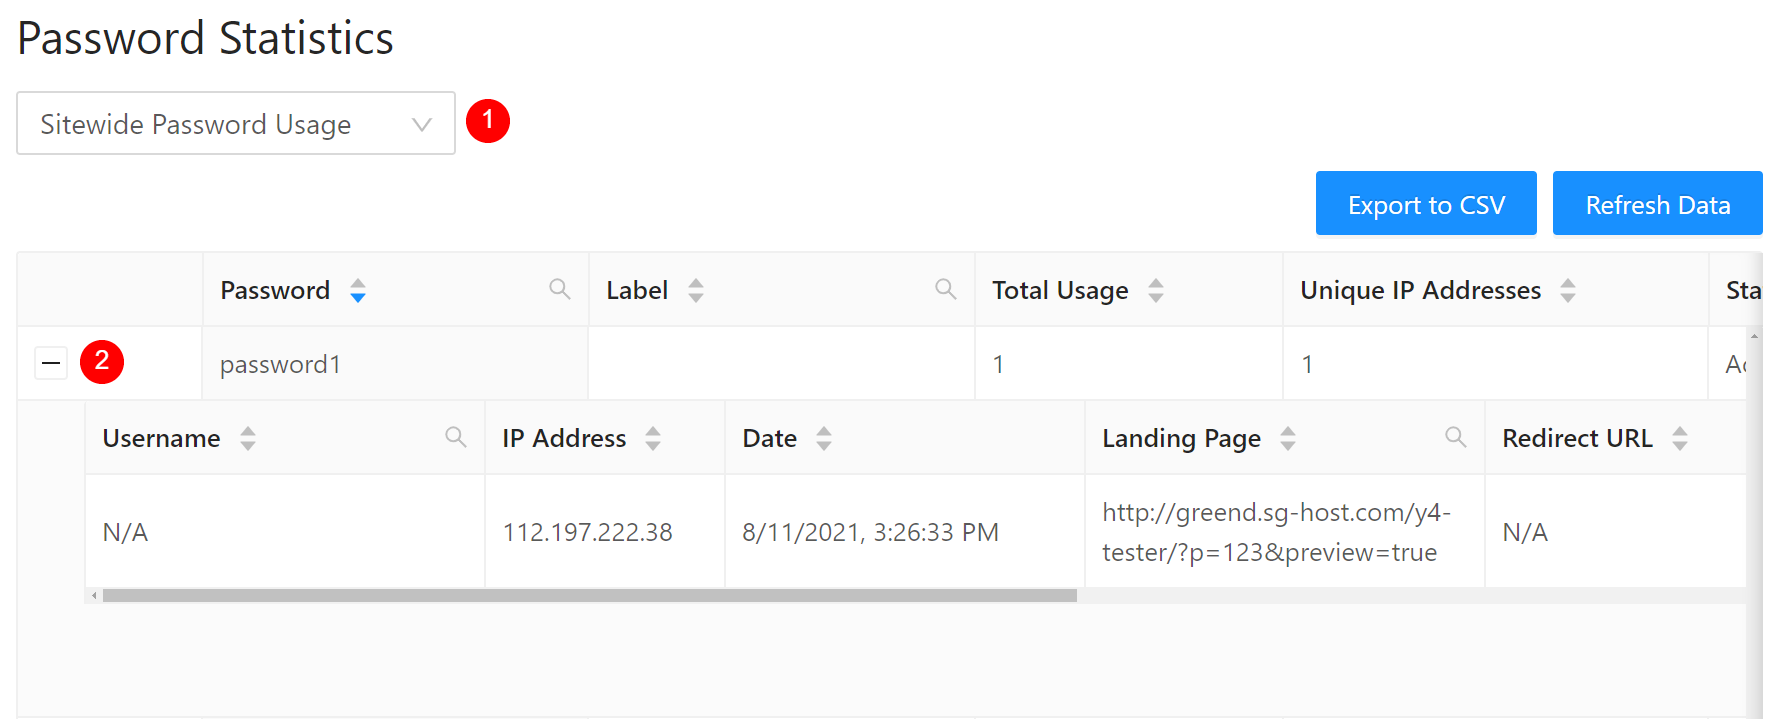
If users log into your site, their username will be shown under the “Username” column. Otherwise, N/A will display.
Logic & Limitations
Quick access links (QALs) will bypass this function by default. In other words, if users access your protected content sections via QALs, they will provide neither additional information nor a password. As a result, the related data in Statistics will be empty.
