While our Password Protect WordPress (PPWP) Pro plugin currently enables you to set the same password for multiple pages and posts, the PPWP Group Protection extension can even take this feature to the next level. Not only can you protect various pages with a password but users can also use that password to unlock all content at once. This brings the utmost convenience to the users.
Requirements:
- Password Protect WordPress Lite version 1.2.3.1 or greater
- Password Protect WordPress Pro version 1.1.4 or greater
- PPWP Group Protection version 1.0.0 or greater
In this tutorial, we will walk you through the following sections:
- How to create a group
- How to password protect a group
- How to manage protected groups
- Additional features
- Compare PPWP Pro and PPWP Group
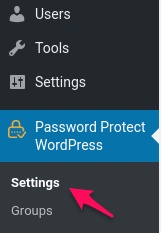
How to create a group
Step 1: Once installing and activating PPWP Group Protection extension successfully, go to Password Protect WordPress >> Groups page from your admin panel.
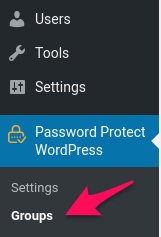
Step 2: Click on Add New button to create a new group.
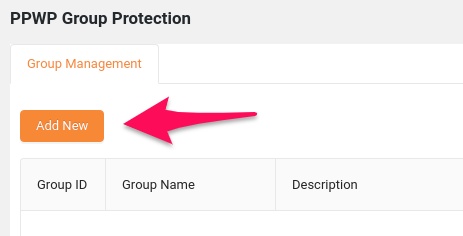
It will bring up a new page where you can:
- add a group name (required)
- add a group description
- choose protection type (Single)
- define parent groups
- select content belonging to the group
- Since version 1.3.1, you can select protected content based on categories and tags

It’s important to know that:
- One post belongs to a group only. In other words, you can’t select a post that is already assigned to another group.
- The search result displays up to 10 posts at a time
- If you can’t find a page or post, please make sure:
- You have entered more than 3 characters
- You have selected a post type before searching
Step 3: Click “Save Changes” to save the group information
Once a post is added to a group, you will see a badge indicating which group (ID) it belongs to under “Password Protection” column.
![]()
All individual pages in the group are protected with single password forms accordingly.
Protect Category Archive Page
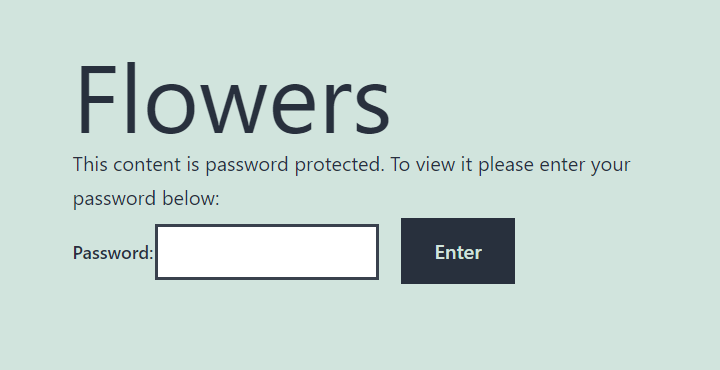
Since version 1.3.1, you can protect the entire category/taxonomy (archive) pages. To do that, simply add the following code snippet to your (child) theme function.php.
add_filter( 'ppwp_group_allowed_archive_password', '__return_true' );
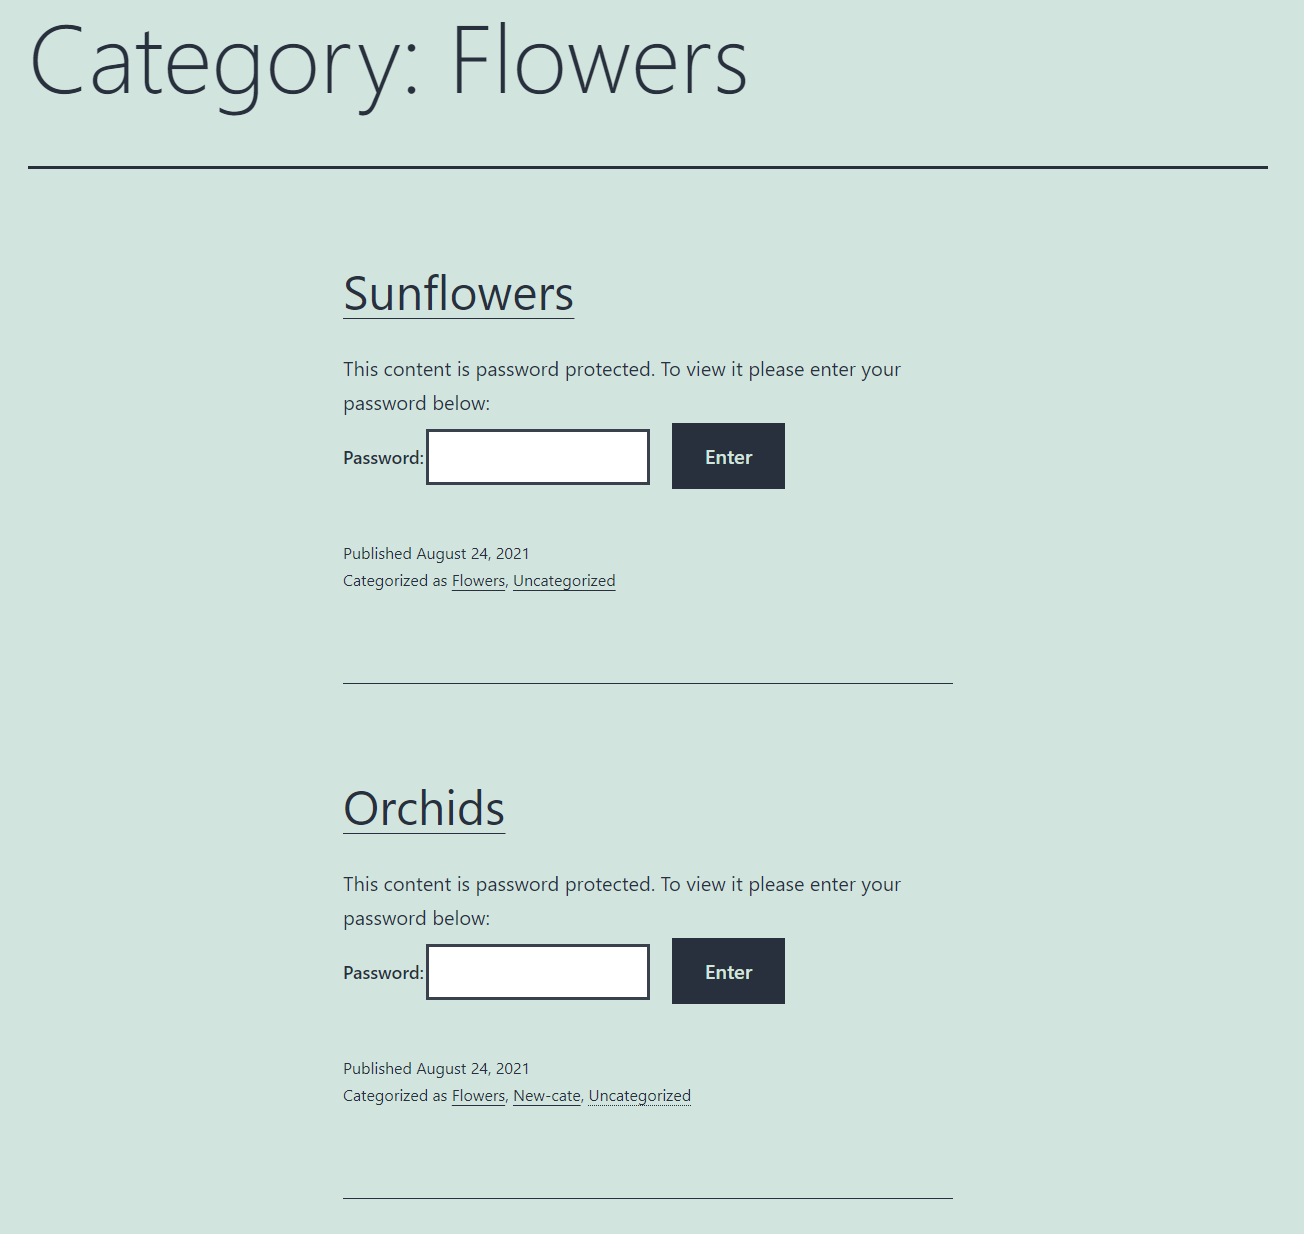
Once the filter is added, your category page will become like this.
How to add a WooCommerce product (or custom post type) to a group
Our PPWP Group Protection extension enables you to search and select posts or pages by default. If you need to create a group of products or custom post types, please follow these 3 simple steps:
Step 1: Go to Password Protect WordPress >> Settings page from your admin panel.
Step 2: Select “Products” or your custom post type under Post Type Protection option. And then click “Save Changes”.
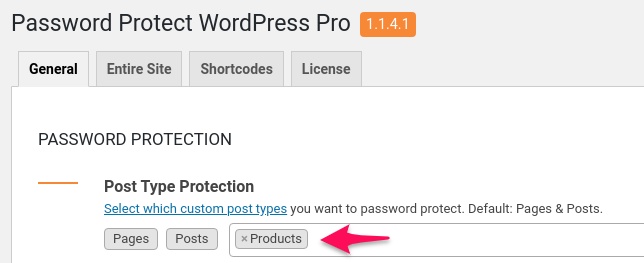
Step 3: Go back to PPWP Group Protection dashboard and add a new group or edit an existing one. You will notice that “Products” is already added to the post type list.
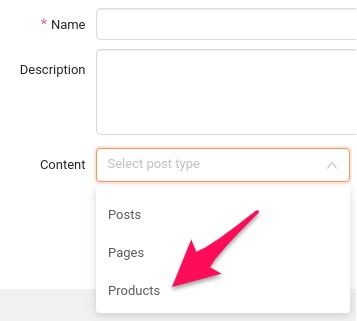
Choose “Products” and then search for the products which you want to protect.
Please note that if you REMOVE a custom post type from the Post Type Protection option, all content belonging to this post type WON’T be protected by our plugins, including PPWP Group extension.
However, all content added to a group still displays under group information. They will be locked again once you protect their post type.
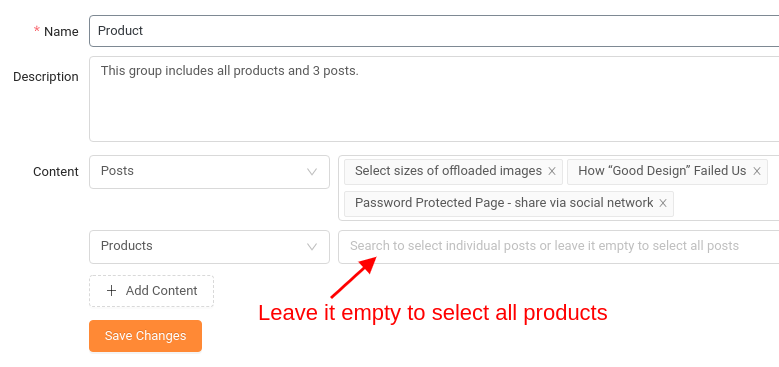
Select all posts under a post type (version 1.2.1 and lower)
Since version 1.1.1, you can select all posts under a specific post type at once by leaving the search field empty.
- If you select all content under the same post type to more than 1 group, these posts will be assigned to the group with the lower ID.
- Let’s say you select all products in groups with id 2 and id 5, so these products will belong to the group with id 2.
- Once you deactivate the group with id 2, these products will be assigned to the group with id 5 automatically.
- If you add a post into a group by selecting all posts and another group individually, i.e. by searching and selecting its title, this post will belong to the latter group.
- Let’s say you select all products in group A and select product B in group C. So product B will belong to group C while the other products are assigned to group A.
How to password protect a group
As soon as you add a post into a group, you have already hidden its content by a password form. Then you need to create a password for unlocking this content. Achieve it by following the steps below:
Step 1: From PPWP Group Protection dashboard, click on Manage text link next to the group that you want to password protect.

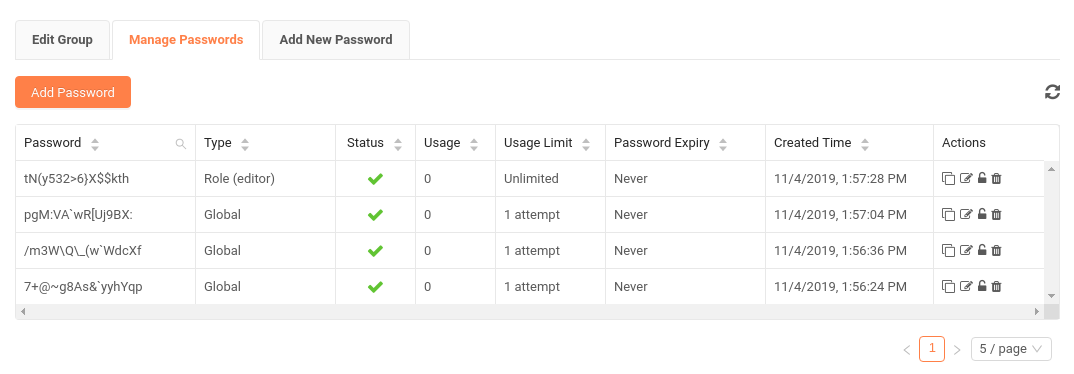
Step 2: Switch to Add New Password tab and generate a password with these pieces of information:

- Password requirements: one password per line, unique, no space, case-sensitive and limited to 100 characters
- Label (optional): extra information of your password, e.g. what it’s used for or who the password belongs to
- Password Type:
- Global (default): anyone with the password can unlock the protected group content
- Roles: only specific user roles are able to use the password to access the private group
- Let’s say you set a password with type Role (editor)
- Only editors can use this password to unlock your group
- Other roles, e.g. subscribers, will receive an error message when entering it into password form
- Let’s say you set a password with type Role (editor)
- Usage Limit: the maximum number of times a password is used.
- Let’s assume that the usage limit of a password is set to 1. If a user enters that password to unlock the group, the others can’t use it any more
- This feature proves useful to prevent others from sharing your passwords without permission.
- Password Expiry: Another way to stop the users from abusing your password is to make it auto-expire after a period of time. In other words, they can’t use that password to unlock your content after a given time.
After creating a new secure password successfully, you will be redirected to the Manage Passwords tab, where you can see and manage all your created passwords.
How to manage protected groups
Once you have created a group, you can:
- Manage the group’s content by adding new pages, posts, custom post types or removing them
- Switch group status from active to inactive and vice versa
- If you deactivate a group, all content belonging to this group will become unprotected
- When you reactivate a group, all its content will become protected again
- Delete group
- If a group is deleted, all its passwords are removed too. In other words, you can set these passwords to protect other groups.
- All content belonging to a group will become unprotected if you delete the group. As a result, you can add these pages or posts to other groups.
Additional features
Similar to built-in PPWP Pro password protection, you can also:
- Set whitelisted roles to bypass group protection
- Set cookies expiration time
- Customize password form
All these settings are controlled under PPWP Pro settings page and work as the same rule.
Protect Content by PPWP Pro and PPWP Group
You might wonder why you need PPWP Group Protection when you can completely password protect a page or post with PPWP Pro. The main difference is if you enter passwords to unlock a post protected by PPWP Pro, you just unlock the content itself. The others using the same password are continuously protected.
On the other hand, if you group multiple content together, unlocking one post will allow you to access the rest without entering passwords.
Let’s say you protect post A and post B by PPWP Pro with password “123”. At the same time, you protect group AB including posts A and B by PPWP Group with password “456”.
- If you enter password “123” to unlock post A, post B is still protected
- If you enter password “456” to unlock post A, post B will be unlocked too.
It is similar to “Password Protect Child Pages” function but applies for not only pages but also posts and custom post types.
Another advantage of PPWP Group Protection is that you don’t have to go through all pages and set one page as a child of the other manually. All you need to do is search a page’s title and add it to the group.
