PPWP Passwordless Authentication offers content protection via form submissions. In other words, users are required to fill in a form to get access to your password protected content. As a result, you can collect visitor data for further marketing campaigns.
This extension supports Contact Form 7 at the moment. We’re going to provide integrations with other top WordPress contact forms in the near future:
- Gravity Forms (WIP)
- Formidable Form (WIP)
- WPForms (WIP)
- Ninja Forms (WIP)
In this article, we will walk you through the process of locking your content with a contact form.
Requirements:
- Password Protect WordPress Lite version 1.7.0.1 or greater
- Password Protect WordPress Pro version 1.3.1 or greater
- PPWP Passwordless Authentication extension version 1.0.0 or greater
How to lock your content with a contact form
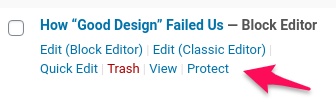
Step 1: Protect your content with PPWP Pro plugin
Simply hover over the post title and then click on the “Protect” button to lock your content immediately.
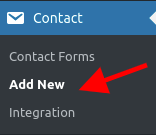
Step 2: Create a contact form
Let’s say you’re using Contact Form 7.
Navigate to Contact >> Add New menu from your admin dashboard to create a new form.
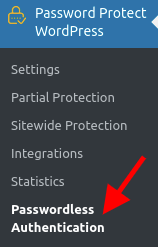
Step 3: Assign the form to protected content
Navigate to Password Protect WordPress >> Passwordless Authentication menu from your admin dashboard.
Then enable the “Protect Content using Passwordless Authentication” option.
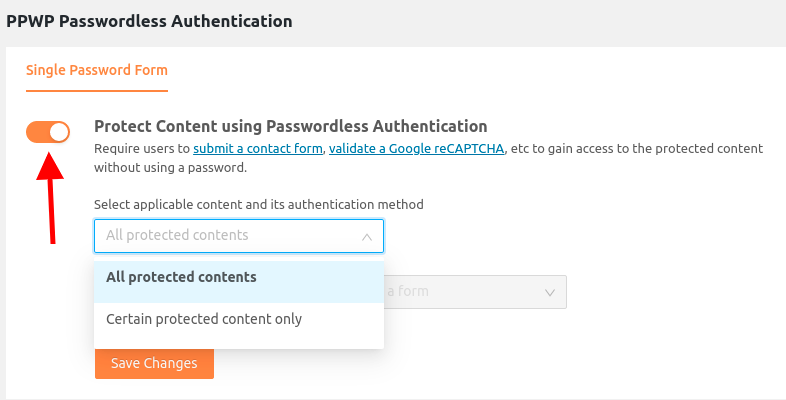
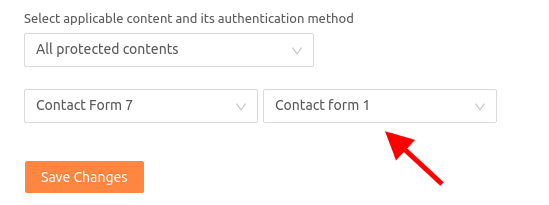
You can choose to display the contact form either in all protected content or in specific content only.
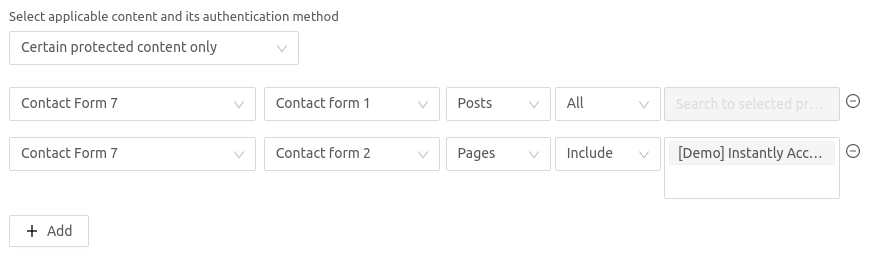
If you choose “Certain protected content only”, you can assign a specific form to all posts belonging to a post type or a group of content.
After you save your settings, the contact form will be shown on the protected pages as below.
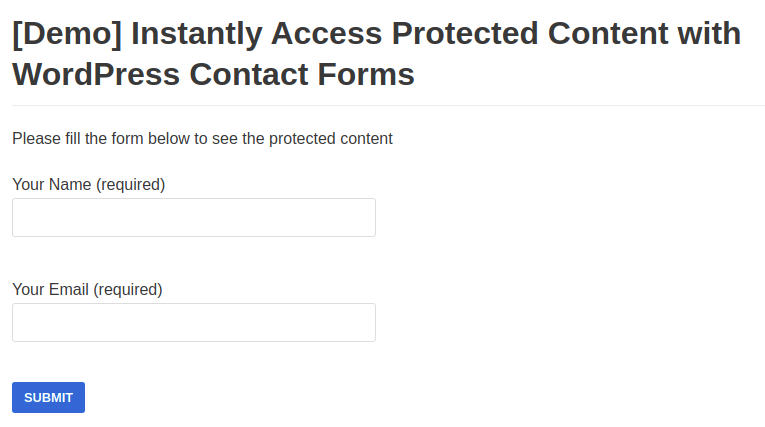
Your users have to fill in the form in order to access the protected content.
Logic and limitations
- You can search and select content protected by our PPWP Pro only.
- Quick access links will allow your users to access the content directly without filling in the requested form.
- The password form will display as usual if the contact form plugin is deactivated.
