Password Protect WordPress (PPWP) comes with a built-in element allowing you to create password protected areas in the Elementor-based websites.
In this article, we will show you how to put a password form to hide some certain sections in your web page with PPWP and Elementor plugins.
Requirement: You can use our element with both PPWP Free and Pro versions. However, some advanced functions are available in PPWP Pro version only.
Video Walkthrough
How to enable protected content
Once accessing Elementor editor, you need to find our Password Protection (PPWP) element under “Search Widget” field.
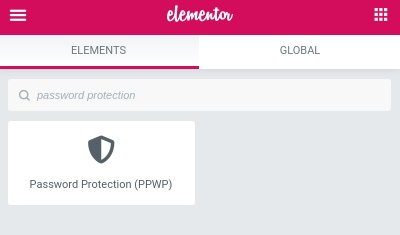
After that, simply drop it to where you want to display the protected area.
How to configure protection settings
There are 3 main steps to create and protect a content section with Password Protect WordPress (PPWP) plugin.
Step 1: Set passwords for unlocking the content
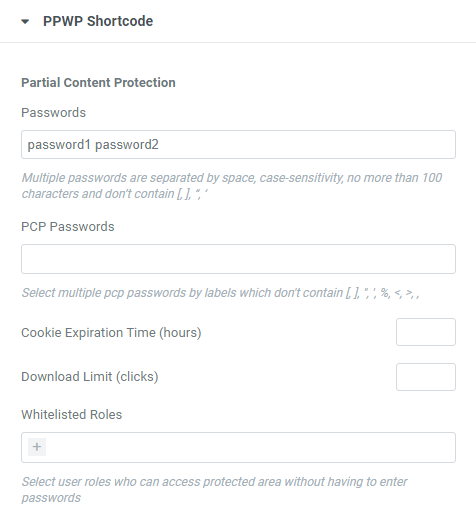
First of all, you create a password that will be required to unlock the content. “password1” and “password2” can be used by default.
You can choose either “inline” or “global” passwords. The differences between these two types of passwords are tracking and limiting usage.
With global shortcode (PCP) passwords, you are given the ability to expire passwords after a period of time or a number of usages. You can also know who has used your passwords, when and where they view the protected content.
A few things are worth noting:
- PCP Passwords is available in Pro version only.
- When using PCP passwords, you need to reload the editor page whenever creating new password labels for the label list to be up-to-date.
- Cookie Expiration Time and Download Limit are only available when PDA Gold plugin is activated on your site.
In addition to granting content access by passwords, you can also allow some users to access content directly without any restriction. To do so, simply choose their roles under the “Whitelist Roles” option.
Step 2: Add private content which will be hidden under password form
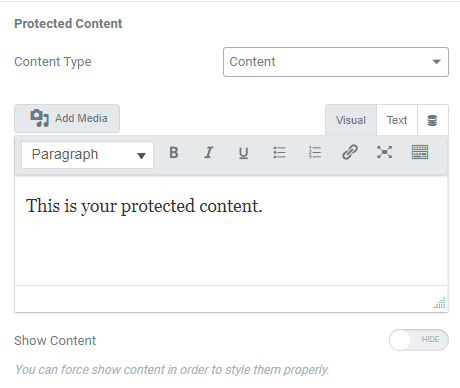
By default, the content type is “Content”. That means you can add your protected content via a WYSIWYG editor similar to WordPress Classic Editor. You can change the default text, add images, videos as well as modify the content style using the toolbar as usual.
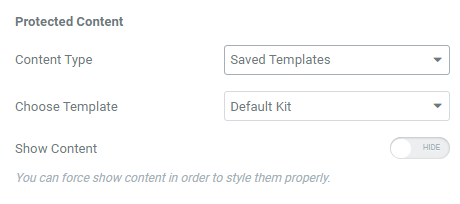
You are given another option to protect a pre-designed template.
It comes in handy if you want to protect multiple sections at once. Here’s how to do so:
- Save all your protected sections as a template
- Create a new page and select our PPWP element
- Select “Saved Template” option form Content Type dropdown list
- When “Choose Template” option displays, select your saved template from the Elementor library.
A few things are worth noting:
- “Template” type is available in Pro version only.
- In case your desired template doesn’t display, please reload the editor page for our plugin to get the newest data.
Step 3: Style password form as you wish
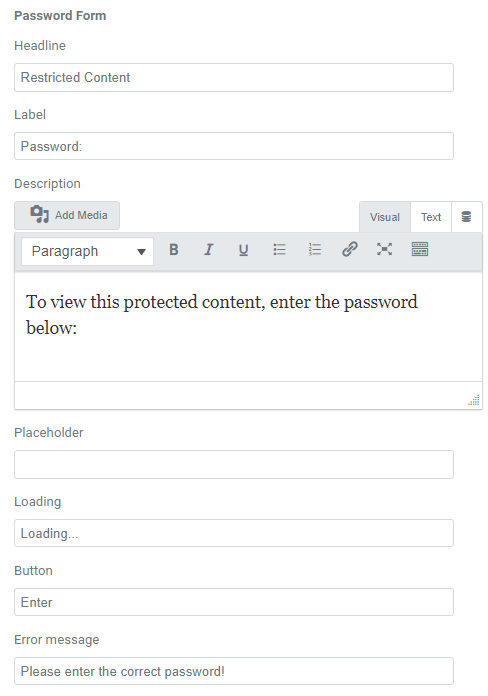
You can easily modify the text of headline, label, placeholder, button, description, error message or even remove them as per your preference.
