If you’re looking for an easy and lightweight solution to password protect your Google calendars, you’ve come to the right place.
In this article, we’ll walk you through the setup process from top to toe:
Now, let’s jump in!
How to Add Simple Calendar to WordPress
Step 1: Activate and configure Simple Calendar settings
First things first, you need to install and active the Simple Calendar plugin.
This plugin has a free version available to download from WordPress directory with basic functions. More advanced features come with premium versions, which starts at $49 per year for a single site license.
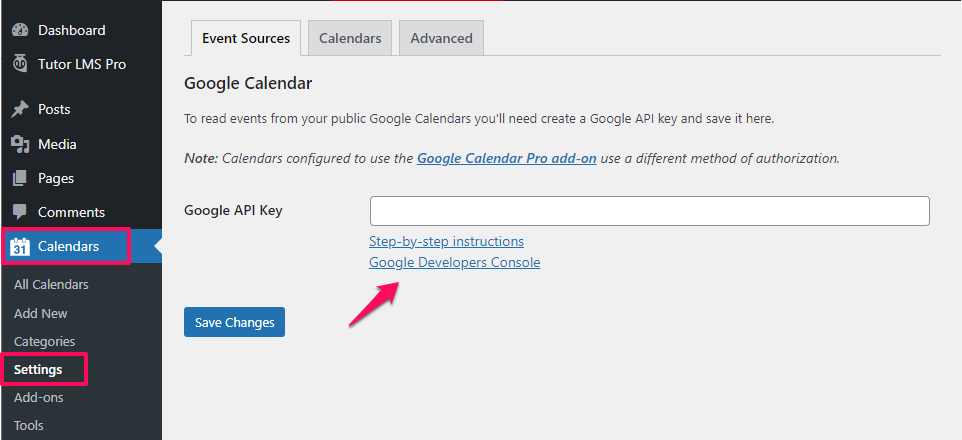
Once activated the plugin, navigate to Calendars > Settings under your admin dashboard.
Here, you’re required to enter Google API Key to connect your Google Calendar with your WordPress site.
If you haven’t got one, simply click on Google Developers Console.
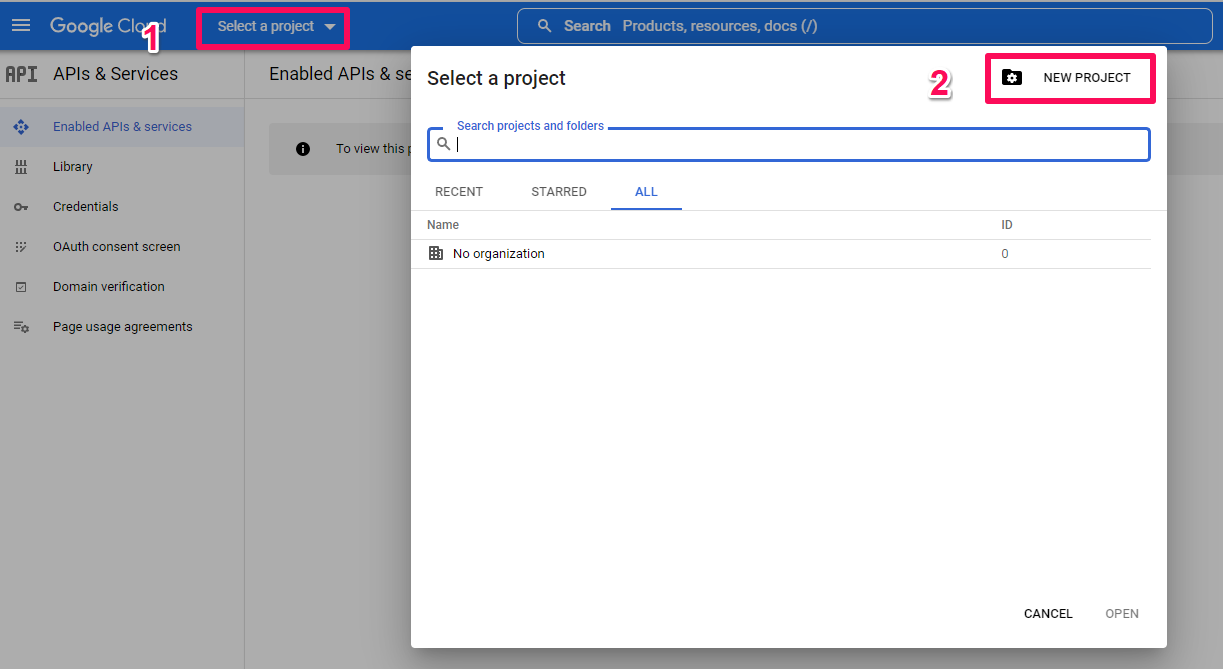
Accordingly, you’ll be redirected to your Google Cloud.
Here, click “Select a project” and “NEW PROJECT” if you don’t have one.
A new screen displays. Name your project and select a location.
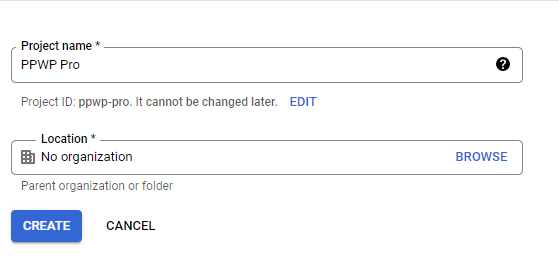
Once pressing “Create”, you’ll be redirected to your dashboard.
Here, click on the “Enable APIs and Services” option to access the Google API library.
Scroll down and click on the Google WordSpace section then select the “Google Calendar API” option.

Next, click on “Enable” button.
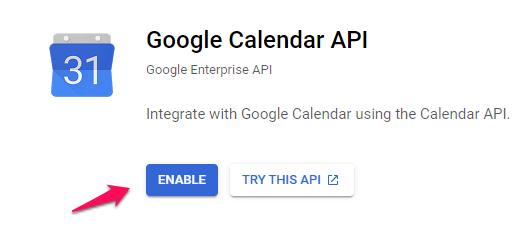
Once done, you’ll be redirected to the Google Cloud dashboard.
Here, select the “OAuth consent screen” section.
A new screen displays. Select External under the User Type section.
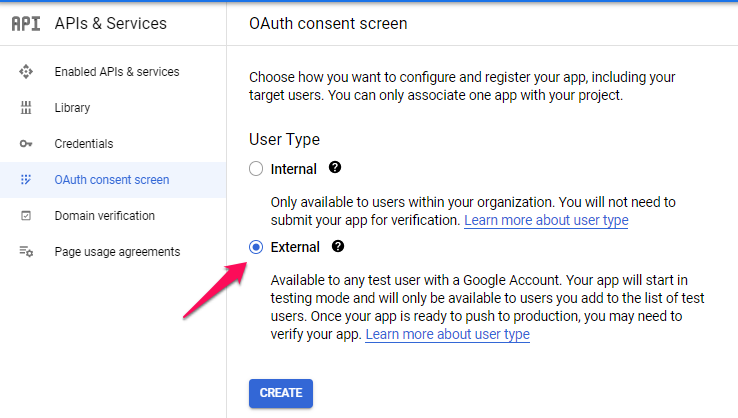
Enter an App name (not important), User support Email, and Developer Support Email, then click Save and Continue.
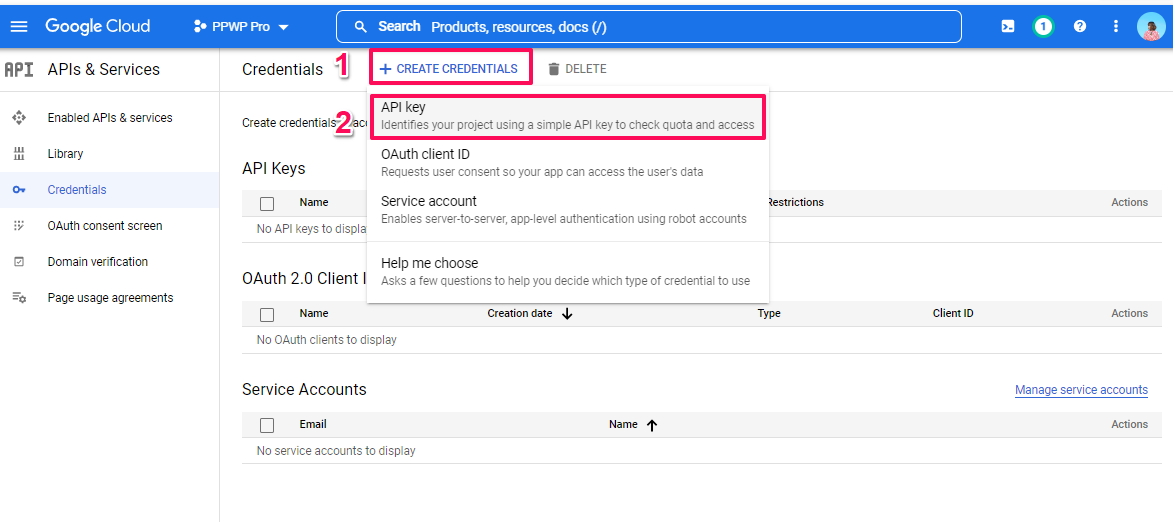
Now, navigate to the Credentials section. Here select Create Credentials, then API key.
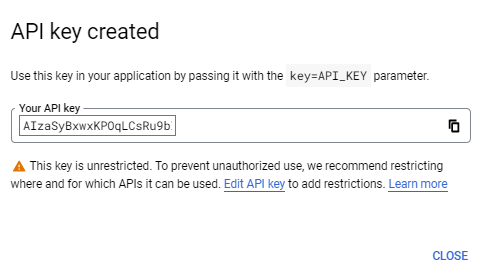
Copy your created API key on the API key created popup.
Back on your WordPress dashboard, go to Calendars, then Settings from the menu. Enter your Google API key here.
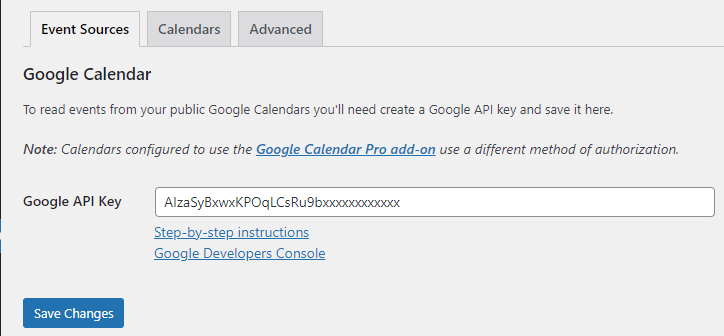
Press “Save Changes”.
Step 2: Make your Google Calendar public
By default, Google Calendars are private. To share your calendar with others, you need to make it public.
To do that, open your Google Calendar list and click on the three vertical dots icon that is located in the line of the calendar you want to make public.
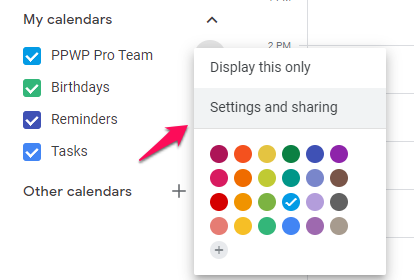
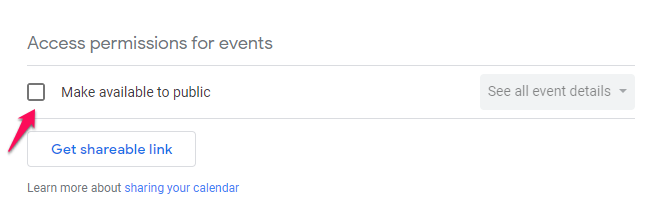
Accordingly, a new screen displays. Scroll down and tick the “Make available to public” checkbox.
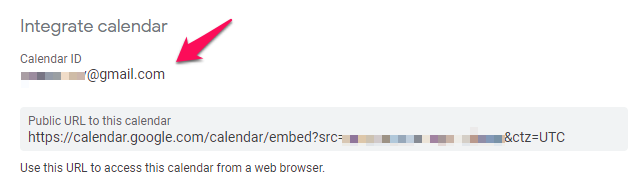
Now, scroll down to the bottom of your calendar settings page and copy the calendar ID there.
Step 3: Add your Google Calendar to WordPress
From your admin dashboard, go to Calendars > Add New.
Firstly, give your calendar a name.
Then, go to the Google Calendar tab under the Calendar Settings section and paste the URL you just copied from step 2 to the Calendar ID box.
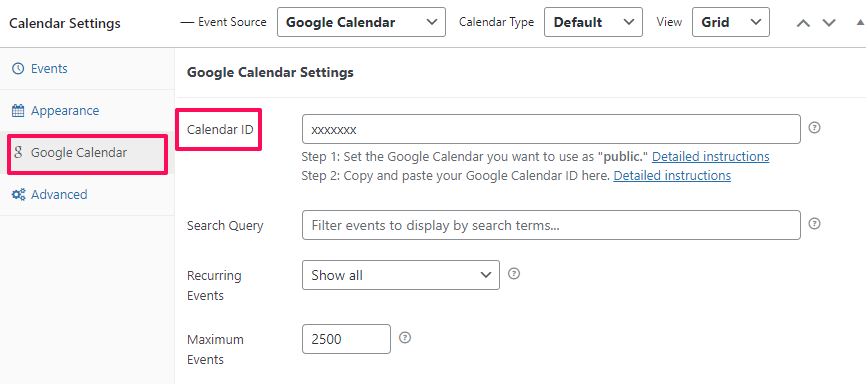
Feel free to customize your calendar accordingly via other tabs under the settings section.
Step 4: Embed your calendar to WordPress pages
It’s time to show your calendar to your WordPress users.
Simply back to the All Calendars section and copy the shortcode under the corresponding calendar.
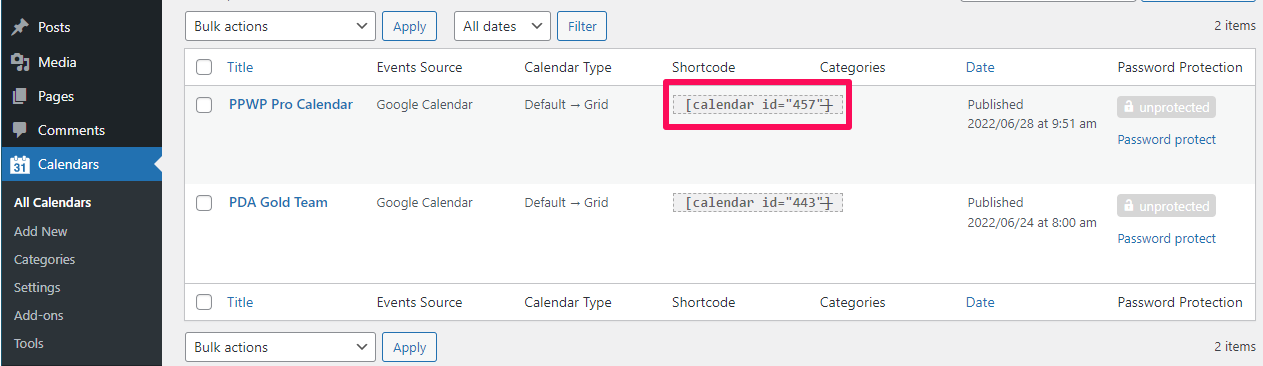
Then, embed the shortcode to your WordPress content as usual.
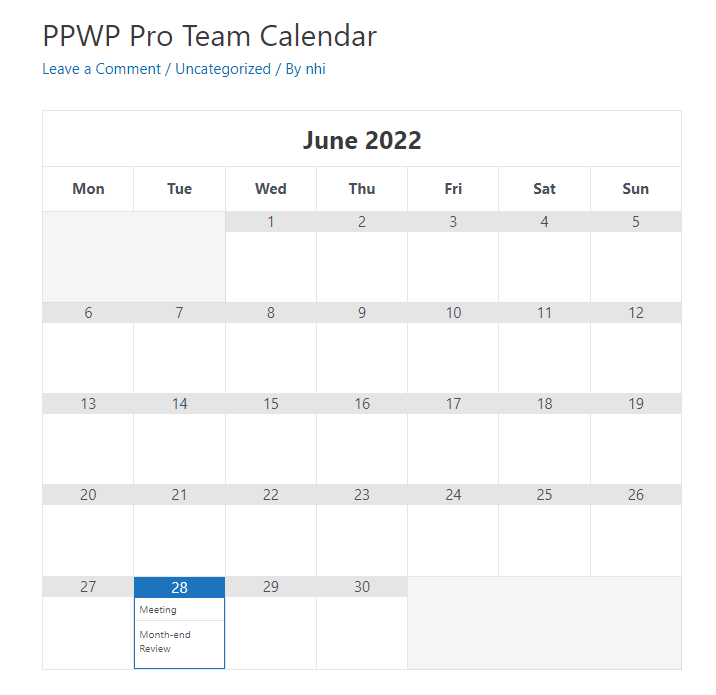
That’s it!
Here is how your calendar looks in the front end.
How to Password Protect Google Calendars
There comes a time when you want to share your calendar with some specific users only.
That’s when you need to protect your Google calendars from public access. And password protection proves itself to be the most outstanding solution to this concern.
All you need to do is install the PPWP Pro plugin on your site.
Accordingly, when navigating to your Calendars section, you’ll see a new Password Protection column.
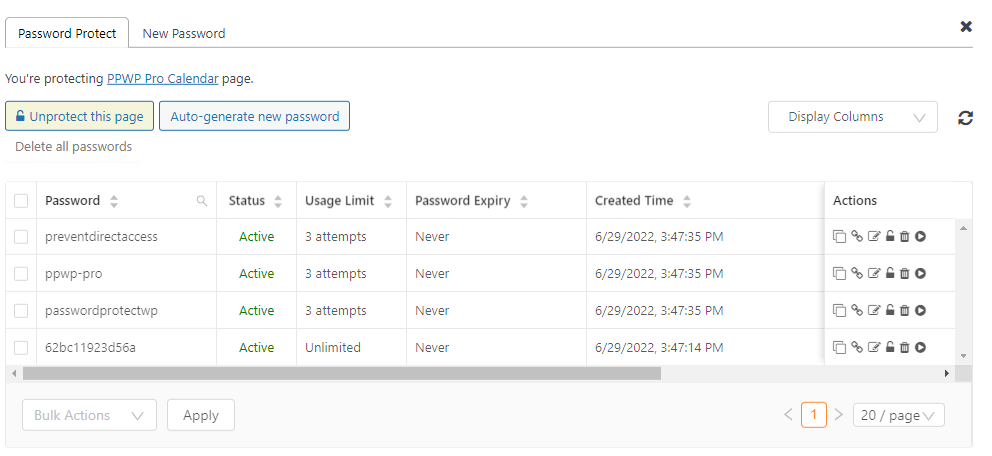
Simply click on the Password protect button to open a popup where you can secure your calendars and manage passwords.
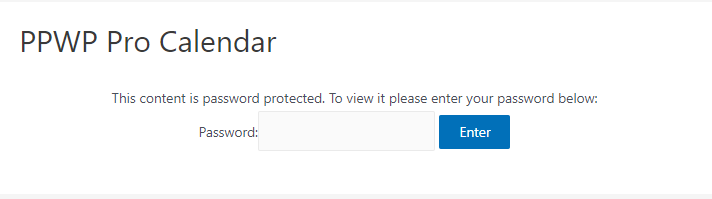
Upon protection, your calendar will look like this in the front end.
Share your Google Calendars with Authorized Users only!
While connecting Google calendars to your WordPress sites isn’t too difficult, finding the best way to secure your embedded calendar is.
Thanks to the PPWP Pro plugin, password protect Google Calendars is just a cakewalk.
No coding knowledge is required. No public access to your WordPress Google calendars.
With just a click, your calendar is secured immediately.
Is it what you’re looking for?
Let’s try out PPWP Pro plugin with much more password protection advanced features here.
