If you’re about to run, or even are running a WooCommerce store, don’t miss this article. Otherwise, you’re following the mistakes of most WooCommerce store owners.
In fact, most WooCommerce store owners often focus on improving product pages, cart pages, and checkout pages because they directly affect customer shopping experiences.
Unfortunately, not many of you pay enough attention to create fancy and easy-to-navigate category pages for your WooCommerce stores. Actually, a few customers know exact product names when browsing your online store. In this case, they definitely go to the category page instead.
That’s why in this article, we’ll show you a comprehensive guide on how to create WooCommerce custom category pages.
Let’s begin!
- Why Should You Create WooCommerce Custom Category Pages?
- How to Customize WooCommerce Category Pages
Why Should You Create WooCommerce Custom Category Pages?
There are several reasons why you should customize your WooCommerce category pages.
- Boost revenues and profits: 70% of sales come from category pages. So you need to customize your category pages to make it easy for your customer to navigate on your stores. This would help you get more sales.
- Improve SEO: Default WooCommerce category pages have poor SEO. Custom category pages allow you to display more content with multiple target keywords on the same page, and so, result in higher rankings.
- Make your store more eye-catching: Customers usually spend more time browsing in well-designed stores. So don’t miss a chance to make your WooCommerce store in general and category pages as attractive as possible. This will help increase the conversion rate for your store.
How to Customize WooCommerce Category Pages
Create Custom Category Pages with WooCommerce Built-in Functions
What do you expect when viewing an online product?
Absolutely, the answer is good images or best, detailed videos. Shopping online is no doubt convenient but risky. People can’t touch and try out products before deciding to purchase them. All they have are descriptions, images, and reviews of other buyers.
So the most important thing to convert your visitors to purchase customers comes to crystal clear and large images.
You can easily do that with WooCommerce built-in functions.
This is how you add large images to your products using WooCommerce.
Step 1: Add images to a category.
Navigate to “Products” > “Categories” under your admin dashboard and a new screen display. Hit “Upload/Add image.”
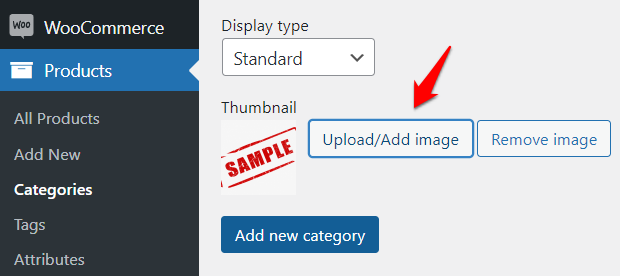
It now shows you a popup to choose your desired images.
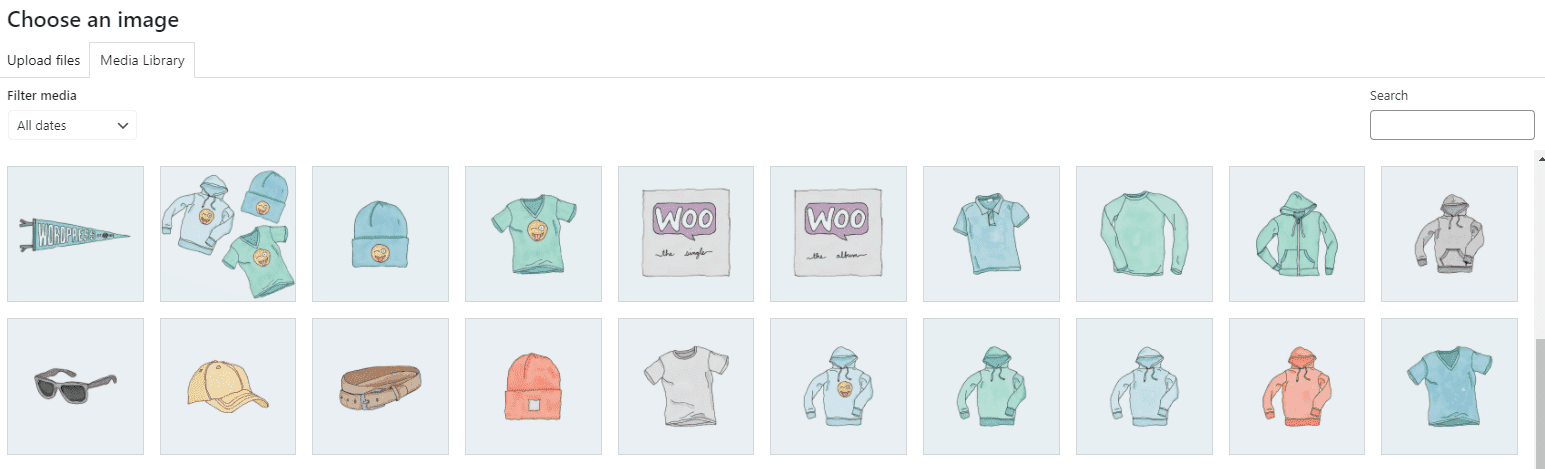
Select an image and click “Use image.”
Step 2: Set image’s size.
Go to “Appearance” > “Customize.”
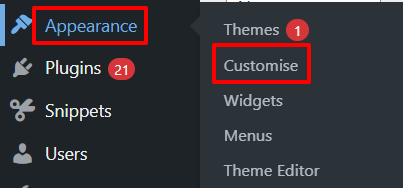
Under the “Woocommerce” section, choose “Product Images.”
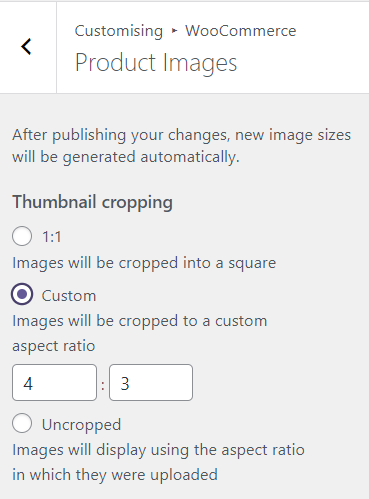
Here, set the featured image’s size as per your needs and you’re done!
Style WooCommerce Custom Category Page Using Divi Themes
Divi is known as one of the most popular page builders. It comes with plenty of features for you to customize your WordPress site without hassle, including creating custom category pages for WooCommerce stores.
This page builder enables you to create category templates, which can be easily applied to all categories on your store.
Below is a detailed guide on how to create WooCommerce custom category pages using Divi templates.
Step 1: Create a custom category page template
We assume that Divi has been successfully activated on your site. Now, navigate to “Divi” > “Theme Builder” > “Add New Template” to start creating your stunning category page template.
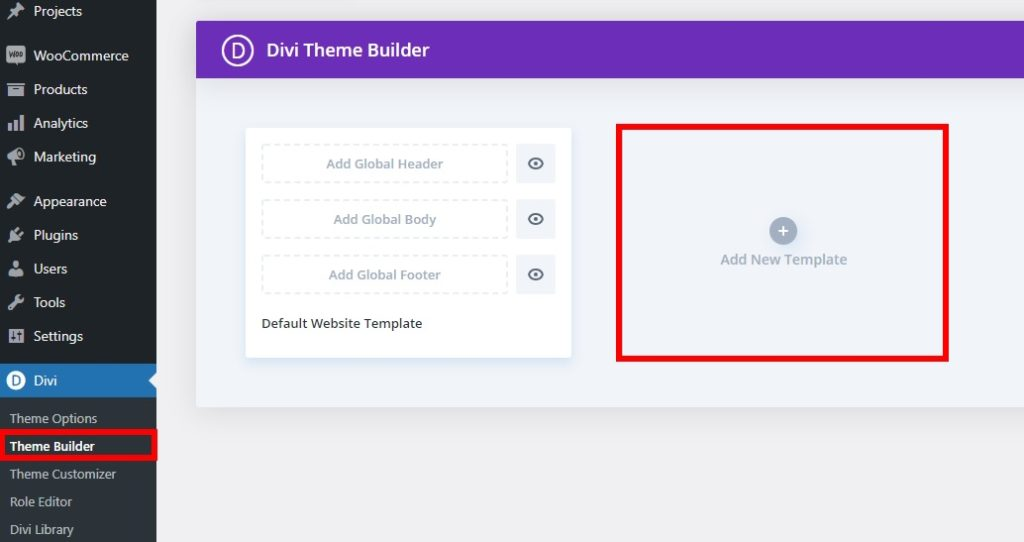
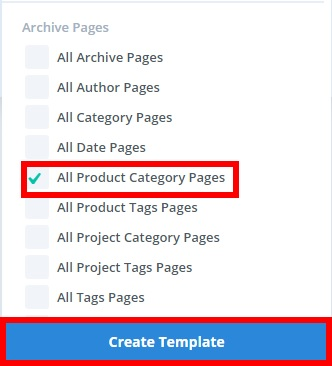
Don’t forget to tick the “All Product Category Pages” option before clicking “Create Template.”
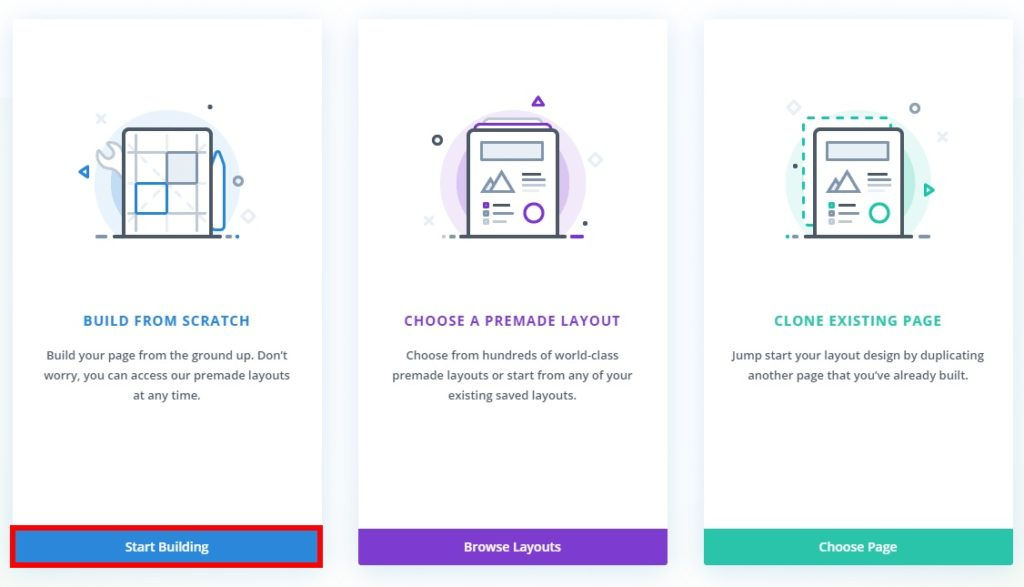
On the new template you’ve just added, select “Add Custom Body” then “Build Custom Body” and “Build your template from scratch” if you’re creating an entirely new template.
One more thing you should do is select the template structure. You can add multiple rows and columns.
Step 2: Customize category page header
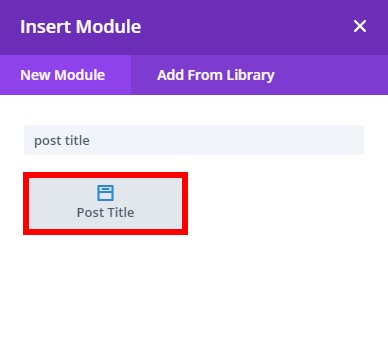
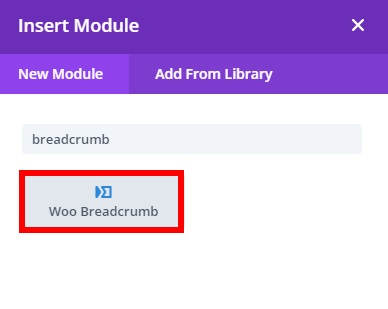
For your users to navigate products in your categories easier, it’s necessary to add page titles and breadcrumbs to the category page header.
To do that, simply click on “+” icon and respectively add “Post Title” and “Woo Breadcrumb” modules.
You’re also able to add custom CSS or scroll effects under the “Advanced” tab.
Don’t forget to click the “tick” icon once you’re done to apply all your changes.
Step 3: Customize category page body
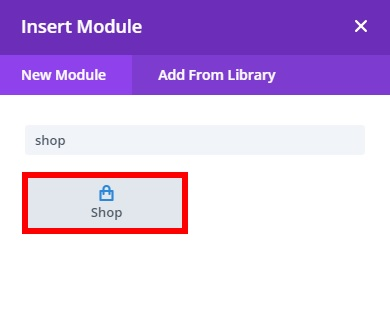
Now, let’s move on to the category page body. Here, add the “Shop” module for all products in your store to be shown.
Here, make necessary changes for the category pages to display as per what you need.
Don’t forget to enable the “Use Current Page” option for all products under the specific category to display when your customers are browsing.
That’s it!
It’s time to preview the category page of any product category to make sure they look right from the front end.
Edit WooCommerce Custom Category Pages Using Plugins
If you don’t want to use page builders for some reason, plugins are a perfect alternative to create WooCommerce custom category pages.
Here are the detailed reviews of 2 popular WooCommerce page plugins for you to choose from.
#1 Storefront Blocks Plugin
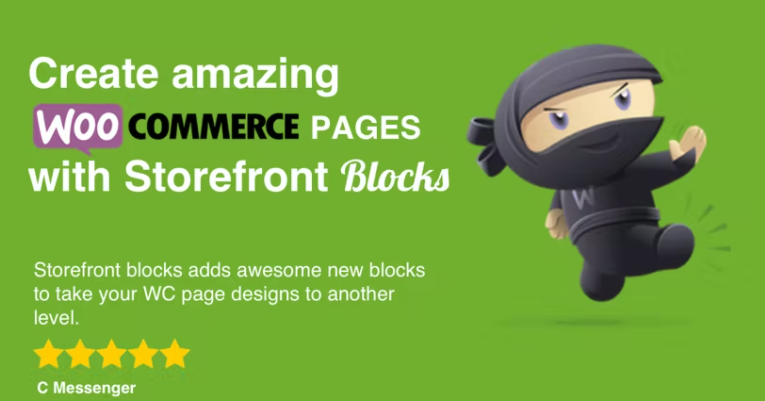
Would you like to customize the layout and design of your WooCommerce category pages? Give Storefront Blocks a go!
This plugin allows you to customize your WooCommerce Category pages effortlessly. You won’t have to touch a line of code, and so, no need to know technical stuff.
Step 1: Create a new category page
Add a new page under the “Pages” section as usual.
Now, customize your category pages using blocks such as:
- FlipBook Block
- Masonry Category Block
- Listing Block
- Sales Countdown Block
Once you’re happy with the design, select a category for your page.
Step 2: Set up redirect to new WooCommerce Category page
You need to redirect the default WooCommerce Category page to the new one that you’ve just created.
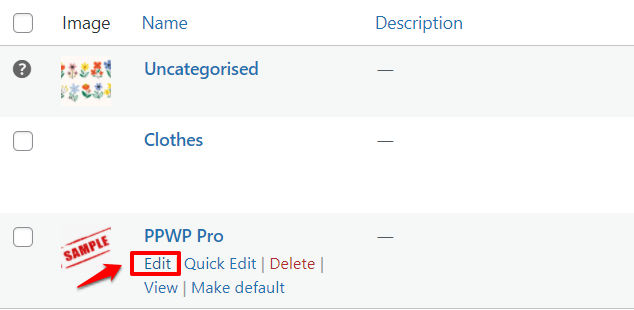
To achieve that, go to “Products” > “Categories” in your admin dashboard.
Here, find the category that you want to set the redirection for and click “Edit.”
A new screen displays where you can edit your WooCommerce category. In the “Redirect URL” section, put your new category page URL.
That’s it!
#2 Category Editor
The Category Editor free plugin lets you create WooCommerce custom category pages just with a few clicks.
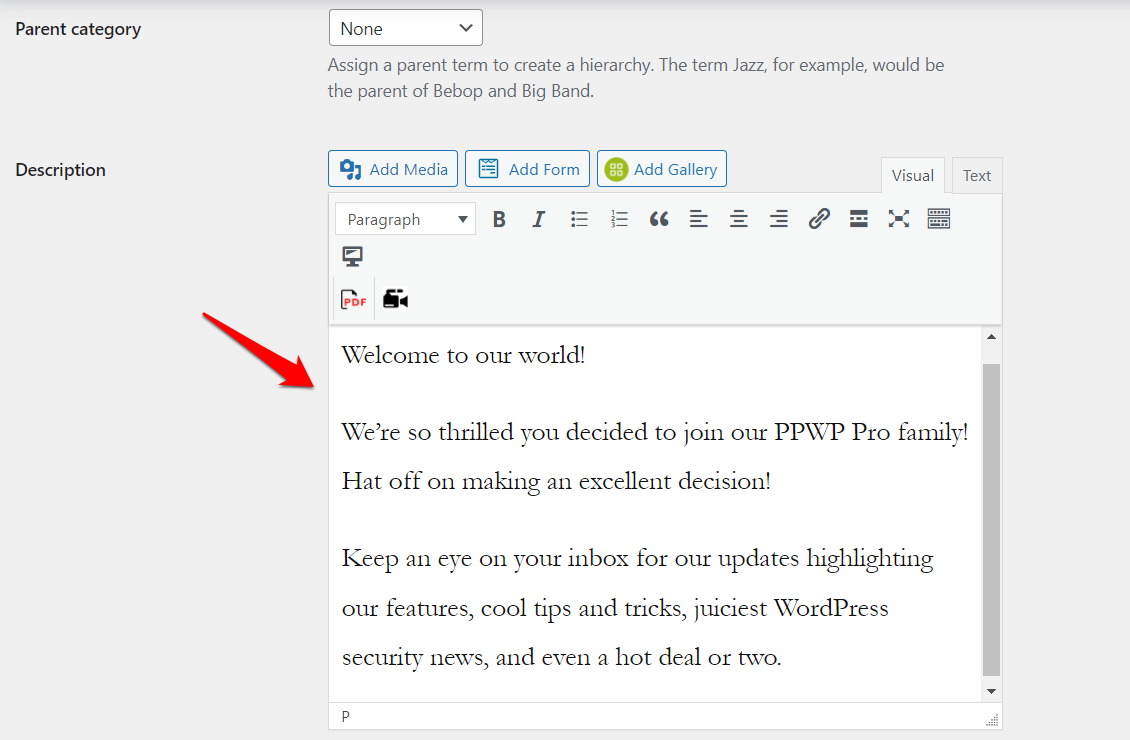
With the help of this plugin, you can edit the description of product categories to give customers as much information as possible.
Upon installation and activation, navigate to “Products” > “Categories”. Find the category that you want to edit the description then press “Edit.”
You’ll see a new text area named “Description” was added to the Edit screen. Feel free to add any information there.
Once you’re all set to move on, press “Update” to save your changes.
That’s it!
Have You Had Stunning WooCommerce Category Pages yet?
WooCommerce category pages play a key role in the success of your store. Unfortunately, not many store owners are aware of this.
As we know, WooCommerce default category pages are basic and plain. To drive more sales, you need to customize your category pages to make it attractive and easy-to-navigate.
We’ve included a comprehensive guide on how to create WooCommerce custom category pages for your online store. If you just want to create large featured images for your categories, WooCommerce built-in function can help you achieve that with a few clicks.
In case you plan to bring your category pages to a higher level, using page builders and plugins is a smart choice.
Are you ready to make stunning WooCommerce customer category pages with our guides?
Let us know if you need any further information in the comment section below!
