There might be times when you want to keep your WordPress content for private usage. They can be your personal diary blogs or family photos that shouldn’t be seen by other folks.
Fortunately, WordPress provides a built-in function to determine the visibility of your pages and posts. It gives you full control over your content accessibility. You can make your WordPress pages or posts public to all users, grant access to specific roles only, or even hide them under a password form.
In this post, we’ll walk you through the differences between 3 visibility options: Public, Private, and Password Protected. At the end of this article, you can choose which WordPress visibility option best fits your needs.
How to Set WordPress Page and Post Visibility
Let’s say you’re editing a new WordPress post. Now, at the top right corner of the edit screen, you can see the Visibility option under the Publish section.
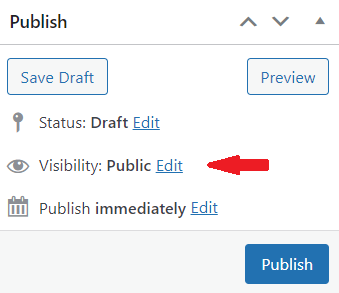
Underneath it, there are 3 options for you to choose from:
- Public: The default option. Your post will be viewable to all.
- Password Protected: Allow you to lock your post with a password. Only those with the correct password are able to open the content.
- Private: Hides the content from the public completely by sending them to a 404 page when opening it. Only permitted users have access to these posts.
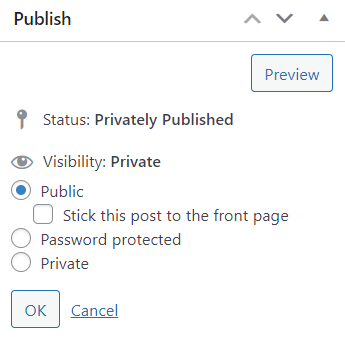
So what are the differences between these options?
Let us walk you through shortly!
What Are Differences Between WordPress Public, Private, and Protected Options?
WordPress Public Content
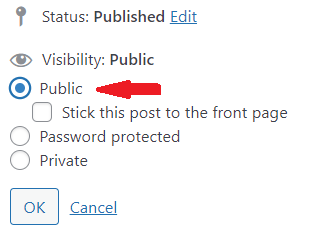
The name says it all. “Public” is a default setting for every post/page. If you don’t adjust the visibility, your content will be visible to anyone in the world as soon as it’s published.
WordPress Private Content
If you choose the Private option, only users logged in as admins, editors, and authors can access your content.
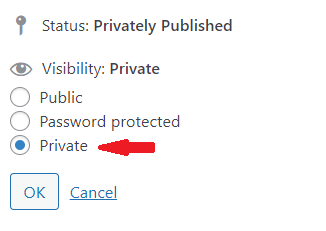
However, each role has different access permission:
- Administrator: can view, create, edit, and delete any private post, regardless of who made it.
- Editor: can view, create, edit, and delete any private post, regardless of who made it.
- Author: can view, create, edit, and delete their own posts. Authors cannot view or edit private posts created by other users, though.
When authorized users access private content, they’ll see the “Private:” text before the title.

In the meantime, unpermitted users who try to access your private content via its URLs will be redirected to a 404 not found page.
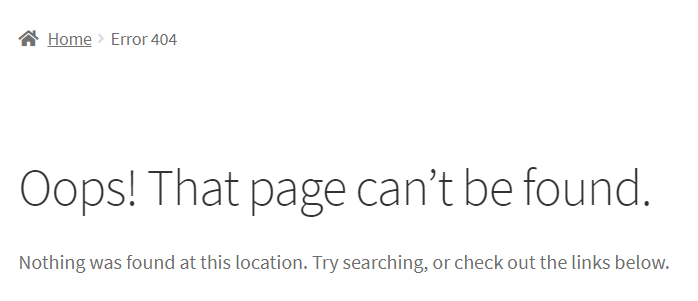
The only limitation of setting your posts private is that you cannot grant access to other roles except for the 3 listed ones.
WordPress Protected Content
This option allows you to protect your content with a preset password.
Different from private options, which make your content completely private, this feature creates a password form to shield your protected post. It means everyone can open your protected content if they can enter a correct password.
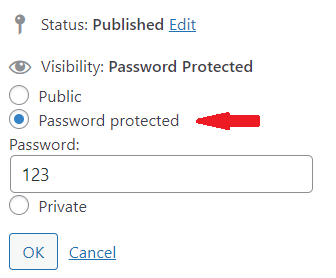
Once you check in this option, a box will appear enabling you to key in your password. Make sure your password is strong enough to prevent brute force attacks. Hackers can break passwords like “123” or “abc” in seconds.
Your content after protection will look like this in the frontend:
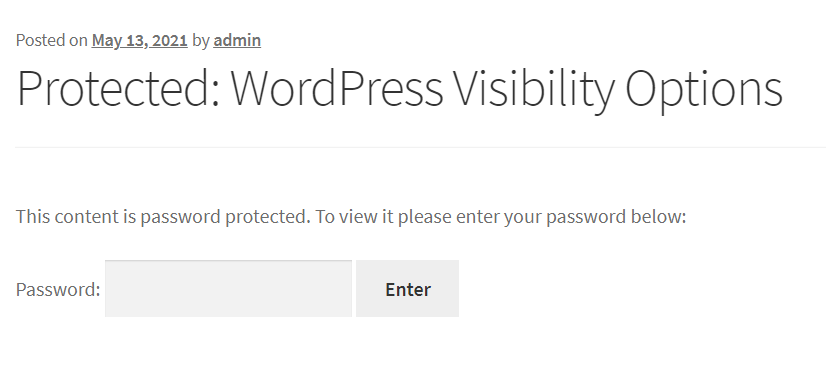
After implementing protection, only users entering the correct password can access your content. It seems amazing, doesn’t it?
That’s it!
Please note that this function of WordPress is applicable to single pages or posts only. And you can set only one password per protected page or post. This might lead to a leak of security when your users keep sharing the password. Plus, your password will never expire which means that anyone can use it at any time.
At this point, we’d like to recommend a powerful password protection plugin called Password Protect WordPress (PPWP) Pro plugin.
Now, let jump in to see how that plugin can help you have full control over your protected content.
How PPWP Pro Helps Protect Your WordPress Content
If WordPress’s built-in function gives you basic options to make your content public, private, or password-protected, PPWP Pro takes this feature to a higher level.
So how powerful is this plugin? Let’s find out below!
Password Protect the Whole Site, Single Pages/Posts, and Partial Content
With the PPWP Pro plugin, you no longer struggle in finding a comprehensive solution to your variable protection requirement. The plugin allows you to protect your whole site, single pages, or partial content with ease.
It’s possible for you to exclude specific pages from the entire site protection. In other words, some pages can be visible to all visitors while the rest of the website requires passwords in order to view it.
Set Multiple Passwords For Protected Content
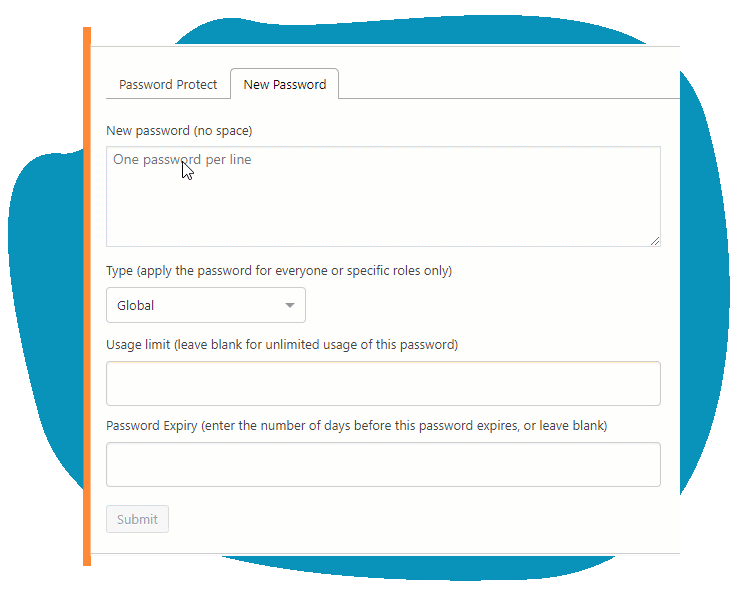
If you can only create 1 password per page using WordPress built-in function, PPWP Pro gives you a helping hand in creating as many passwords to access a particular page as you’d like to. This feature comes in handy if you intend to share a piece of protected content with different users then track who has access to your protected content.
Send Quick Access Links for Users to Bypass Password Protection
Do you want to grant your specific users access to it without entering a password while keeping your content protected? Yes, it’s possible with the quick access link feature.
This feature lets users access protected posts directly without having to enter passwords. Prevent leaking out passwords and save users time filling out password fields.
You can expire these links automatically as well.
Set Protection for Multiple Pages/Posts At Once
Protect multiple pages with the same password instead of securing them individually. Plus, you can automatically protect child pages or all posts under a particular category. The same thing goes for categories. Once a category is protected, each post under it will be immediately assigned a password.
Not only will you save a lot of time setting them up, but also your readers don’t have to remember too many passwords.
Apply Passwords for Certain User Roles only
Set passwords to specific user roles of your WordPress website such as members and customers. Only users logged in with these roles will be able to enter passwords to access your protected content. The rest will receive an error message although they enter the right password.
Customize Your Content’s Visibility Today!
There are 3 options for you to set the visibility of your WordPress content: public, private, password protected. In this article, we’ve just gone through the main differences between WordPress visibility options. Accordingly, you can choose what’s the best one to apply to your content.
In case you’d like to have more control over the password-protected content, we’d recommend the PPWP Pro plugin to you. This simple yet powerful plugin helps you protect your content with multiple advanced options.
Are you ready to make your content protected?
Let’s do it now!
