For decades, popups have been widely used for a content showcase. Many site owners apply popups to reduce bounce rates and simultaneously drive more clicks to specific pages. In this spreading digital era, this marketing trick seems not to be optimized as expected since it somehow annoys visitors’ online reading experience.
If you’re looking for an alternative method that can both display content and omits the annoying nature of the conventional method, a sticky floating bar should catch your eyes.
If you find this topic unfamiliar, we’ll walk you through the floating bar definition, its benefits, and how to create a sticky floating bar on your WordPress site.
Let’s crush it now!
- What is A Sticky Floating Bar?
- Why Use A Sticky Floating Bar?
- Method 1: Create A “Sticky” Floating Bar Using Manual Coding Method
- Method 2: Create A “Sticky” Floating Bar with A Plugin
What is A Sticky Floating Bar?
Put simply, a sticky floating bar is another kind of popup, yet more innovative. While its senior popup makes up a large portion of your screen, a floating bar takes only a small space and can be placed anywhere. It also inherits the largest obligation of presenting important or relevant content to users and remaining visible on their screens.
Why Use A Sticky Floating Bar?
First off, a sticky floating bar sticks to the top or the bottom line irrespective of visitors’ scroll. Having a floating bar on your site, visitors are able to know about the ongoing promotions and offers. This would also allow them to opt into newsletters from the website.
Typically, site users need to scroll down to the bottom of a page to find the relevant information. With the help of a sticky bar, the relevant information is always shown up so that users can reach desired content easily.
Last but not least, since this bar remains visible to users on every scroll, they’re more inclined to click on it and visit the target page. That’s ideal for increasing views and driving more traffic to a specific page, particularly the core one.
In the next section, let’s create a sticky floating bar on your site following our instructions.
How to Create A “Sticky” Floating Bar in WordPress
For your convenience, we’ve employed two methods in this article. While one requires some coding skills, the other is a plugin method.
Method 1: Create A “Sticky” Floating Footer Bar Using Manual Coding Method
This method particularly calls upon a default WordPress function to create a footer floating bar. You must have a little coding knowledge to add snippet code from a web into WordPress.
To get started, connect your WordPress site using an FTP client or file manager in cPanel. Then, pinpoint a footer.php file in your WordPress theme folder and download it to your PC. You can find the folder in a path like this:
/wp-content/themes/your-theme-folder/
Once you find the footer.php folder, open it in a plain text editor and add the following code before the </body> tag.
<div class="fixedbar">
<div class="boxfloat">
<ul id="tips">
<li><a href="https://www.wpbeginner.com/">WPBeginner Link is the First Item</a></li>
<li><a href="http://www.wordpress.org/">WordPress.org is the Second Item</a></li>
</ul>
</div>
</div>
At the next stage, insert CSS to your WordPress theme’s style.css file to customize the footer floating bar.
1 /*WPBeginner Footer Bar*/
2
3 .fixedbar {
4 background: #000;
5 bottom: 0px;
6 color:#fff;
7 font-family: Arial, Helvetica, sans-serif;
8 left:0;
9 padding: 0px 0;
10 position:fixed;
11 font-size:16px;
12 width:100%;
13 z-index:99999;
14 float:left;
15 vertical-align:middle;
16 margin: 0px 0 0;
17 opacity: 0.95;
18 font-weight: bold;
19 }
20 .boxfloat {
21 text-align:center;
22 width:920px;
23 margin:0 auto;
24 }
25
26 #tips, #tips li {
27 margin:0;
28 padding:0;
29 list-style:none
30 }
31 #tips {
32 width:920px;
33 font-size:20px;
34 line-height:120%;
35 }
36 #tips li {
37 padding: 15px 0;
38 display:none;
39 }
40 #tips li a{
41 color: #fff;
42 }
43 #tips li a:hover {
44 text-decoration: none;
45 }
Don’t worry if there’re no changes on your website thereafter. This happens as we’ve set the display items in our list to none.
In order to randomly display items from our list on each page load, just go ahead with jQuery.
All you need to do is open a plain text editor, e.g. Notepad, and add this code to a blank file.
1 (function($) {
2 this.randomtip = function(){
3     var length = $("#tips li").length;
4     var ran = Math.floor(Math.random()*length) + 1;
5     $("#tips li:nth-child(" + ran + ")").show();
6 };
7
8 $(document).ready(function(){
9     randomtip();
10 });
11 })( jQuery );
When code is implemented successfully, remember to save file as floatingbar.js on your device. Next, locate it in your theme folder. The folder path might look like this:
/wp-content/themes/your-theme-folder/js
If there is no js folder in your theme directory, simply create one.
Upload the floatingbar.js file to your js folder. Just a very last step is to enqueue the JavaScript file in your WordPress theme.
Add the following code in your functions.php file and you can see how your footer floating bar performs.
1 function wpb_floating_bar() {
2     wp_enqueue_script( 'wpb-footerbar', get_stylesheet_directory_uri() . '/js/floatingbar.js', array( 'jquery' ) );
3 }
4 add_action( 'wp_enqueue_scripts', 'wpb_floating_bar' );
A major advantage of this method is that it can randomly whirl multiple links in the floating bar as per your setup. But its downside is too many CSS customizations to carry out apart from a lot of codes.
In case you find this method not a good fit for you, break through it with a plugin method in the next section.
Method 2: Create A “Sticky” Floating Footer Bar with a Plugin
We’ll introduce a very brand-new plugin called FireBox, which allows you to place a floating bar in the header or footer on your WordPress site.
The first step is to download and install FireBox plugin to utilize its great function. Simply search for FireBox and then install the FireBox Popup Builder by FirePlugins as the screenshot below.
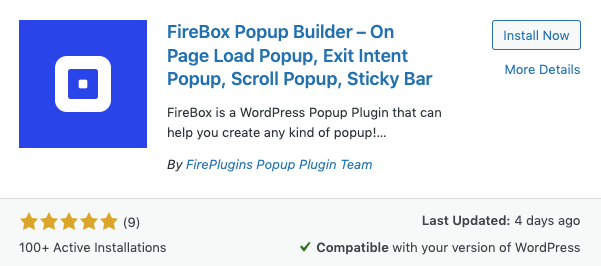
After installing it successfully, don’t forget to click the Activate button. Otherwise, you’re unable to do the following steps.
- Upon activation, navigate to your FireBox Dashboard
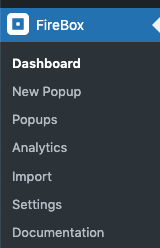
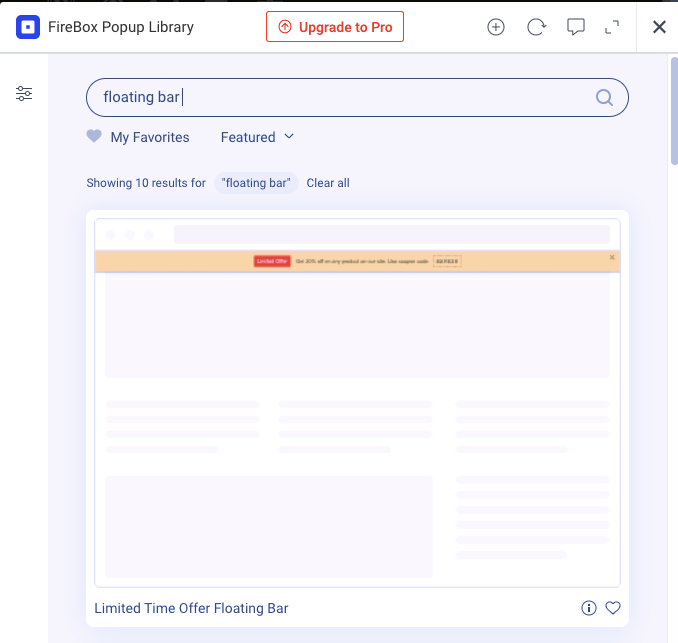
2. Choose New Popup on top of the page, a FireBox Popup Library will appear on your screen

3. Type “floating bar” in FireBox Popup Library and select a floating bar template for your taste
After that, you’ll be redirected to a settings page in which you can customize and design the floating bar.
Here you’re able to alter the bar dimensions (width and height), text color and position, background color, and other shadow options. If there’re any required border or overlay customizations, you can easily achieve that with the FireBox plugin.
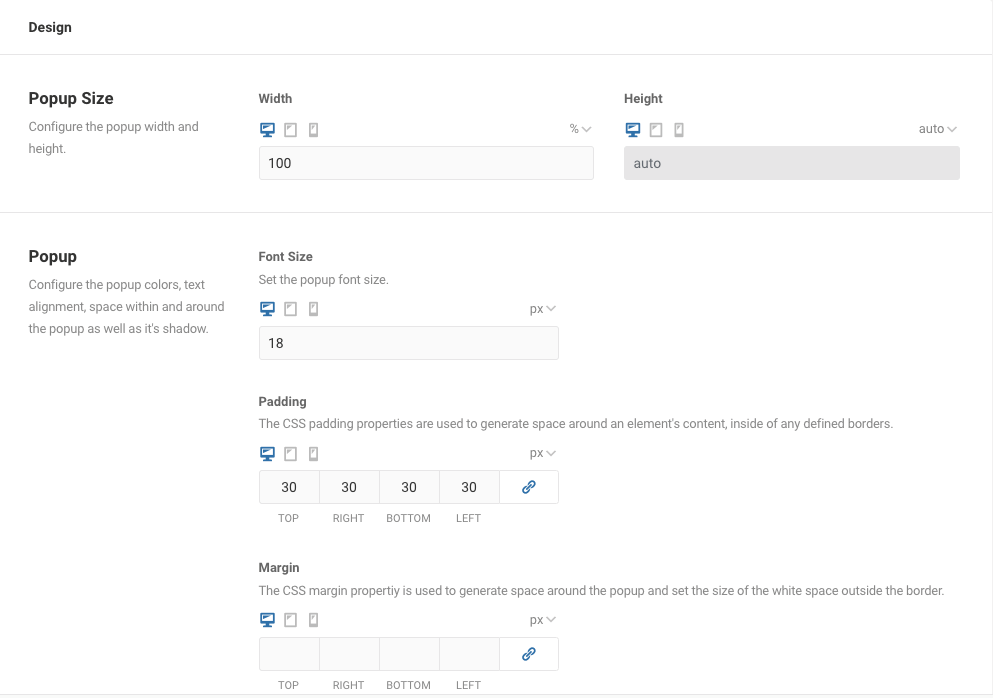
One more thing, popup animations, e.g. open and close animations, are also available for you to choose from.
How about changing the way floating bars show up on your website? Just go ahead with some modifications in the Behavior tab. More precisely, the settings will help you define the workflow of the bar.
From the Trigger Point settings, you decide how to present your floating bar. For example, automatically display it to visitors on page load or when a visitor clicks on a section. The floating bar can also be manually triggered via HTML or JavaScript, which are available in the Lite version.
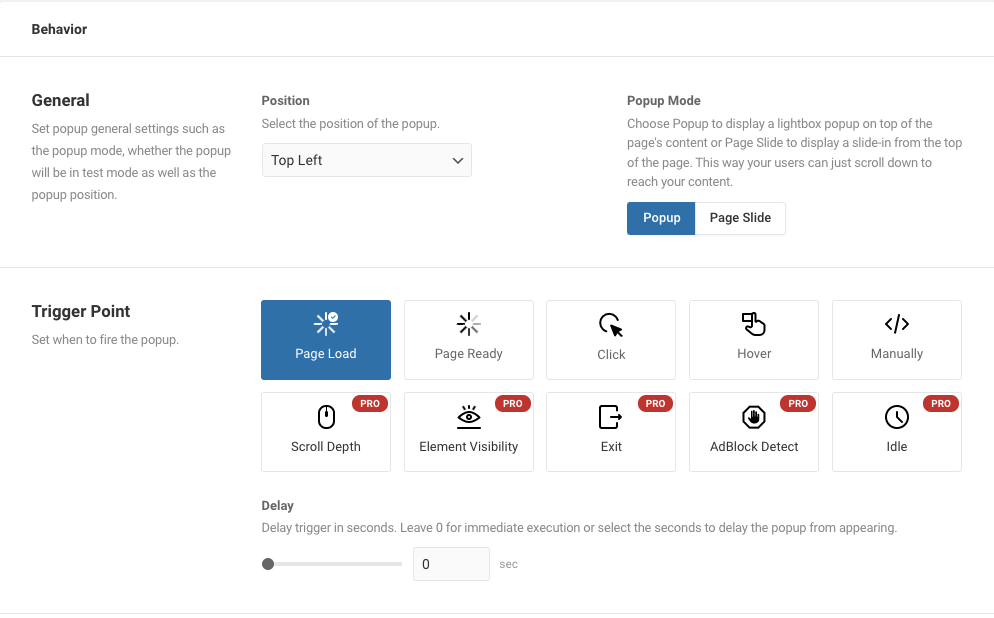
What’s more? In the Popup Mode, you can opt for displaying your floating bar as a popup that will appear above all other elements and locate according to your option. On the other hand, showcase your floating bar as Page Slide, which will not be positioned consistently but scroll along with visitors.
4. Once you’re done with customization and design, the only thing to take care of is Publishing Rules.
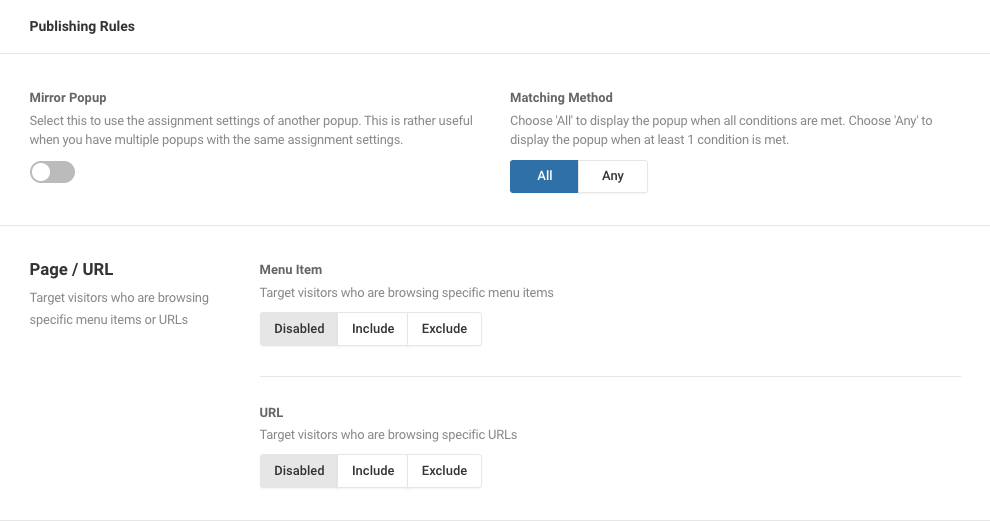
In the Lite version, you can apply a rule to reveal or hide your floating bar when a visitor is browsing a specific menu or a specific URL.
If you want to set a rule for the bar showcasing upon a particular date, time range, or registered users by their roles or ID, go ahead with the Pro version.
After setting the rules, you finish creating a sticky floating bar on your WordPress site.
See How A Sticky Floating Bar Works on Your Site
It’s not exaggerated to say a floating bar is one of the best marketing strategies at the moment. It does a favor by increasing traffic for your target pages and drawing visitors’ attention to your ongoing promotions or offers.
A sticky floating bar also supports site users’ experience as well. They can smoothly reach relevant information without scrolling down to the bottom of a page.
There are two ways to set up a sticky floating footer bar in WordPress. The first one requires you some coding skills, and the other is a plugin method that provides you with the available function of the plugin and has your own site floating bar.
We’ve instructed you to create a sticky floating bar. Could you have a try and let us know how it works on your site?
