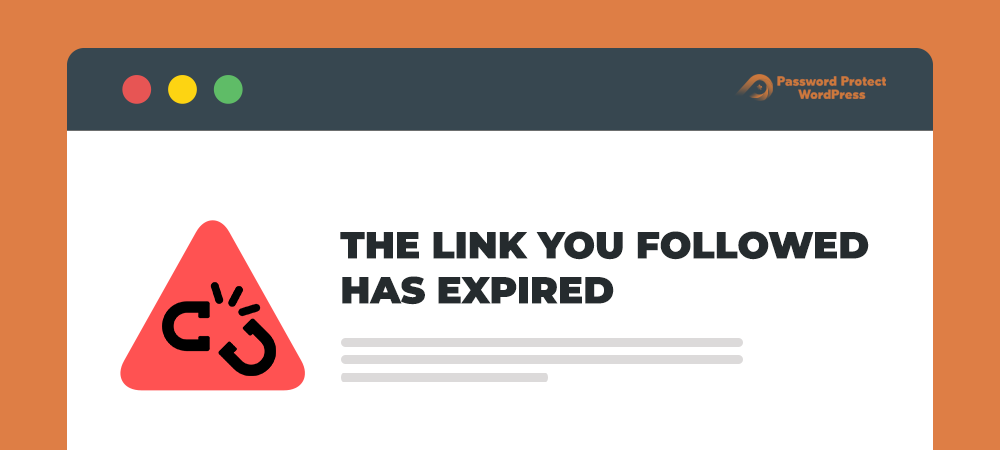
WordPress provides such a helpful platform supporting millions of users all over the world to build their own website straightforwardly. However, since it’s open source, there are always unexpected errors. Probably more than once, you see the error “the link you followed has expired” and couldn’t figure out where that problem is coming from.
Some errors derived from the plugins or themes are easy to notice and fix in time, but “the link you followed has expired” is originated from the root folders’ error. Things happening in the WordPress server are normally out of hand to some non-techy users.
In fact, this error can be handled just by a little touch in coding. Since it’s a minor error relating to file uploading, you don’t need to worry much about finding solutions outside WordPress settings. Even if you’re a beginner, in this article, we will give step-by-step instructions to help you fix this problem as well as wonderful tips for your file protection.
Now let’s dive in!
- Why Do You See “The Link You Followed Has Expired” Error?
- 3 Ways to Fix ‘The Link You Have Followed Has Expired’ Error
- Hide Your Website When Fixing “The Link You Followed Has Expired”
Why Do You See “The Link You Followed Has Expired” Error?
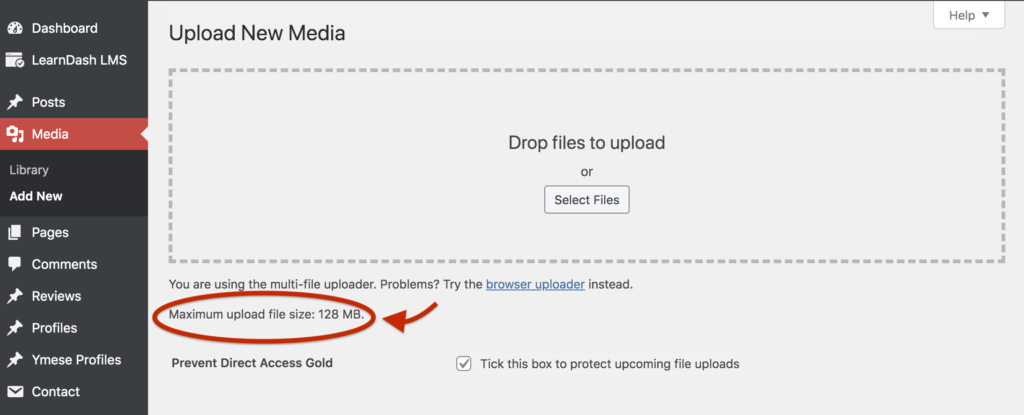
When uploading a WordPress theme or plugins from your WordPress dashboard, sometimes you will see “the link you followed has expired” error. This message only appears when the files are larger than the default limits.
Each WordPress hosting company has different settings to limit the file’s size that you can upload from the admin area.
If the maximum number is too small, you might see other relevant errors when uploading big files also, such as “maximum execution time exceeded” or “memory exhausted” errors.
The hosting companies make those restrictions barely in order to maintain the performance of your WP hosting server. They want to ensure that your site’s loading is fast enough to improve customers’ experience.
Fortunately, to eliminate this error from happening again, you just need to extend the limitation to a safer number by following the three following ways.
3 Ways to Fix ‘The Link You Have Followed Has Expired’ Error
The problem comes from your files’ size, so just increase that along with PHP memory, and execution time limits for your website.
1. Increase the maximum size limitation in functions.php file
In your admin dashboard, navigate to Appearance → Theme Editor. On the right sidebar, open the function.php. and add the following code to WordPress theme’s functions.php file:
@ini_set( 'upload_max_size' , '150M' ); @ini_set( 'post_max_size', '150M'); @ini_set( 'max_execution_time', '500' ); |
Set the value to whatever you like, but make sure it’s still in a safe zone. Also, the number of max_execution_time should reflect the file size as well. The only problem with this method lies in its instability. Whenever you change to a new theme, the settings will return to the default or the old limits. Thus, don’t forget to consider carefully if you tend to change the theme or adjust the settings.
2. Adjust file upload limits in .htaccess file
To edit this file, you need to have access to the .htaccess file in your WordPress server. This can be done by either using an FTP client or CPanel.
Edit .htaccess file using FTP client
Using the FTP client software like FileZilla to connect your website and edit the .htaccess file.
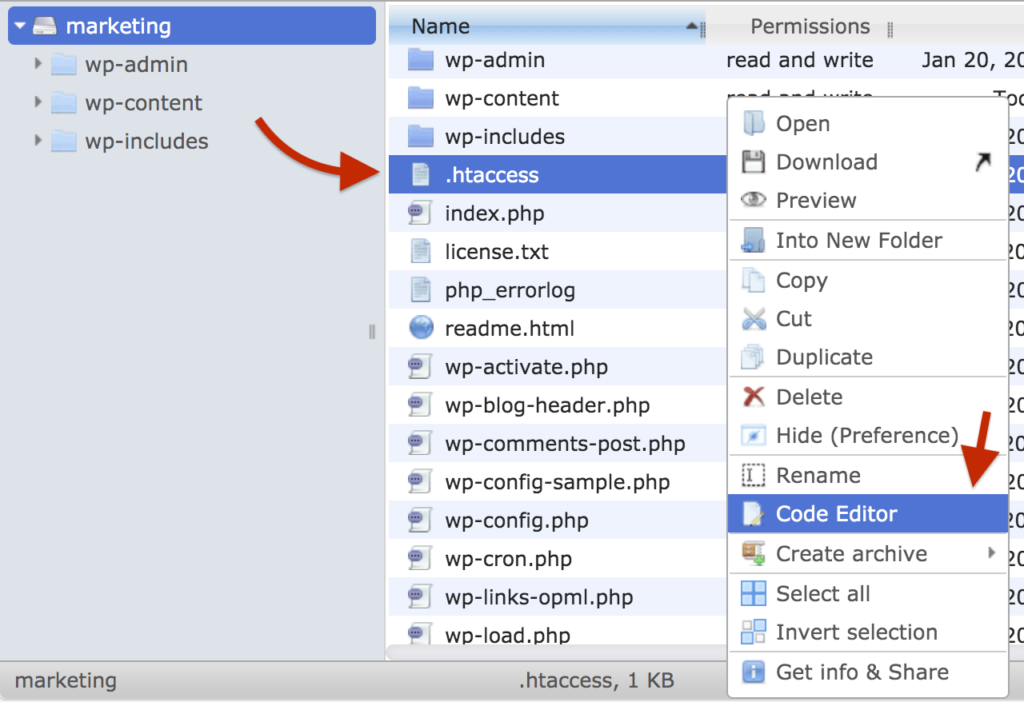
Simply adding some php_value attributions to the files such as size or time.
php_value upload_max_filesize 150M

php_value post_max_size 150M

php_value max_execution_time 500

php_value max_input_time 500
Edit .htaccess file using CPanel client
To access the server, add “cpanel” at the end of your website’s domain. Login to the server using the CPanel username and password. In the CPanel, open the File Manager app and open the public.html folder.
The same as an FTP client, find the .htaccess file and edit it by adding the similar codes.
3. Maximize limits in php.ini file
Unlike the other methods, you couldn’t add or edit the values directly at the root folders. Instead, create a blank php.ini file locally on your computer using notepad, TextEdit, or any similar kinds to paste the following lines of code into it.
upload_max_filesize = 150M

post_max_size = 150M

max_execution_time = 400
Save the file as php.ini, and change the Save as type to “All Files” After that, upload this php.ini file to your WordPress server through an FTP client.
Hide Your Website When Fixing The “The Link You Followed Has Expired” Error
When fixing those errors, you obviously don’t want to interrupt the activities of visitors or customers on your site. The best way is to turn your website into a private one so that only you and your specific users such as admin, editors, authors are able to log in and modify the settings.
Password Protect WordPress (PPWP) Pro is recognized as the best WordPress security plugin that helps you password protect posts, pages, custom post types, and even the entire site.
To prevent any visitors from entering your website while you are fixing the error or changing to a new theme, you might need the plugin’s sitewide protection feature.
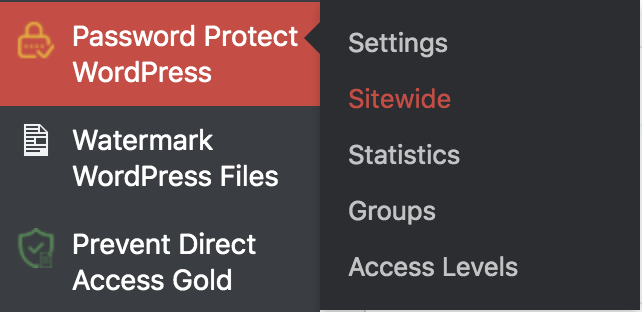
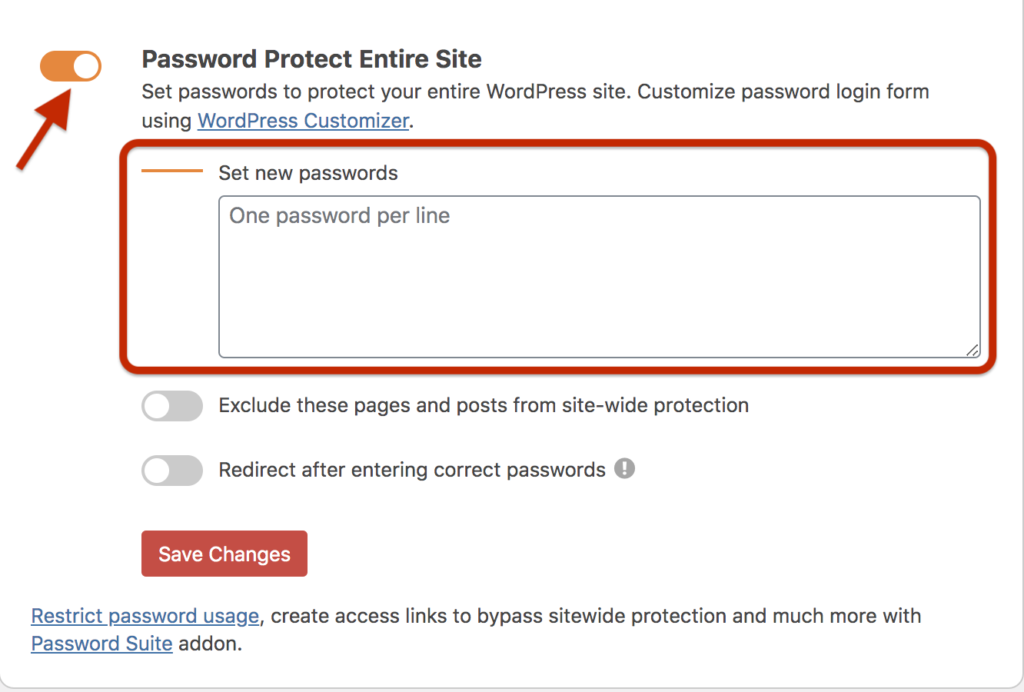
After installing and activating the plugin, navigate to Password Protect WordPress, and open the Sitewide section.
Simply enable the feature Password Protect Entire Site, and add as many passwords as you want. To make your website more interactive, you can create one coming soon, or a splash page to inform visitors about the refreshing appearance of your site and exclude it from the sitewide protection.
After that, send your desired user role a password to enter the private site. Once you’re done with all the necessary settings on your website, simply disable the sitewide protection feature, and your site will immediately be back to normal.
Make Your Site a Spam-Free, Error-Free, and Secured Website
With the 3 provided ways to fix the “the link you followed has expired” error, you don’t have to panic when seeing those errors in the future. No matter if you’re using FTP or a CPanel client, you can deal with that problem with ease. By increasing the file size limits in the root folders, you won’t be bothered anymore.
Besides, if you don’t want to interrupt users’ experience when fixing errors, activate Password Protect WordPress Pro to password protect the entire site. In fact, the plugin can do more than just hiding your whole website. You can use it to protect every page and post or product categories. Not only does it help you auto-generate unlimited powerful passwords but also lets you assign which passwords belong to which users.
If you still suffer the errors, don’t hesitate to leave your word in the comment section below.
