
Rapid business growth appears to be the main objective of every company. However, scaling your business takes considerable effort. Apart from getting around sales and marketing, you have more internal tasks to handle, from setting business goals and rules to classifying teams and motivating employees.
Then, it’s time to think of an internal communication network to share information and stay in touch with all team members. Creating a WordPress intranet comes in handy by cutting back on frequent face-to-face meetings as well as emails.
This piece explains what a WordPress intranet is, how different it is from an extranet, and discusses the benefits WordPress intranets bring to your business. The post will cover steps to create an intranet too. Let’s get started with the basics!
What Does WordPress Intranet Stand for?
A WordPress intranet generally refers to a private WordPress website allowing users within an organization to access and communicate with each other. Companies use intranets as their digital workspaces where employees share information/files without having to go through a public website.
Difference between Intranets and Extranets
Although both WordPress intranets and extranets function as private sites, each differs from the other in the kinds of people who are able to access the website. While intranets open door for employees only, extranets support external interaction between employees and specific clients or between organizations.
There are no outside parties involved in intranets. In contrast, extranets let authorized individuals like specific clients, customers, partners, or vendors reach out to your employees.
Why Does Your Business Need a WordPress Intranet?
WordPress intranets prove useful in numerous cases. Not only can you improve your company’s internal communication but you are also able to manage all the documents. It’s possible for you to streamline team collaboration and project management too.
Improve internal communication within your business
Internal communication transmits information among members or parts of the organization. It includes top-down emails, messages, peer-to-peer discussions, or crisis communication.
You can use intranets to set up plans, meetings, and to deal with all other behind the scenes issues. When your company gets bigger, the long email lists and messages from different teams or individuals might frustrate your employees.
Fortunately, you can solve these problems with ease, using a WordPress intranet. Information like news, announcements, and project updates are shared openly. Employees can also leave comments via dialogs. As a result, everyone is put in the picture, and you can enhance the company culture.
Manage your business’s documents and content
Business’s document management and control have never been an easy task. There are various types of documentation involving different departments, from reports, training materials to financial paper. Even though they are printed and cataloged in file folders, it might take you hours to find out if you haven’t used them for a while.
Intranets make files and documents more well-organized. Everything is stored in only one place that all employees have access to. The HR departments now don’t have to look for the company’s policies or handbooks in thousands of printed files whenever a newbie joins the company. The same thing goes for the Communication department who handles newsletters and announcements.
Streamline collaboration and project management
While employees could complete tasks quickly and reduce conflicts when working independently, keeping everyone staying connected and performing together would increase creativity and productivity.
Intranets give multiple users a space to collaborate and work on files of the same project and get stuff done. They can easily see how other teammates are doing and provide support when necessary.
How to set up a WordPress intranet
There are 3 main steps to creating a WordPress intranet. Firstly, you must set up a WordPress website. After that, it’s necessary to create an intranet hub on your website. The last move is securing your WordPress intranet with Password Protect WordPress Pro plugins. Let’s dive in!
Step 1: Set up a local WordPress website
Since you allow people within your organization to access the intranet, a local website would be perfect in this case. Setting up a local WordPress site doesn’t require a web hosting provider like a public website.
Follow these steps to install WordPress on your local server.
- Download WordPress
- Upload the zip file you’ve just downloaded to your hosting account
- Set up the database and install WordPress to get your site up and running
Step 2: Create an intranet hub with BuddyPress plugin
You would want your intranet to function as a community for users to share information and communicate. That’s why BuddyPress comes into play.
Considered as the biggest and the most powerful social networking plugin, BuddyPress can turn any WordPress site into a community hub.
BuddyPress allows users to create profiles, have private or public conversations and make social connections.
These steps will guide you through how to install and set up your community hub with this plugin.
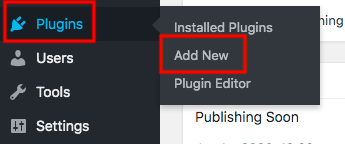
- Head to Add New under Plugins on the left navigation menu in your WordPress dashboard
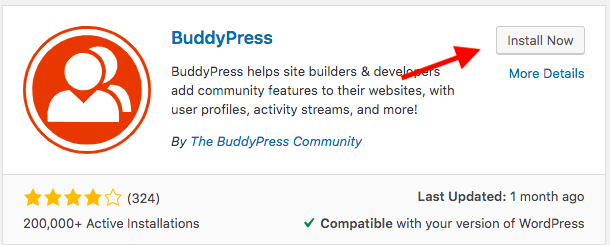
- Search for BuddyPress in the Keyword box

- Click Install and Activate buttons
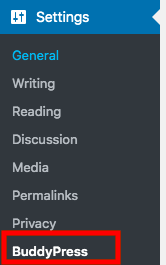
- Upon activation and installation, head to Settings → BuddyPress in your WordPress dashboard
You can see a list of feature settings available there. You can decide which features your WordPress intranet should follow.
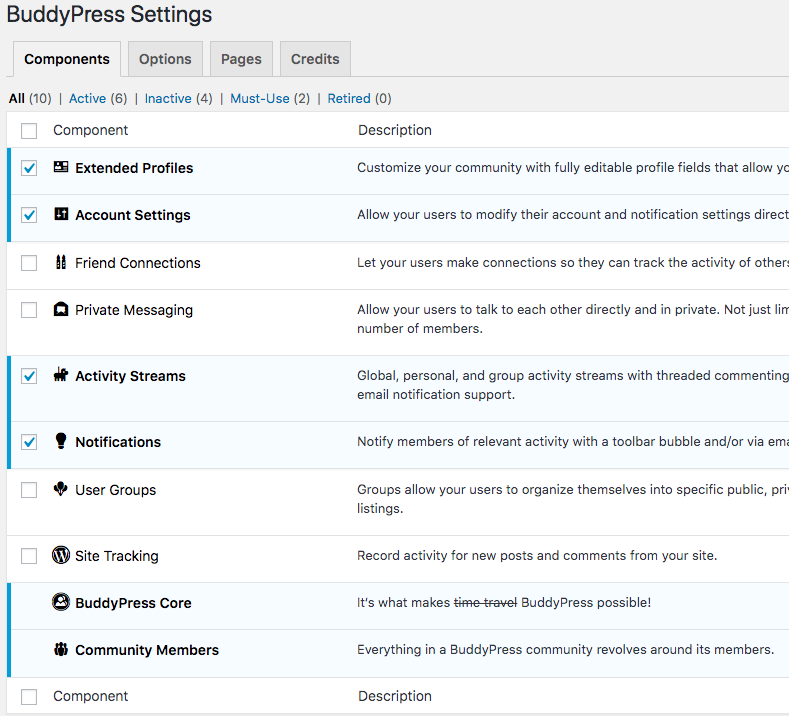
Users are able to customize their profiles, edit their accounts and stream personal and global activities via email notifications by default.
It would be beneficial to your intranet if you enable users to send private messages, connect with friends in the community. You should allow them to make themselves members of specific public, private, or hidden sections a as well. These features will be available once you enable Private Messaging, Friend Connections, and User Group options. Remember to save your settings.
Apart from Components settings, there are 3 other tabs that need configuring. Most of the necessary features are enabled by default. You can also let users leave comments on posts.
Once you’ve finished setting up the community, let’s move to the last step, privatize your entire website.
Step 3: Make your website private with Password Protect WordPress Pro
Although your local intranet is accessible to people in your network only, you can make it even more secure by installing the plugin Password Protect WordPress Pro.
This simple and straightforward plugin allows you to protect your WordPress site from unauthorized users with a password. After installing and activating the plugin, visit the Entire Site settings tab and enable the feature. You can enter one or multiple passwords to protect the site.
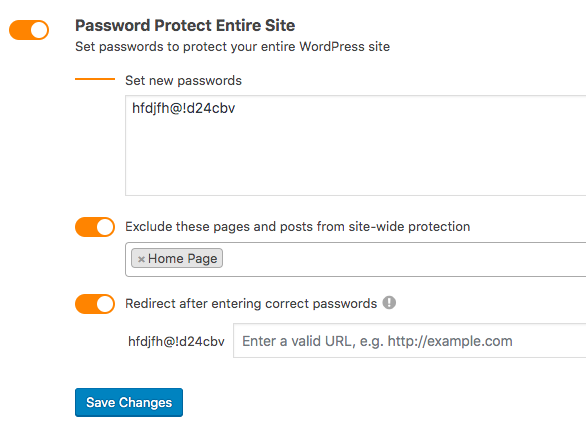
It’s possible for you to redirect users to a specific page after entering passwords. This prevents users from attempting to land on pages they are not allowed to visit.
Make use of your WordPress Intranets
WordPress intranets give your business and organization a private community to share internal information and to communicate instantly. You can save a lot of time and effort put into internal document management while building up a strong company culture at the same time.
In this article, we cover the basics of intranets: what they are, why you should use them and steps to create one.
If you have any questions about how to create WordPress intranets, let us know in the comment section below!
