Nowadays, the average attention span of customers has decreased significantly to 8 seconds, compared to 12 seconds in 2000. For that reason, users will leave your website immediately if they can’t get the desired information within seconds. By allowing WordPress link to page section, you can solve that issue easily.
WordPress anchor link is the most common, effective tool to achieve that. It lets you add a link to a page section so users can jump directly to that piece of content.
If you have no idea how anchor links work, this article is for you. Keep reading until you find something useful to take away. Let’s go!
- Understanding Anchor Links
- Pros and Cons of Anchor Links
- How to Add WordPress Links to Page Sections
Understanding Anchor Links
Anchor/jump links, technology speaking, are no different from regular links as they transfer users to a different location.
However, instead of transferring to another website, they will lead visitors to a specific content section on a page. They either refer to a particular location on the current visiting page or a location on a different page.
Anchor links would help if your content is long and has various headings and sections. With their assistance, you can ensure a friendly experience for your users.
In 2009, Google described anchor links as a feature that supported users to reach their wanted information faster. They redirect users to exact locations on a large page, saving time from scrolling for information.
Pros and Cons of Anchor Links
If you’re using WordPress, you should know the benefits and drawbacks of utilizing anchor links.
Pros
- Anchor links create a great user experience for long-content articles. When users click the link, they can immediately find what they are looking for.
- Using a WordPress link to a page section provides your readers with instant access to certain subsections. Both social media and help desks benefit greatly from this. For example, you can link visitors directly to Knowledge Base to help them find the solutions for their issues.
- A jump link helps you optimize your CTR since it appears in SERP listing. There is a high chance users will click on this link if they see the relevant information to their queries. As a result, you can increase your traffic significantly.
- Other usages of anchor links include “return to top”, footnotes, or citations.
Cons
- Jump links can decline the time visitors spend at your website. This is because they only read the part containing the information they are looking for instead of the whole article.
- Anchor links have an effect on your advertising earnings as customers only read the sections they need. If visitors ignore a specific portion, it can lead to a drop in views and engagement.
- A fragment identifier is not linked to the server when you change the domain or use 301 redirects. This would be more problematic if you have anchor links on your website. Although you can handle this issue with JavaScript, it’s not an easy job at all.
How to Add WordPress Links to Page Sections
There are various ways to create anchor links for page sections. We’ve already accumulated all the information you need in this section. Read on!
#1 HTML
One option for adding jump links to WordPress articles is to directly include HTML code. Let’s see how to do it.
- Type down the text you want to use as the link and create a hyperlink with a “#” prefix.

2. Use the <a href=” “> tag and the hyperlink above to create an anchor link.
<a href=”#understanding-anchor-links”>Understanding Anchor Links</a>
3. Decide which page section this anchor link leads to and mark this section with the <a> tag. You can use <h>, <img>, and <p> tag to jump to a header, an image, and a paragraph respectively.
4. Add an ID attribute to the section. The attribute’s value should be a phrase or a single word, and is the same as the hyperlink above. A quick reminder that the phrases must use dashes, and exclude spaces. Bear in mind that every ID only shows up once per page.
<h2 id=“understanding-anchor-links”>Understanding Anchor Links</h2>
5. Save your changes, publish the page, and test the jump link.
#2 Gutenberg Block Editor
With the help from Block Editor, you can easily generate a Table of Content using anchor links. Before we start, you should decide the location of your anchor link.
- On the top right of the screen, click on Setting to show the drop-down menu and choose Block.
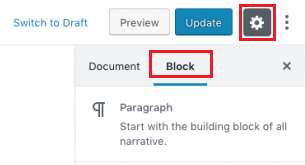
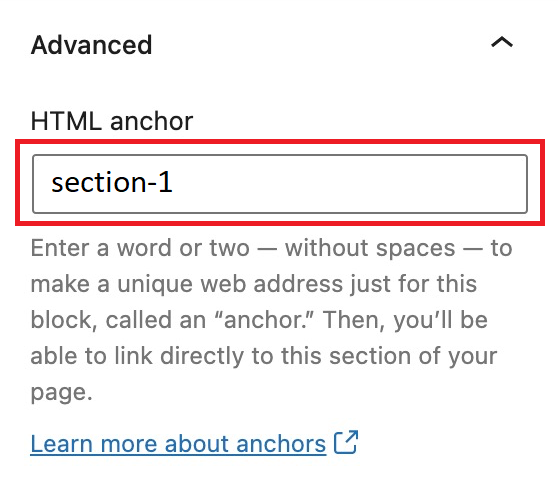
2. Scroll down to the Advanced section, and fill the HTML anchor box with an ID.
3. When it’s all done, you need to make the jump links. Choose the location of your link and select the chain button to add the link.
![]()
4. In the box, type in the ID you created for the HTML Anchor here with the “#” prefix.
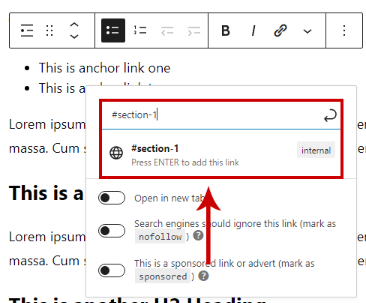
And now your jump link is ready to serve.
#3 Classic Editor
If you’re using the Classic Editor, adding HTML jump links is easy when creating in the Visual editor mode.
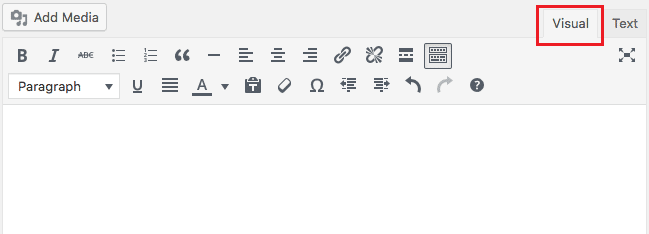
- On the top right, choose the Visual section to create the jump link.
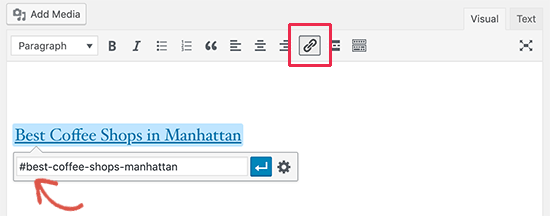
2. In this section, highlight the text you want to embed a link. Then tap on the chain button to add the link. A box will appear and you need to fill the jump link starting with the # icon.
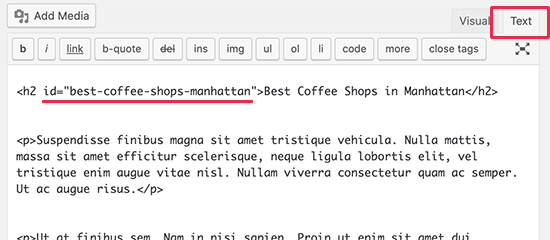
3. Switch to the Text section, go to the location that your anchor link leads to, insert the ID. And your anchor link is ready.
#4 Plugins
Besides the mentioned methods, plugins enable you to create WordPress links to page sections within a few simple steps. Therefore, we will introduce 2 plugins. The first is for creating basic anchor links, while the latter assists you in creating tables of contents.
Advanced Editor Tools
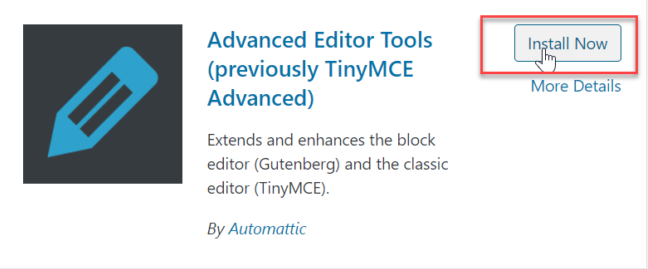
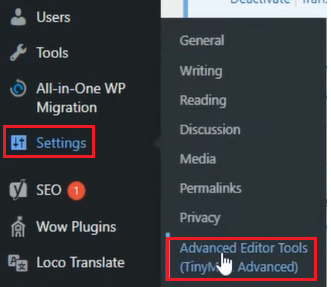
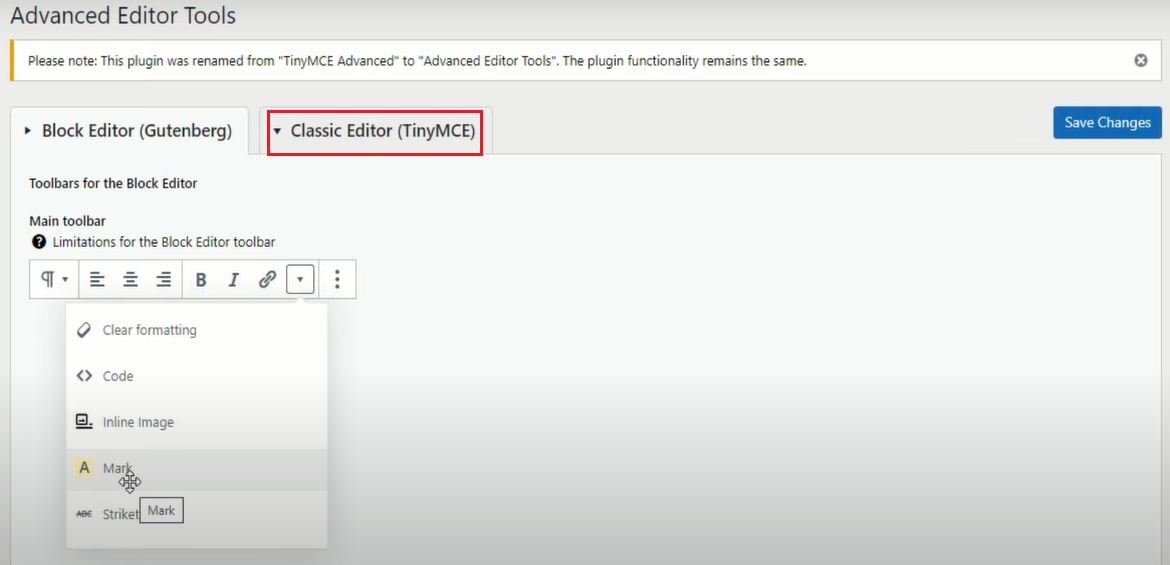
It’s important to note that the adding jump link feature is only available for Classic Editor’s users. To use the Advanced Editor Tools add-on, you must install and activate it first. After that:
- On the left screen, scroll to the Settings menu and select Advanced Editor Tools. You will be transferred to a new page.
2. In this page, choose the toolbars for Classic Editor.
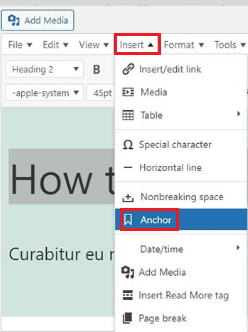
3. Highlight the text you want the anchor link to jump to. Then choose Insert on the menu bar and click on Anchor.
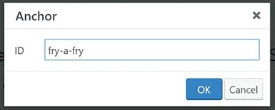
4. In the pop-up box, enter the ID attribute you want. Then tap on OK and you just created an HTML ID without coding.
5. Now you can create a jump link anywhere on your page which can lead to the newly created anchor.
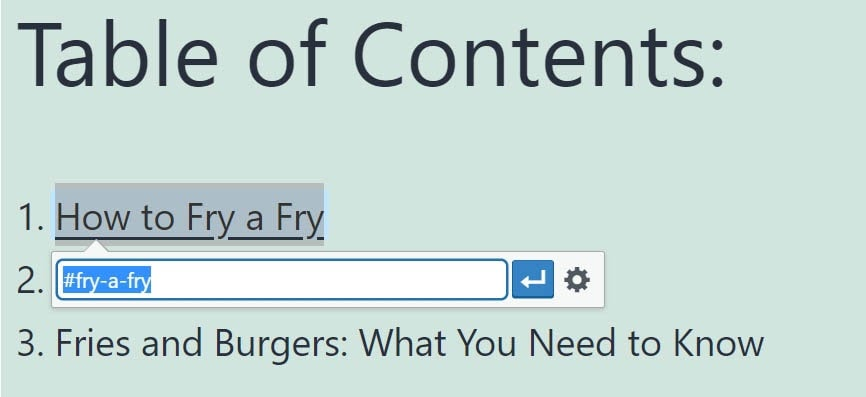
Easy Tables of Contents
It might be time-consuming to create a table of contents for every article on your website. You need to insert various anchor IDs and links by hand. In addition, sometimes you want to modify the table of contents to look better and friendlier for the users.
With the Easy Table of Contents plugin, these issues will no longer bother you. Using this extension, you can automatically create tables of contents for all the pages and articles on your website.

Right after installing and activating the plugin:
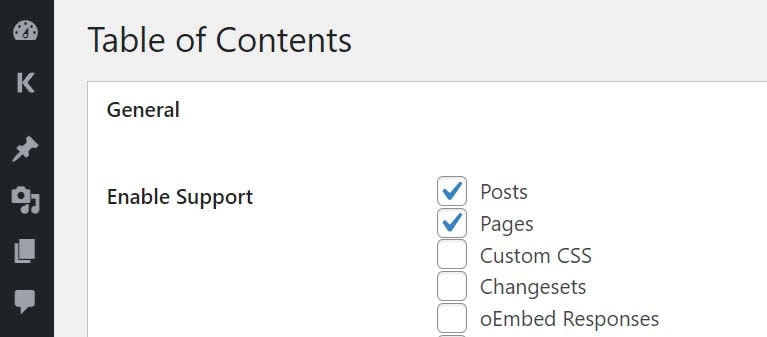
- Go to Settings, choose Table of Contents, and find the Enable Support section. Then click on the part you want it to support.
2. Move down to Position, in the dropdown menu choose the location of your table of content.

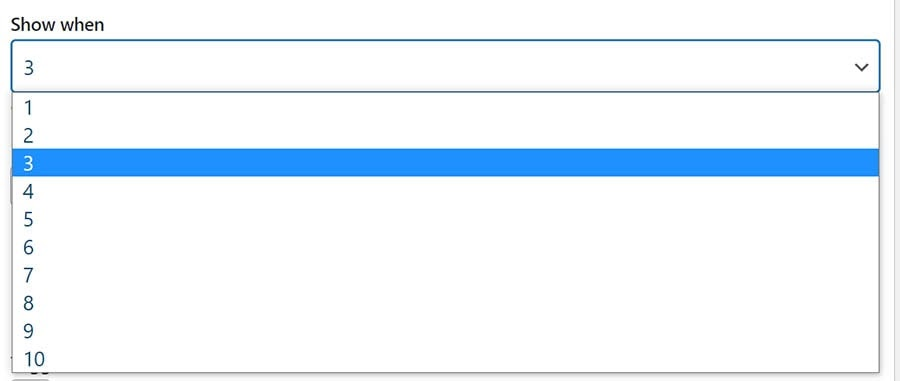
3. In the Show when area, choose the amount of headings in your page or post.
4. When you finish all the steps above, remember to save all your modifications. Next, go back to the Posts section and enable Insert table of contents.
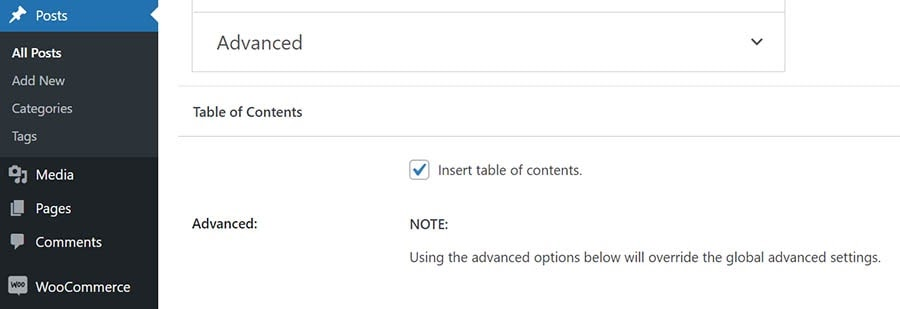
This extension will set all anchor IDs and create a complete table of contents on your behalf. Your table will expand to accommodate all the subheadings included in your page or article, unless you specify otherwise.
Add WordPress Links to Page Sections for Better User Experience
That’s how you can add a WordPress link to page section and why you should do that. In general.
If you are familiar with coding or programming, you can create anchor links with HTML, Block Editor, and Classic Editor. In case coding is not your strength, Plugins can really help you out in this situation.
With our guide at hand, you surely can find an appropriate way to create and add your jump links. Thank you for reading, and don’t forget to subscribe to our website for more helpful information!
You may be interested in how to password protect a WordPress page section.
