When it comes to adding images to pages or posts, we immediately think about adding single images, one by one. Have you ever been in a situation where you need to show multiple, let say 50, images on a post yet?
It’s a nightmare to display all of them one by one, right?
This makes your posts extremely long, and of course, harms your users’ experience. No one is patient enough to keep scrolling down to see all your embedded images.
While there’s a lot of stumbling content out there, should they keep staying on yours with such a bad experience? The answer is absolutely no.
So how can you avoid that unexpected situation?
No worries! Now you have our article at hand. We’ll show you how to create a gallery to display your images in content in a user-friendly and efficient way. You can use the built-in function of WordPress editors or plugins to achieve that.
What Is a WordPress Image Gallery?
The WordPress image gallery is a tool that allows you to group images in a grid layout with columns and rows so that more images are displayed in less space.
What’s more, you can show your images’ thumbnails so that users can click on the images if they want to view full size. This gallery function also gives you the ability to optimize your gallery images such as editing images and galleries, changing image sizes, etc.
As mentioned earlier, you can create a WordPress gallery using WordPress built-in functions or plugins.
How to Create Image Galleries Using WordPress Built-in Function
Understanding the user’s needs, WordPress soon provides us with a default feature to create galleries in pages and posts.
You can either create galleries with both Classic Editor and Gutenberg Editor.
Create WordPress Gallery with Classic Editor
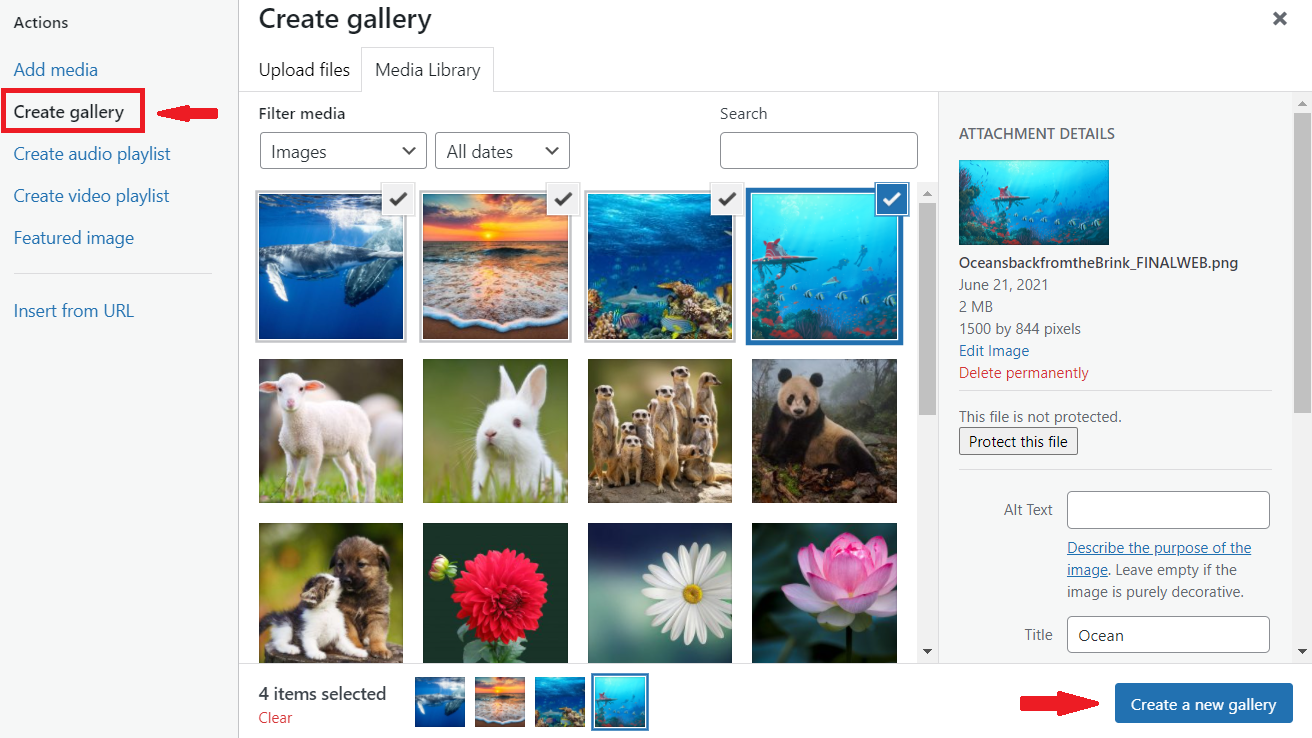
When opening your post and clicking the Add Media button, you’ll see a Create gallery section in the top left corner.
It will lead you to the Melia Library by default to choose images and add them to your gallery.
Here, you’re able to pick images, add a title, and click Create a new gallery button.
After that, a new screen displays where you can edit your gallery. You can take various actions there:
-
- Drag and drop to reorder media files.
- Add images’ caption
- Choose link to
- Choose display column
- Choose image size
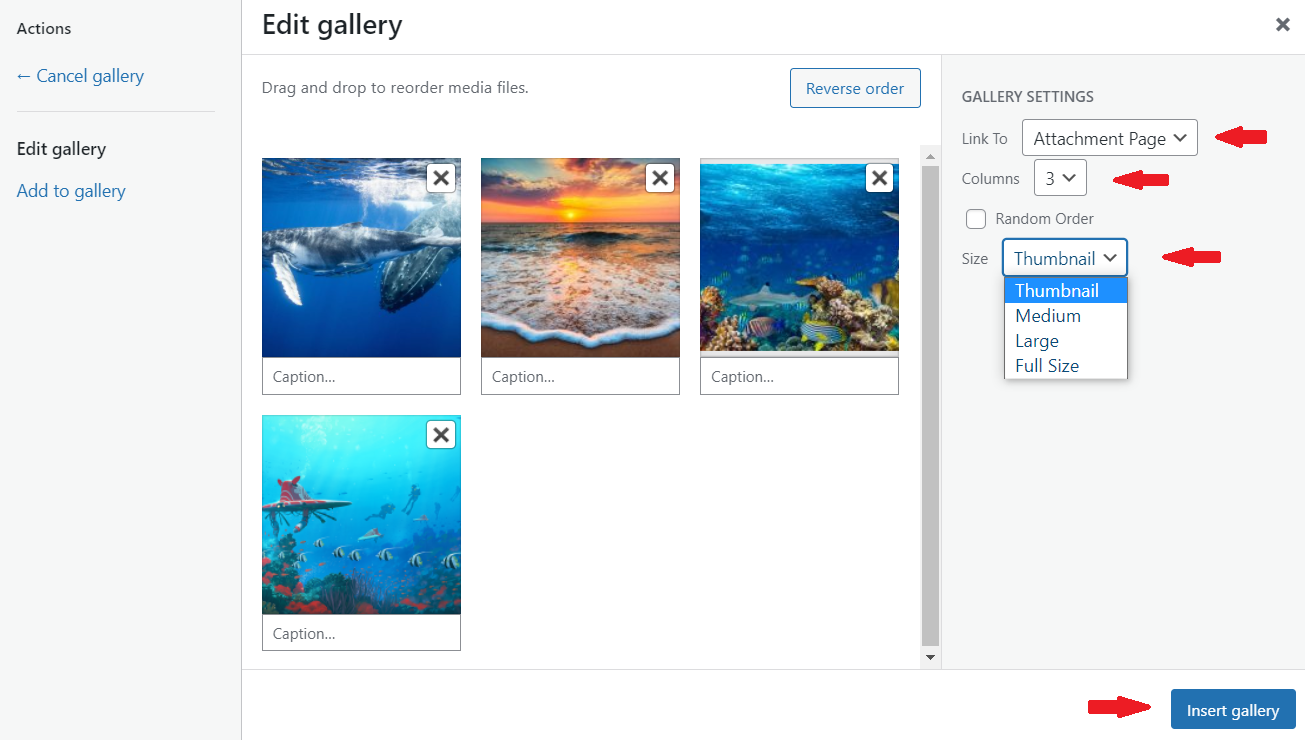
Once you’re done, press Insert gallery to add your images into the content.
This is how your gallery displays in the frontend:
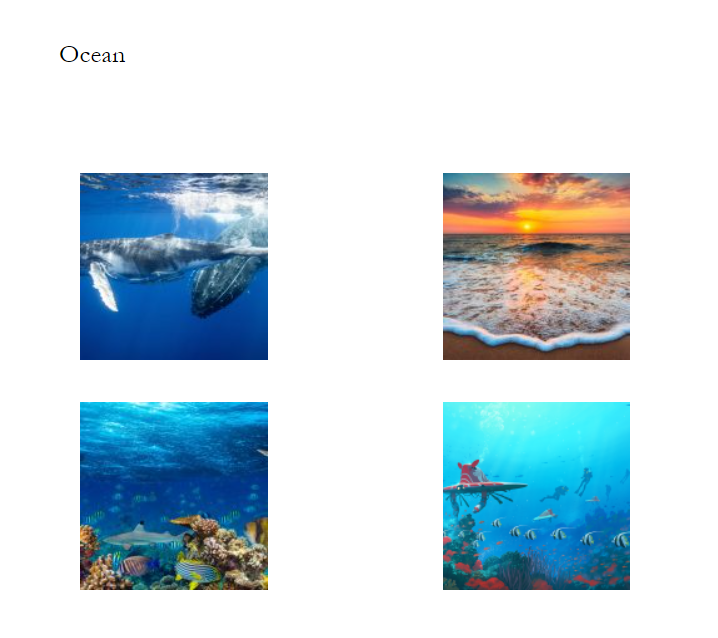
The drawback is that your users need to click on single images to view them in full size. Once clicked, they will be redirected to a new URL. If they want to continue reading your content, they must turn back to the original post.
Create WordPress Gallery with Gutenberg Editor
Another method to add a gallery to your content is using the Gutenberg editor.
Let’s see it in action!
Firstly, open the post/page you intend to create a galley.
You’ll see a + icon that enables you to add blocks to your content. Here, search for Gallery.
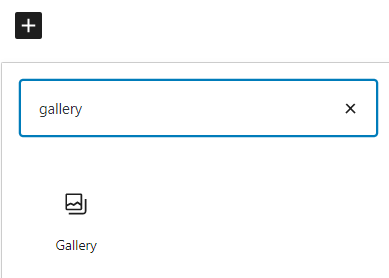
After you choose the Gallery icon, a new screen will display.
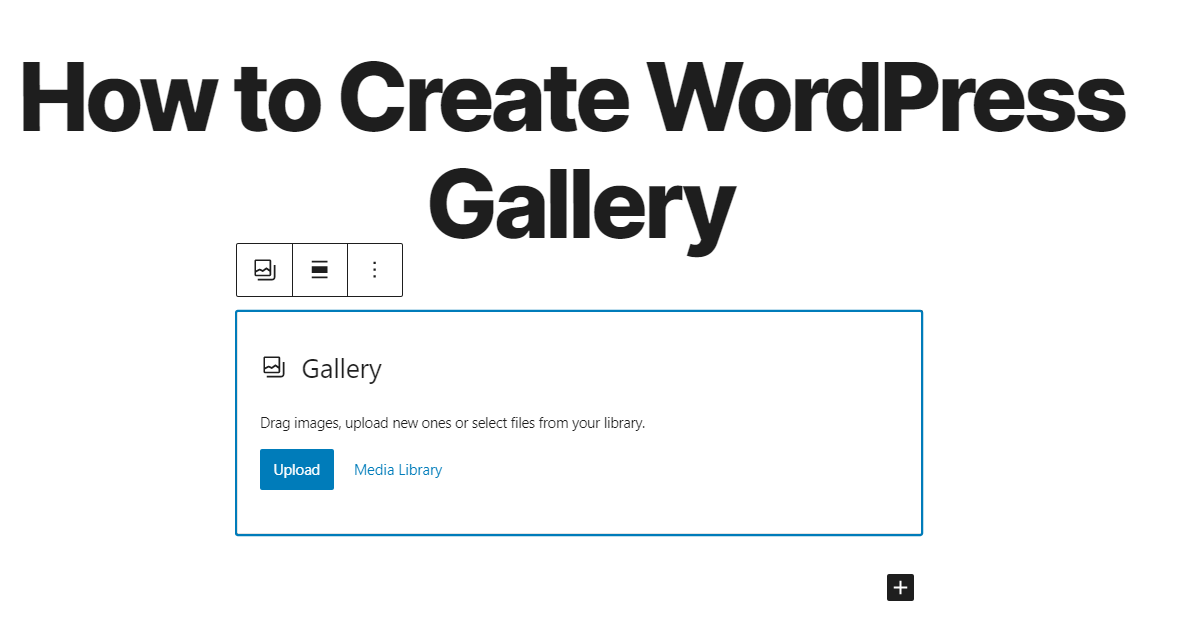
Here you can choose to upload files from your local or from existing files in your Media Library.
Let’s say we’ve uploaded files to the Media Library and now just create a gallery.
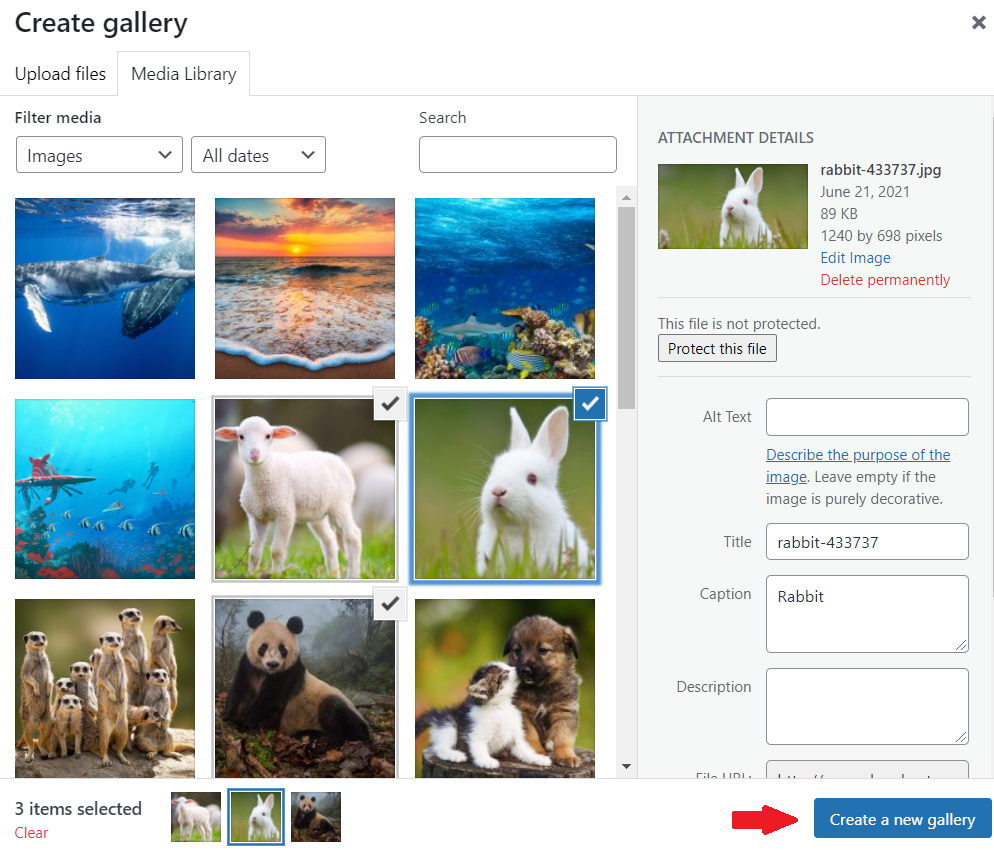
A new popup displays where you can add captions as well as reordering images. Once you’re done, press the Insert gallery button.

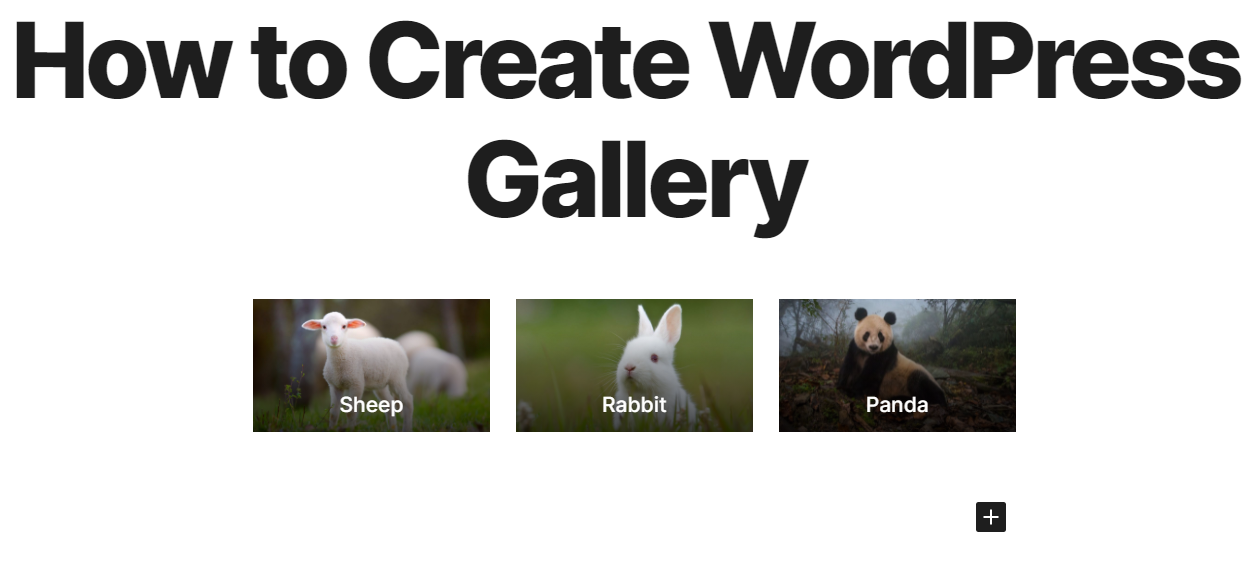
That’s it! This is how your gallery displays in your content. It’s much more user-friendly, isn’t it?
While WordPress’s built-in function already permits you to create a gallery via its editors, it doesn’t give you a lot of capabilities to customize your gallery.
Not to mention that your created gallery won’t be saved. It means you have to create a new gallery every time. So far, WordPress’s built-in function just does the job!
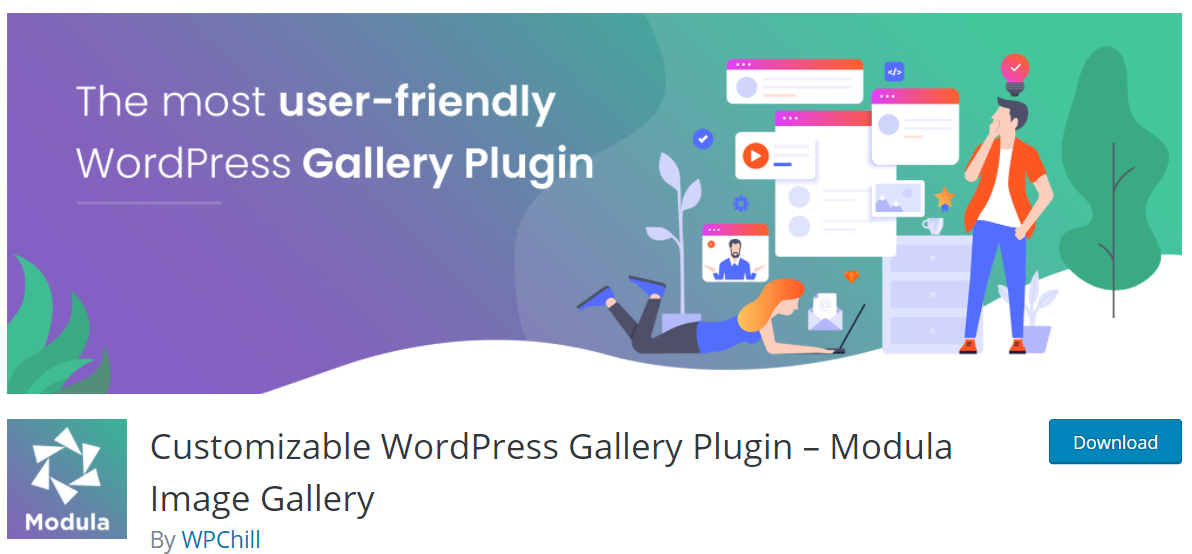
That’s why in the next session, we would like to introduce a powerful plugin named Modula, which allows you more functionalities to create and customize your gallery.
The most important thing, the plugin is totally free.
Create Tunning WordPress Gallery Using Modula Lite Plugin
Step 1: Install and Activate Modula Lite Plugin.
This plugin can be easily downloaded on the WordPress directory.
All you need to do include logging into the admin dashboard > clicking Plugins > Add New, then searching for Modula in the keyword box.
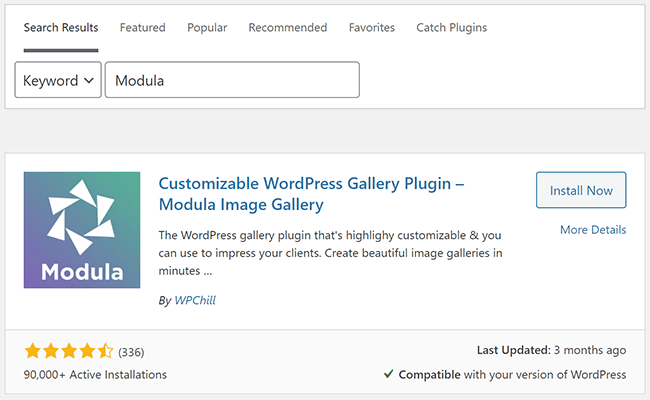
Next, hit Install Now then Activate.
Now, the Modula Lite plugin is ready on your WordPress site.
Step 2: Create a New Photo Gallery
Once the plugin is activated, it’s time to create your own gallery. Simply go to Modula > Galleries in your admin navigation menu then click Add New.
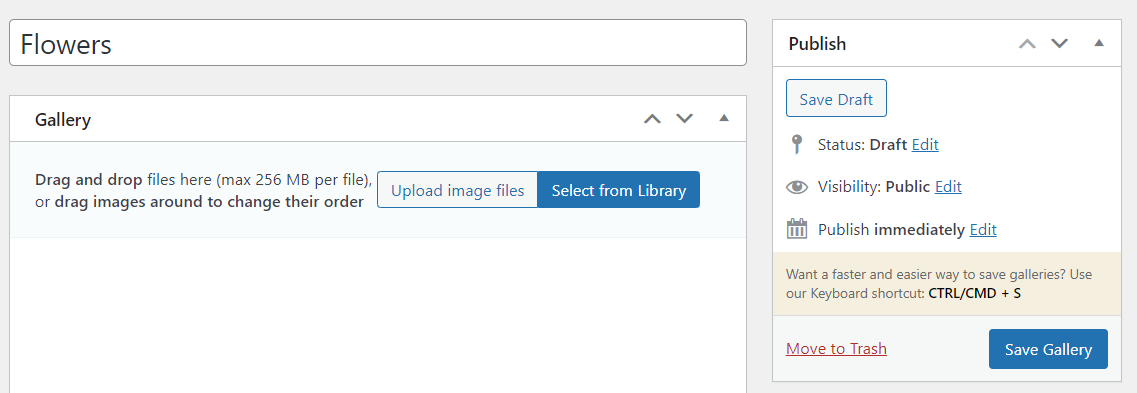
After that, you’ll be taken to a new screen where you can upload your images and create your first gallery.
Here, you need to add the title of your new gallery.
Step 3: Upload Images to Your Created Gallery
Same as WordPress’s built-in function, the Modula plugin offers your 2 options to upload your images. You can choose either selecting existing images in your Media Library or upload new ones from your local device.
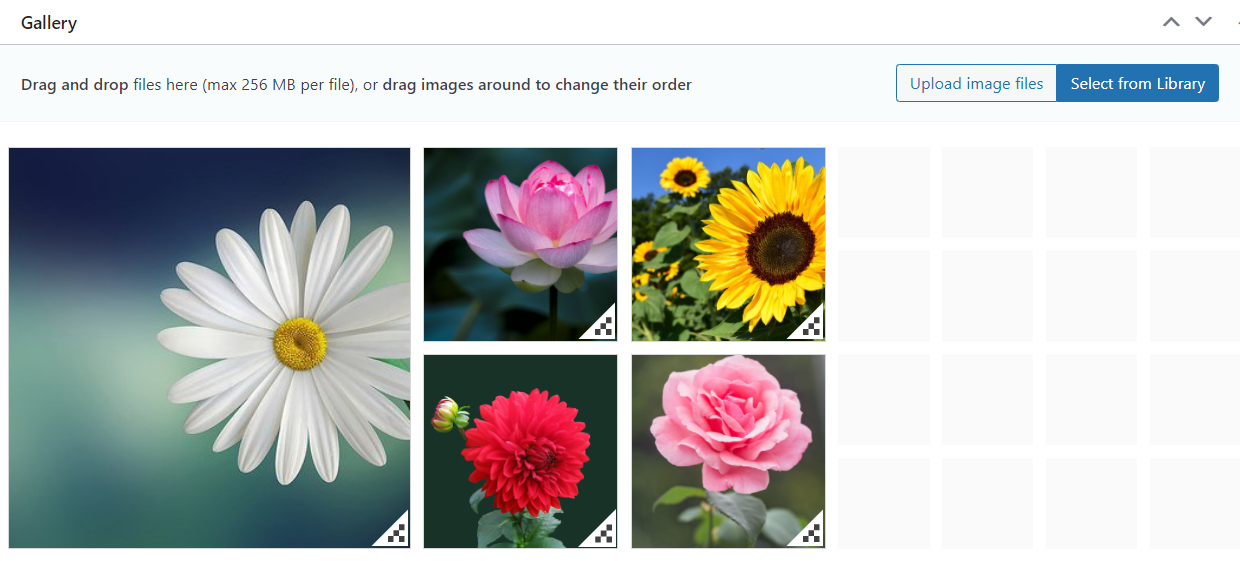
Once uploaded, your images will appear in the gallery editor. Here, you can drop-and-drag to move images’ positions to your liking.
If you want to delete one, simply hover in that image and click on the trash can icon.
It’s really simple, isn’t it?
Step 4: Customize Your Gallery
Next, scroll down the page to edit the gallery settings.
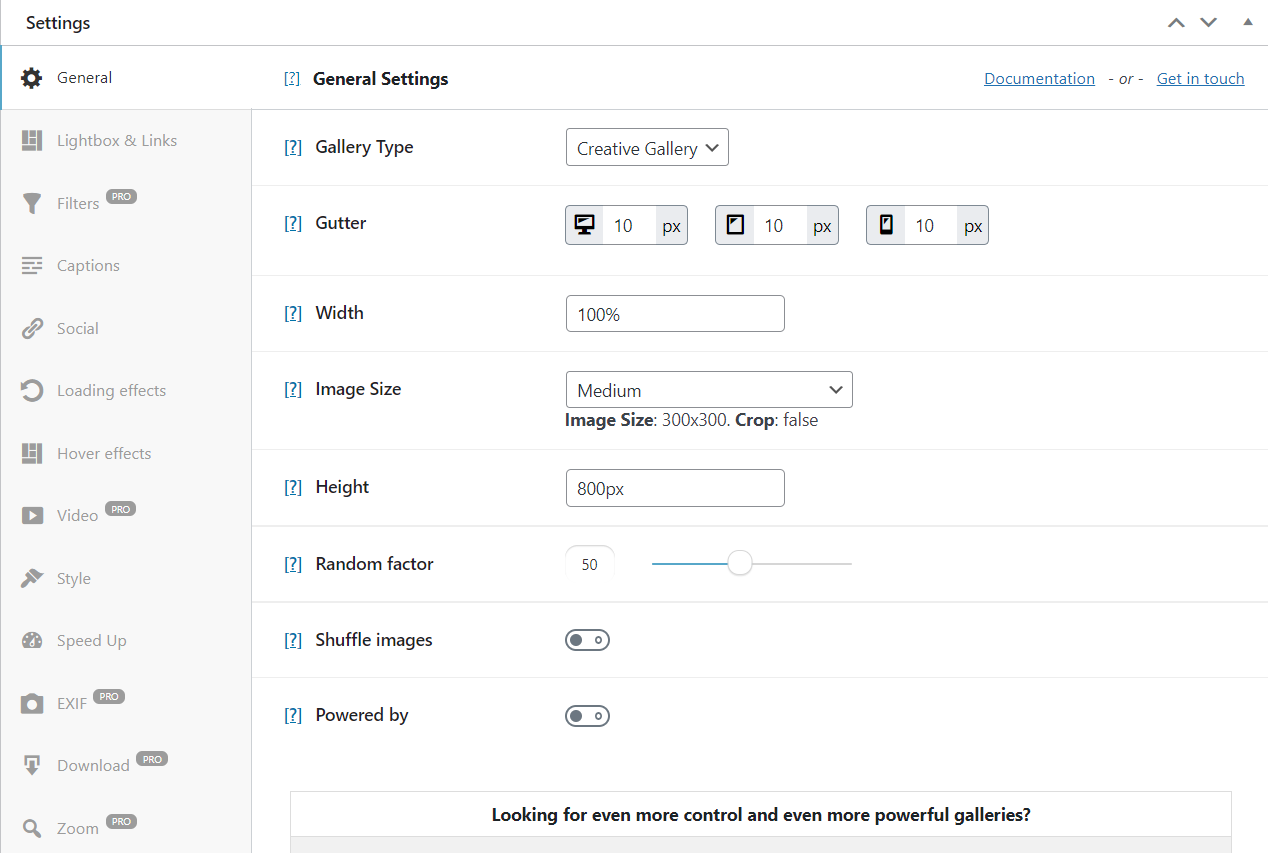
There are various things for you to play with the plugin:
-
-
-
- General – Edit the appearance and style of the photo gallery.
- Lightbox & Links – Decide to open images in lightbox galleries and directly link to each image. This feature makes the plugin outstanding from the WordPress built-in function since users don’t have to leave the current page to view your images in the gallery.
- Caption – Change the font, size, and color of each image’s caption.
- Social – Enable social sharing icons to allow visitors to share your work.
- Loading effects – Generate effects on images that are loading.
- Hover effects – Change cursor appearance and add effects when hovering over an image.
Style – Edit border and shadow settings. - Speed Up – Lazy load images in the gallery.
- Custom CSS – Customize the photo gallery your way using CSS.
-
-
The Custom Grid option in the Gallery Type drop-down impresses users by allowing you to easily adjust the size and aspect ratio of each individual image.
Once you’re done with the settings, remember to click on Save Gallery.
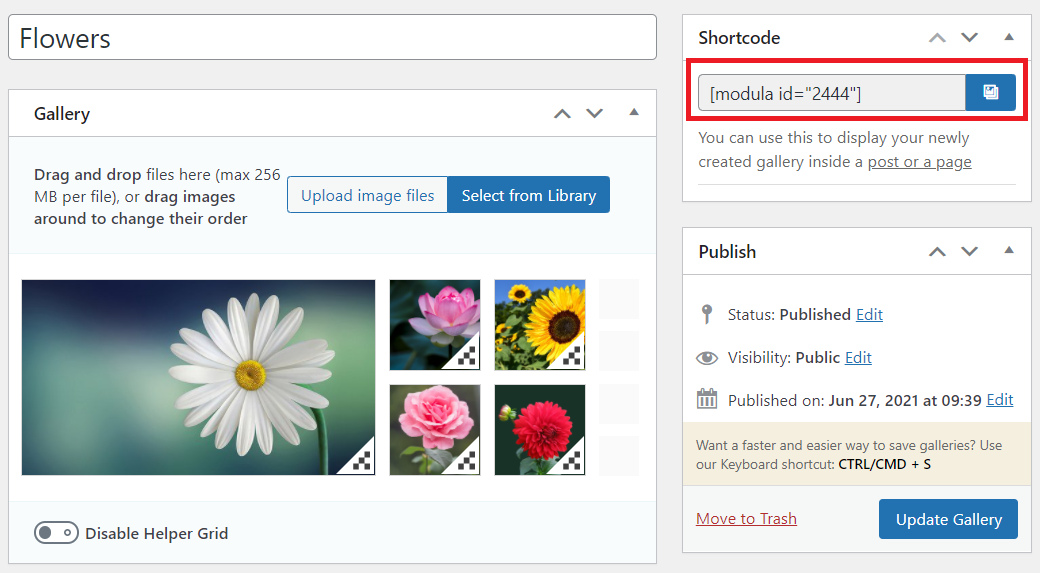
Step 5: Showcase Your Gallery in the Content
To add your photo gallery to your WordPress website content, just cut and paste the shortcode where you want it to display. Or, if you want to use the Gutenberg block, you can do that too, right inside of a post or page.
On the front end of your website, this is what your image gallery might look like:
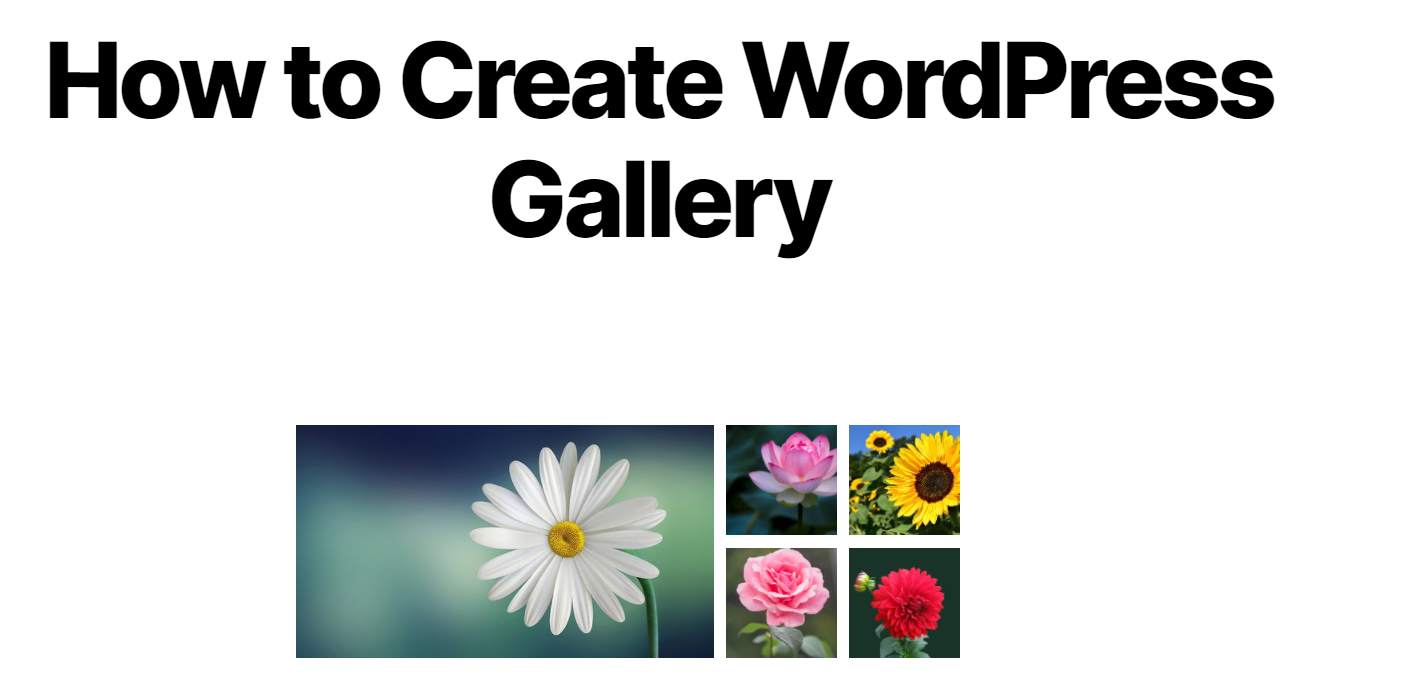
That’s it!
Wrapping Up
We’ve shown you how to create attractive galleries for your WordPress site.
If you just need to create simple galleries only, the WordPress built-in function can do the job.
In case you require more customization options, download the Modula Lite plugin and let it handle the hassle.
Never miss the chance to make a good first impression with your customers!
