Not all websites are intended for everyone. If your business is selling wine, an age verification on your website is no doubt essential. This layer not only informs users about the age requirement for such sensitive products but also forces them to confirm eligibility for access to your content.
This method is similar to the cookies consent popup. The biggest difference is that you can apply the confirm message full-screen to hide your content. As a result, users are forced to take action before seeing it.
Since WordPress doesn’t include any built-in age verification functions to help you handle that, you’ll need the help of some plugins. In this article, we’ll go you through with Elementor – one of the most powerful page builders which gives you various options to customize your website.
Now, let’s jump in 2 methods to add age verification using Elementor.
- Add Age Verification to Your WordPress Site With Elementor Pro
- Add Age Verification With Elementor Free and Elfsight
Add Age Verification to Your WordPress Site With Elementor Pro
You’ll need Elementor Pro to create slide-in popups for an age-gate purpose.
Here is a step-by-step guide.
Step 1: Create Popup
Navigate to Dashboard > Templates > Popups > Add New.
A new screen displays. Name your template here and click Create Template.
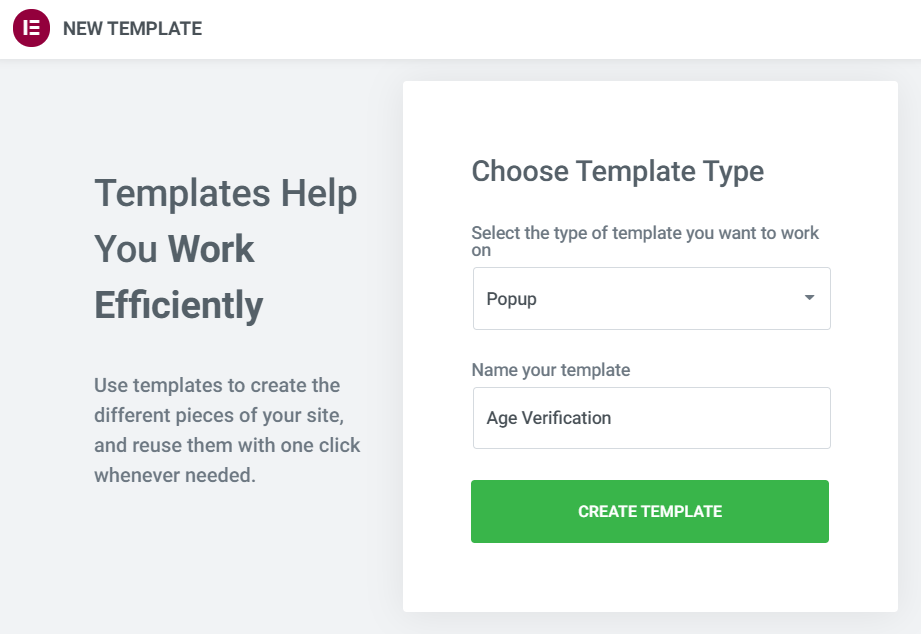
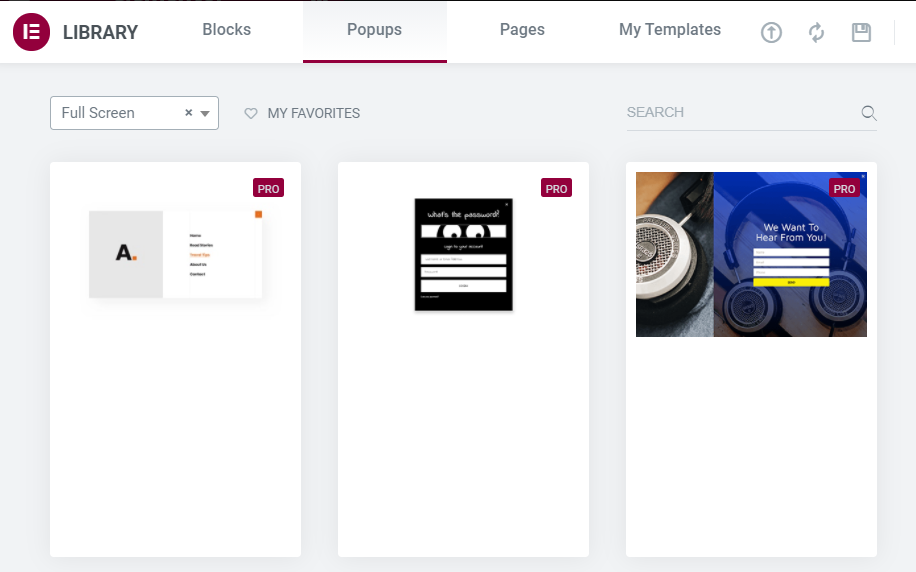
Then, choose a template from the Library or create your own design.
Step 2: Edit Popup Settings
When it comes to Popup settings, there are 3 tabs that you should focus on, i.e. Settings, Content, Style. Each tab provides you with different customization options to make your own popup.
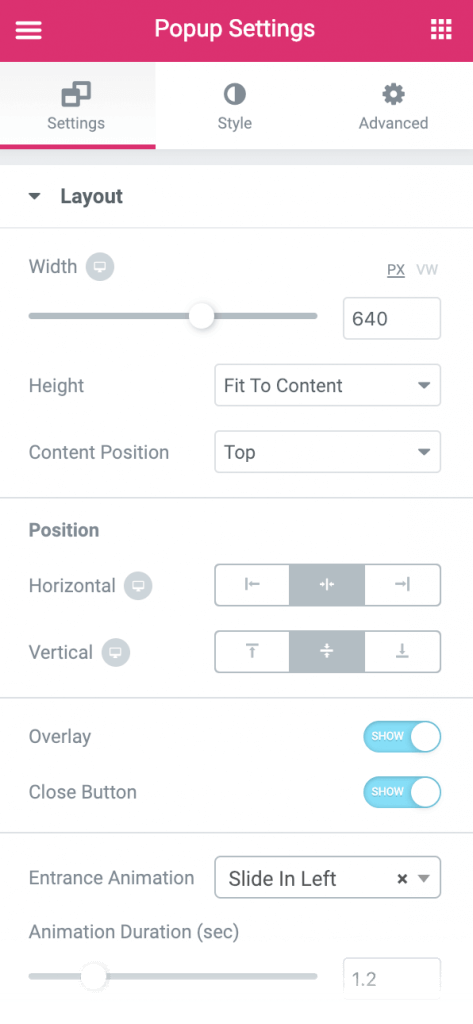
#1 In the Settings tab:
-
-
-
- Set the Horizontal and Vertical position to Center
- Show Overlay
- Hide Close Button
-
-
Set Entrance Animation to Slide In Left
#2 In the Style tab:
Set Overlay to either a solid color or gradient, with no transparency.
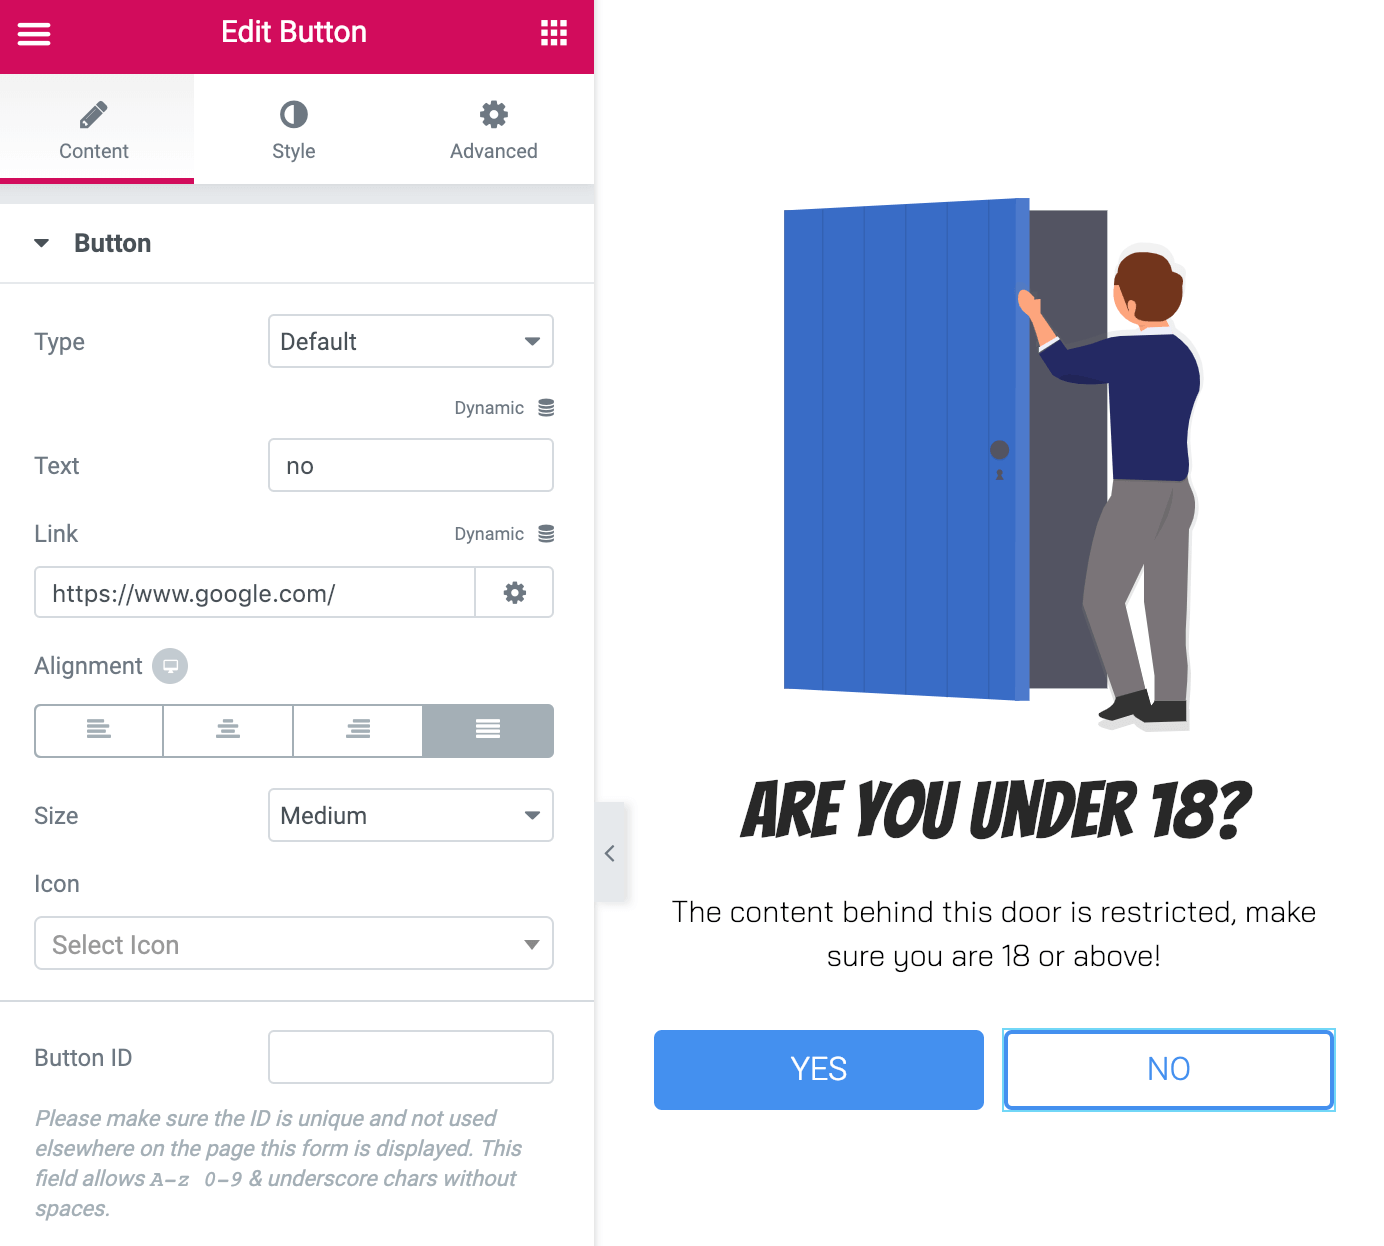
#3 In the Content tab:
Change content as needed. We used YES and NO buttons to either close the popup or redirect the user to another site.
For the YES button, we used the link field to set a Dynamic Popup Action to Close Popup.
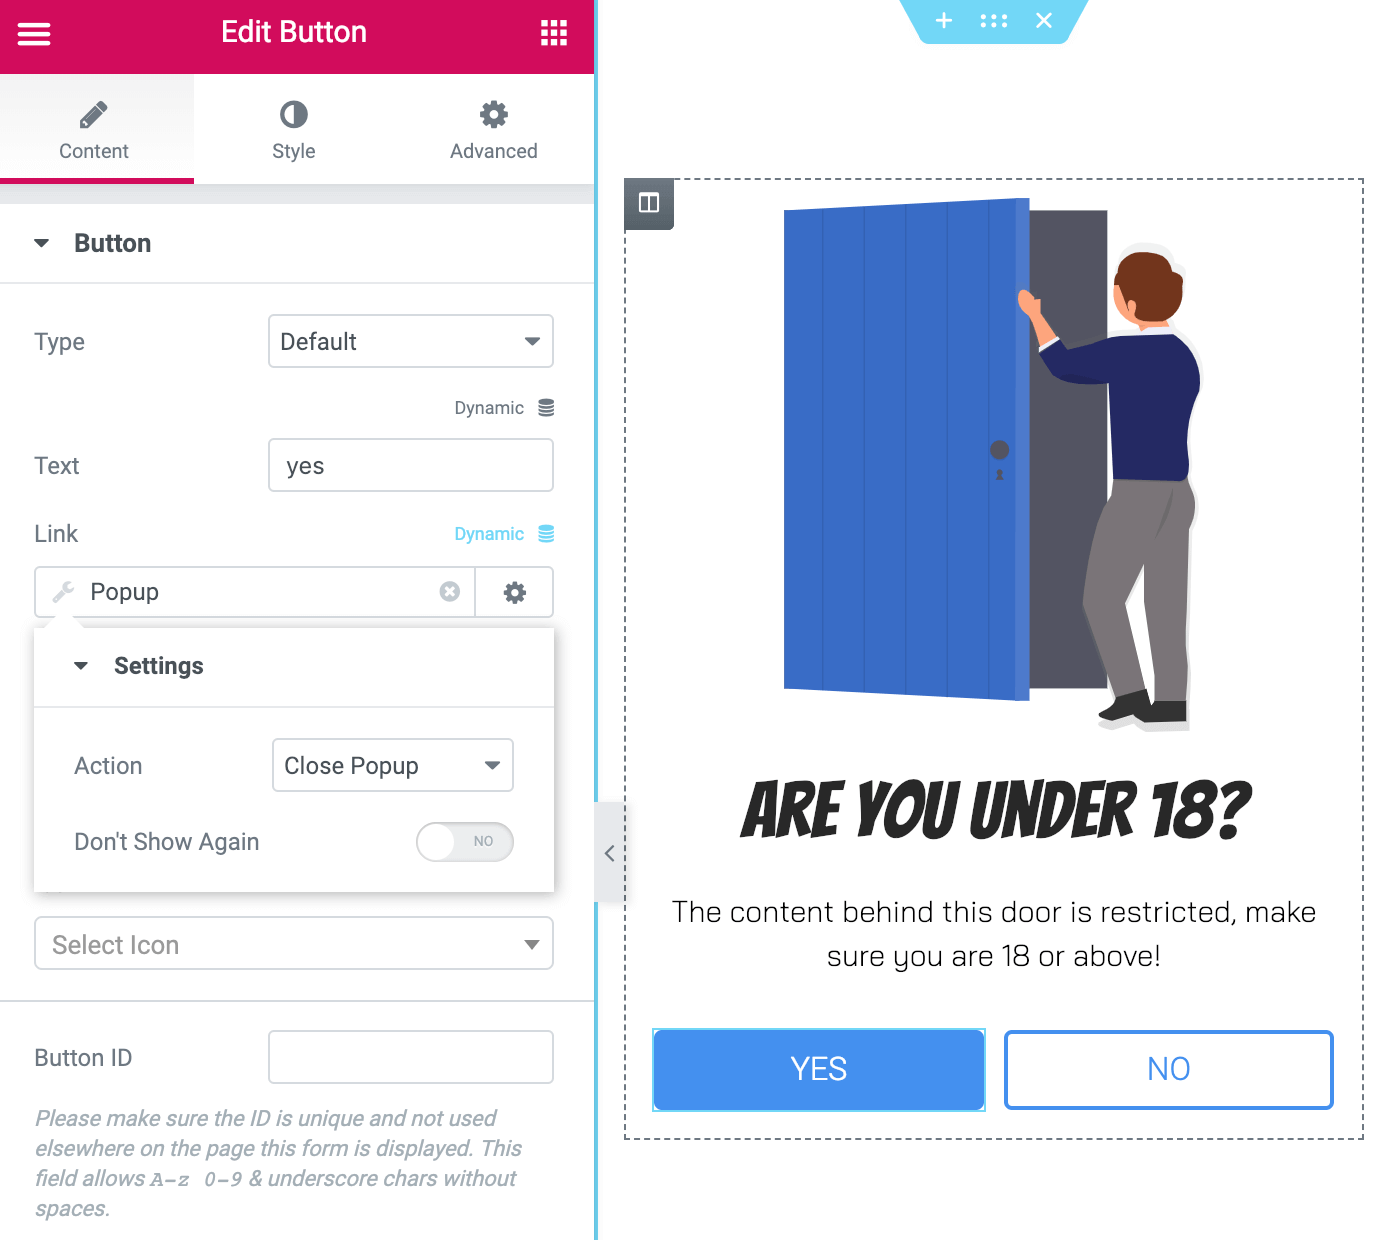
For the NO button, we set a link to Google, so the user will be sent away from our site.
Once done, click Next to move to the following step.
Step 3: Adjust Publish Settings
In this step, you’ll be able to determine where, when, and how your age verification pops up on your sites.
Elementor Pro provides 3 tabs for you to customize these kinds of information.
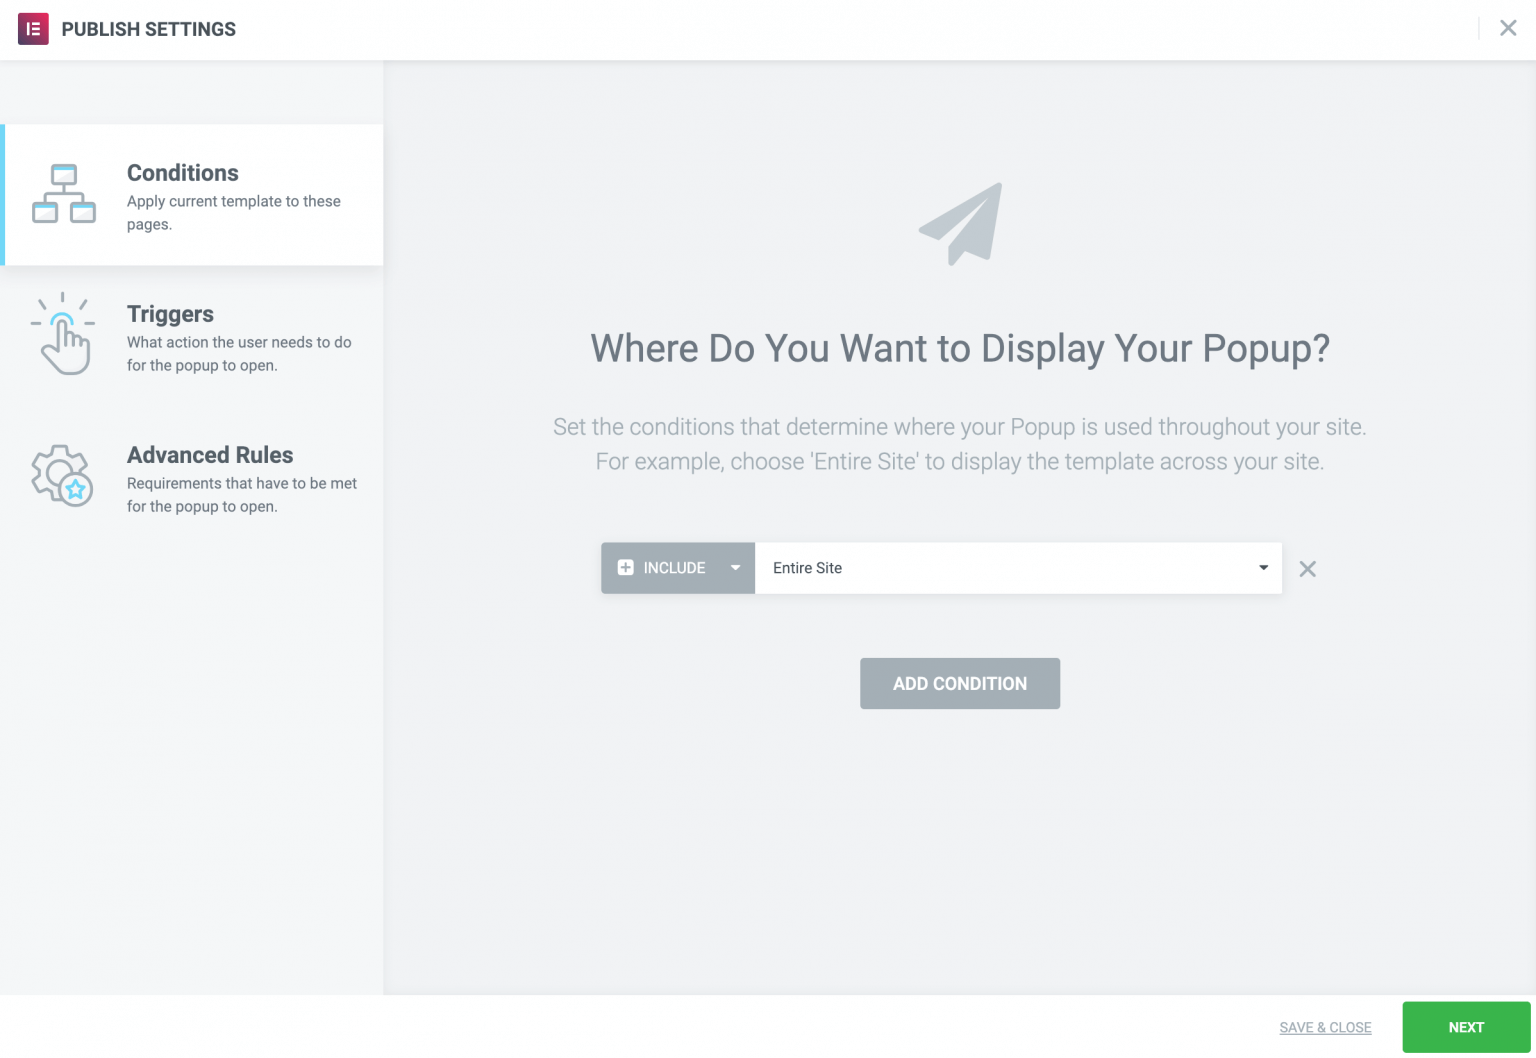
#1 Conditions: where to popup.
Typical conditions might be to the only pop up on the front page, or to pop up on every page of the entire site, or to the only pop up on a specific category or tag, etc.
#2 Triggers: when to display based on user-specific actions.
This tab used to define specific actions users take that will automatically generate a popup.
Typical triggers include when a user scrolls, clicks, intends to exit the page, or when their interaction with the page turns out for a period of time.

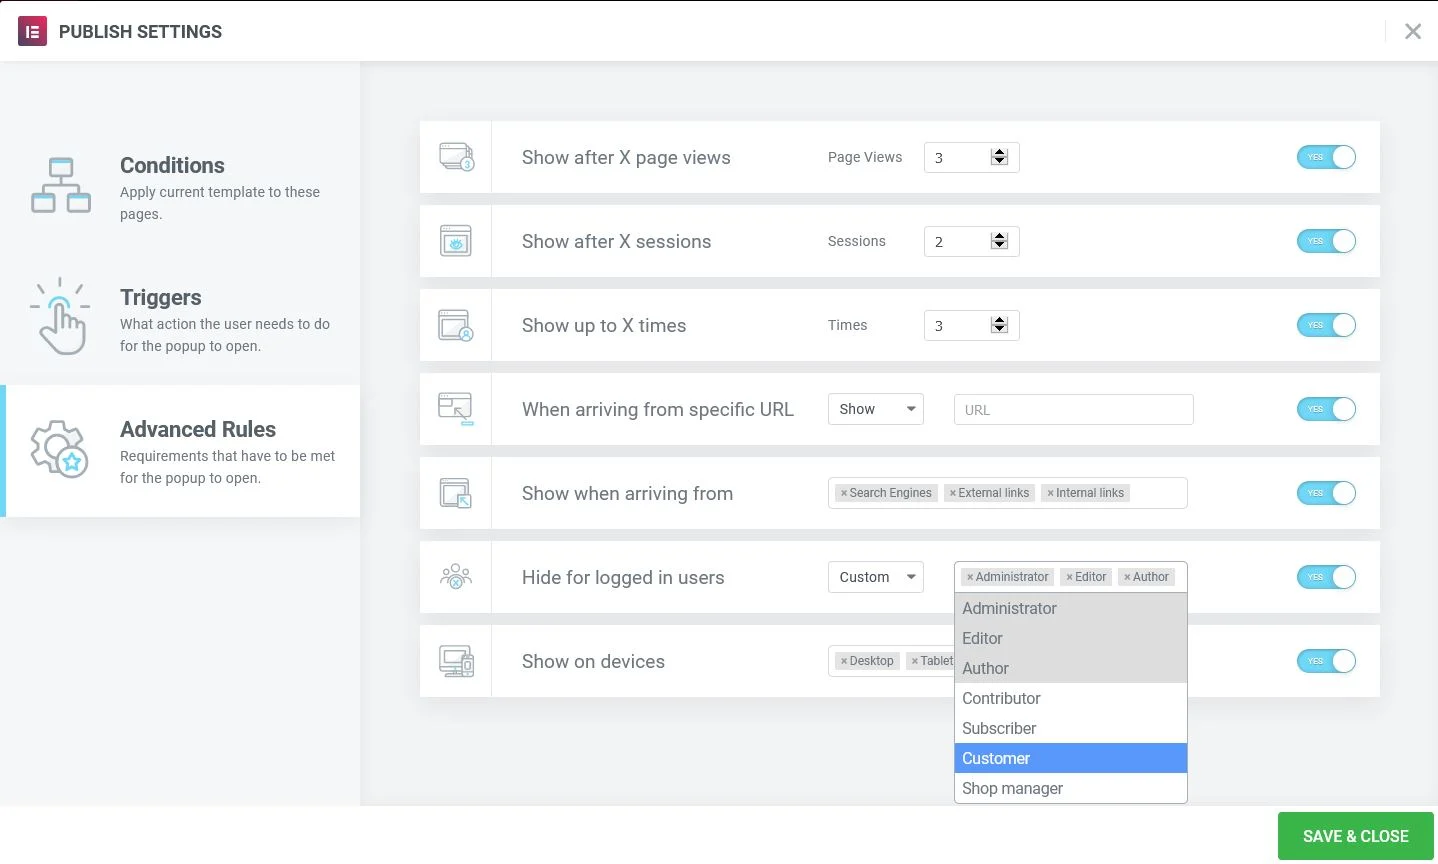
#3 Advanced rules: when to popup based on non-user-specific actions.
This tab specifies other requirements that must be met to generate a popup. Typical advanced rules include popping up after a certain number of visits, when arriving from a particular URL, or only on specific devices.
Once you’re done, click the Save & Close button to apply your settings.
As a result, the age verification popup has been added to your website.
Now, let’s move on to the next method, which is totally free for basic age verification purposes.
Add Age Verification With Elementor Free and Elfsight
In this section, we’ll guide you on how to create a customized age verification without paying any fee.
To do that, the Elementor Free version and Elfsight are all you need.
The process of adding age verification with Elementor Free and Elfsight takes place in 2 steps.
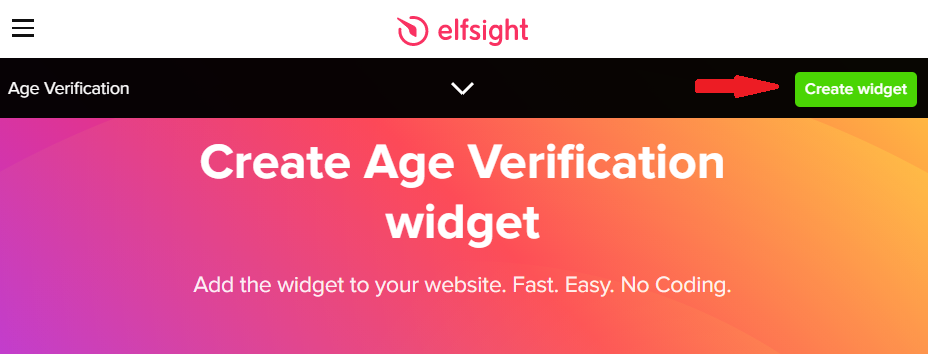
Step 1: Create Widget with Elfsight
Access to Elfsight website, in the top right corner, choose Create widget.
A new screen with a widget demo will show to you.

Choose your desired template and click Continue with this template.
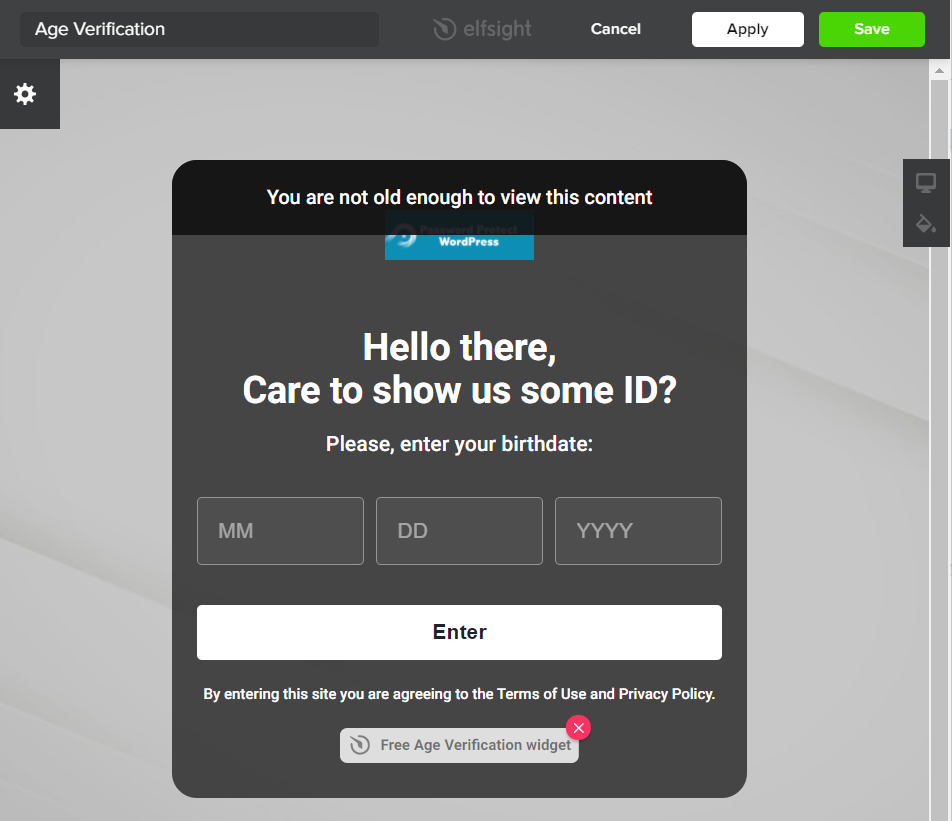
A new screen displays. Here, you can customize your age verification message.
#1 In the Settings tab:
-
-
- The minimum age: users of this age can access your content.
- Verification method: Date of Birth, Year of Birth, or Yes/No Buttons.
- Date format
- Remember visitor: something like cookies
- Underage action: you can key in the message that will show to your users when they’re underage or redirect them to a page.
- Where to display: choose to display the age verification on all pages, or specific pages.
-
#2 In the Content tab: adjust the content which will be presented in your age verification pop-up.
This tab enables you to edit the message, the caption, the submit button text, the additional info, and change the logo.
#3 In the Style tab, you can customize:
-
-
- The background image
- Align
- Shape
- Color
- Fonts
- Custom CSS
-
Once you’re done, click JOIN TO INSTALL button.
A new window will display asking you to sign up for the Elfsight.
Once successfully signed up, it will redirect you back to the widget setting page.
In the top right corner, click Save.
After that, you’ll be redirected to the page with a list of your available widgets.
In the widget line that you intend to use, click Add to website. A popup will appear.

Copy the code snippets in the code field.
Step 2: Add Age Verification Widget to Elementor
Logging into your WordPress dashboard.
Navigate to any pages or posts, for example, Homepage > Edit with Elementor.
In the Elementor editing page, searching for HTML.
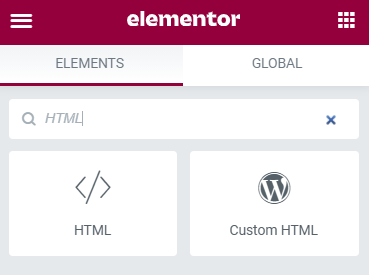
Pull and drop the HTML icon to anywhere on the page that you want to implement the age verification.
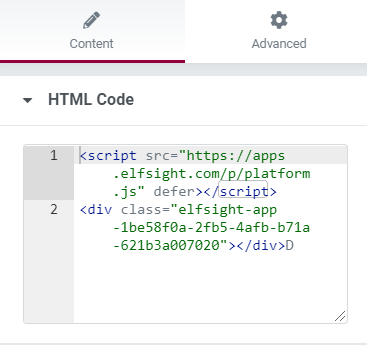
Once you’re done, insert the copied code into the HTML Code.
The age verification on your homepage will look like this:
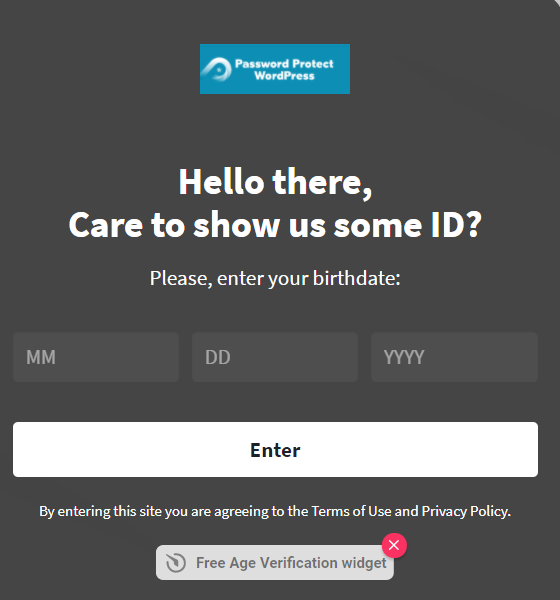
Remember to press Update to save your settings.
Now! Let’s go to the front end and see how it works.
Such a free and easy method, isn’t it?
Utilize Age Verification with Elementor Now!
Including age verification comes in handy if your sites offer adult content or cover topics like alcohol or gambling. It allows you to control who can see and make use of your hiding content.
We have walked you through comprehensive guides on how to add age verification to WordPress using Elementor. You can also create age verification messages with Elementor free version and Elfsight.
If you get stuck on any steps above, please let us know in the comment section below! Adding age verification is nothing easier with our detailed guidance.
Set an age verification for your website now!
