To hold your WooCommerce products together and in order, the WooCommerce category is the best choice. The category is a method to arrange your products in such a convenient way so that your customers can find their desired products without hassle.
Imagine if you don’t organize your store efficiently, you’re challenging your customers to search for their products among numerous items. Without a doubt, your selling revenue will drop down significantly. No one wants to spend their time on such a mess, especially when there are many available competitors out there. We bet you know it!
The best practice for this is to create WooCommerce categories in an organized way so that all products are located in the right and easy-to-find place.
At this point raise a question: if there is any way that helps you get this task done quickly instead of creating single categories?
The answer is yes. There are a lot of plugins out there that provide you with the function to import WooCommerce categories. All you need is to create a categories tree and import all of them to your WooCommerce site.
Among them, we’ve picked out the best plugin that gives you a user-friendly interface to introduce in this article.
Let’s check it out in the section below!
Categories, Tags, Product Attributes, Taxonomies Spreadsheet plugin by WP Sheet Editor
Known as the expert in the importing and exporting field, WP Sheet Editor provides you with many plugins to download or upload information in bulk easily. Among them, Categories, Tags, Product Attributes, Taxonomies Spreadsheet plugin is developed especially for WooCommerce categories.
Let’s say you have a CSV file containing all your categories’ information and you have made some changes to your categories and want to upload them, this plugin is a lifesaver.
How does this plugin work?
Let’s see it in action!
Step 1: Prepare the File for Importing
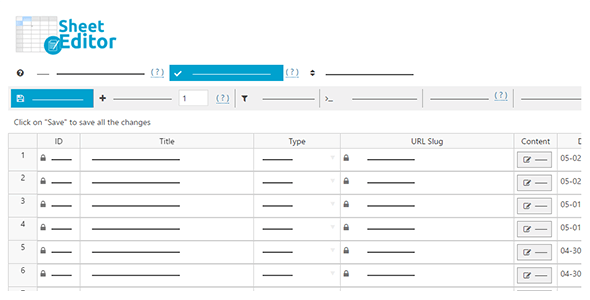
First thing first, you should organize your data in a CSV file, including categories details, e.g. category descriptions, URL slugs, category names, category images, etc.
After making the changes you wish, save changes to the CSV file, and you can import it to WP Sheet Editor.
Step 2: Import Your WooCommerce Categories to WP Sheet Editor
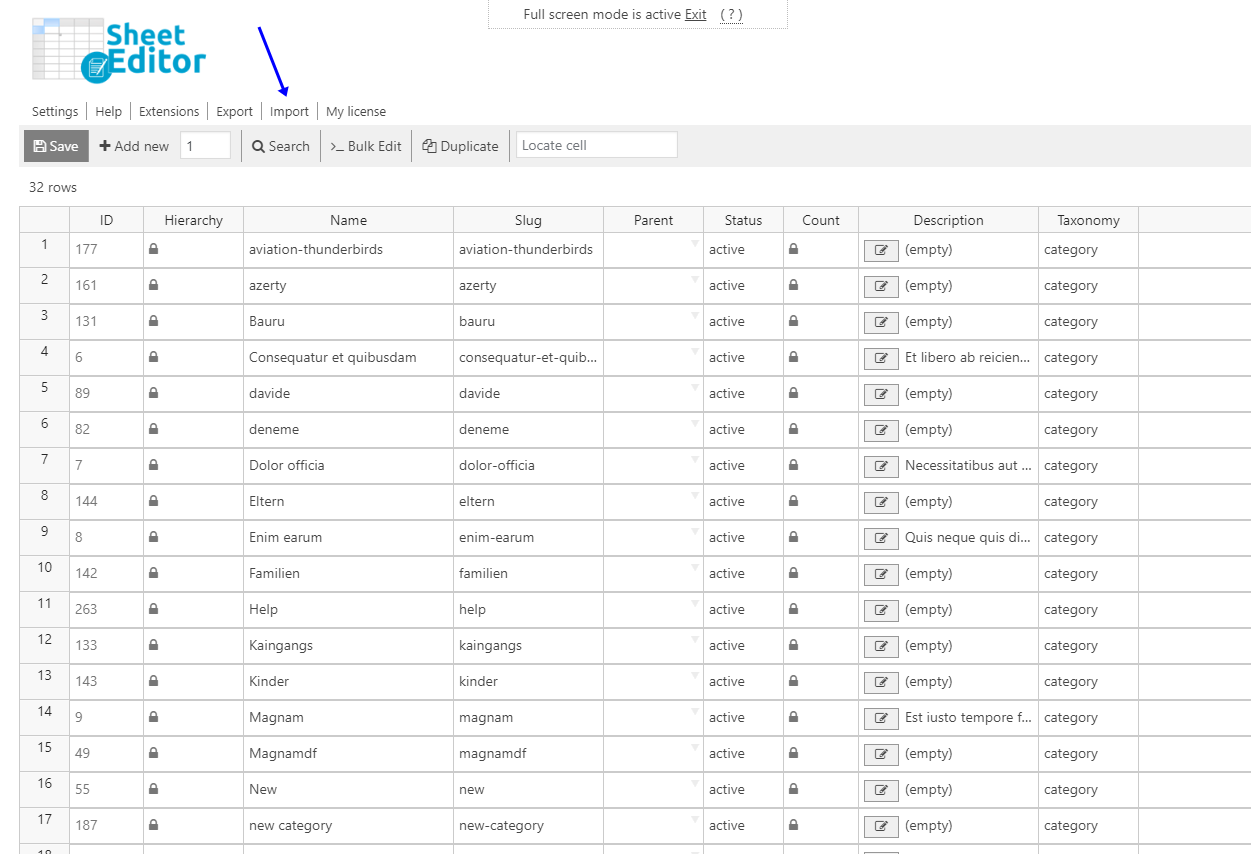
To start importing, simply click on the plugin’s Import tool, located on the plugin’s top toolbar.
A pop-up will display. Here, you need to select these values:
- Source: CSV file from my computer
- CSV file: click to choose elect file
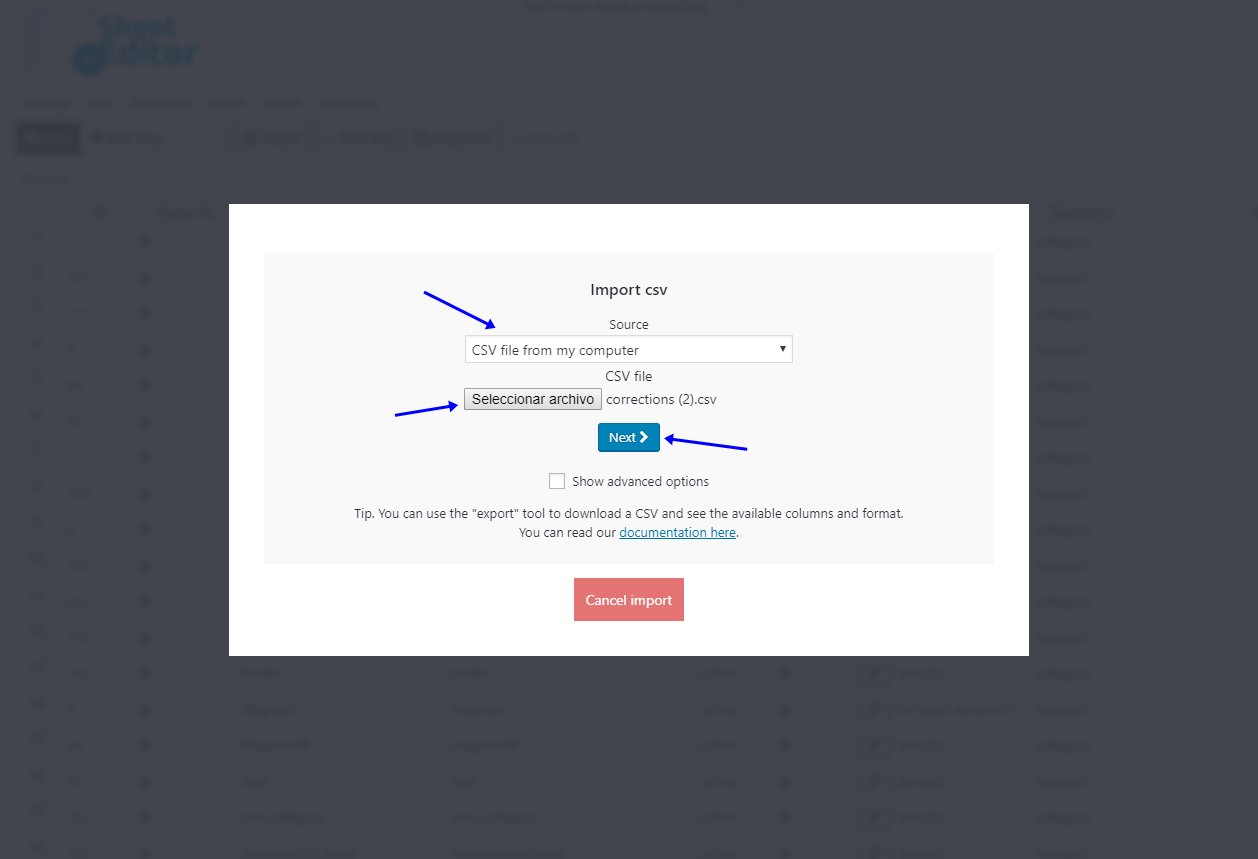
Once you’re done, click on the Next button. It’ll lead you to another pop-up.
Here, click on Import all the columns.
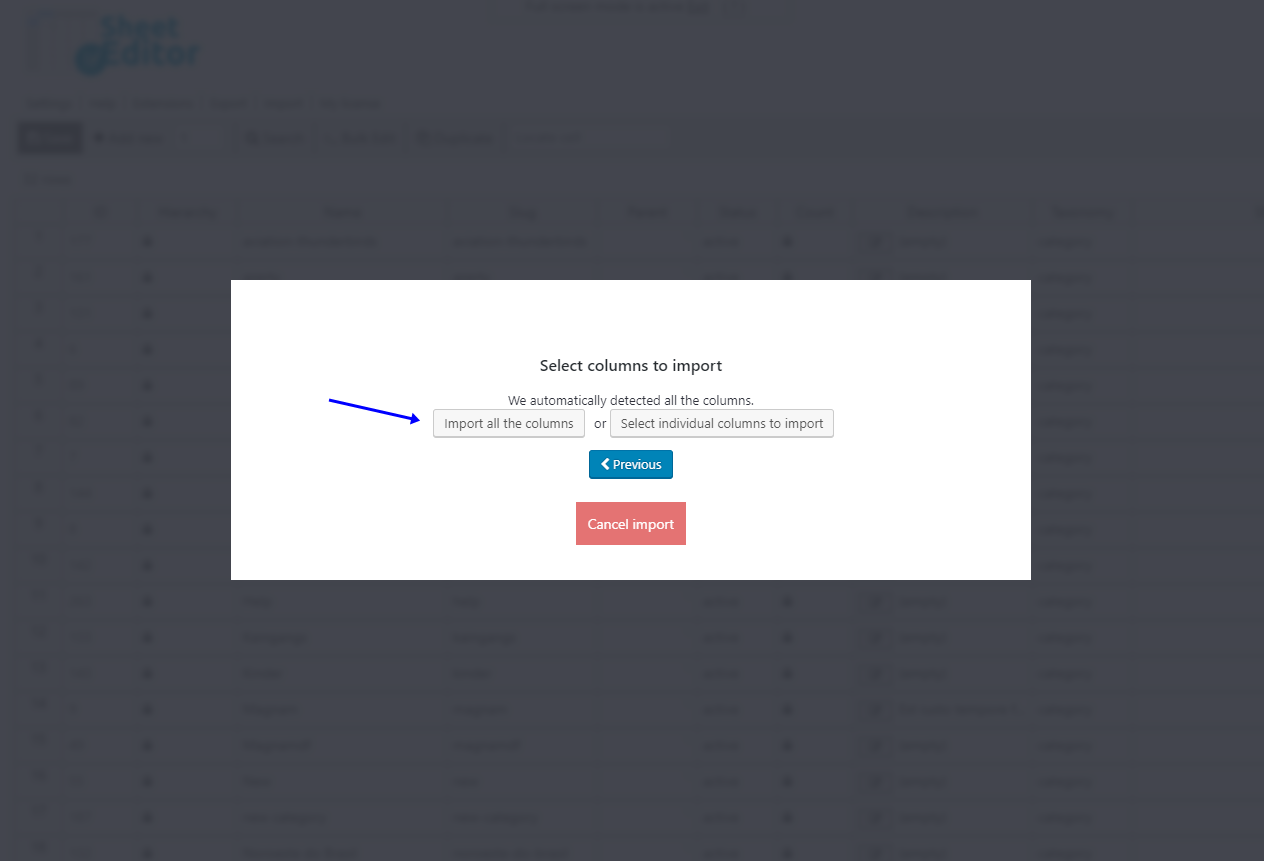
Finally, after reviewing your file, click on The preview is fine, start import.
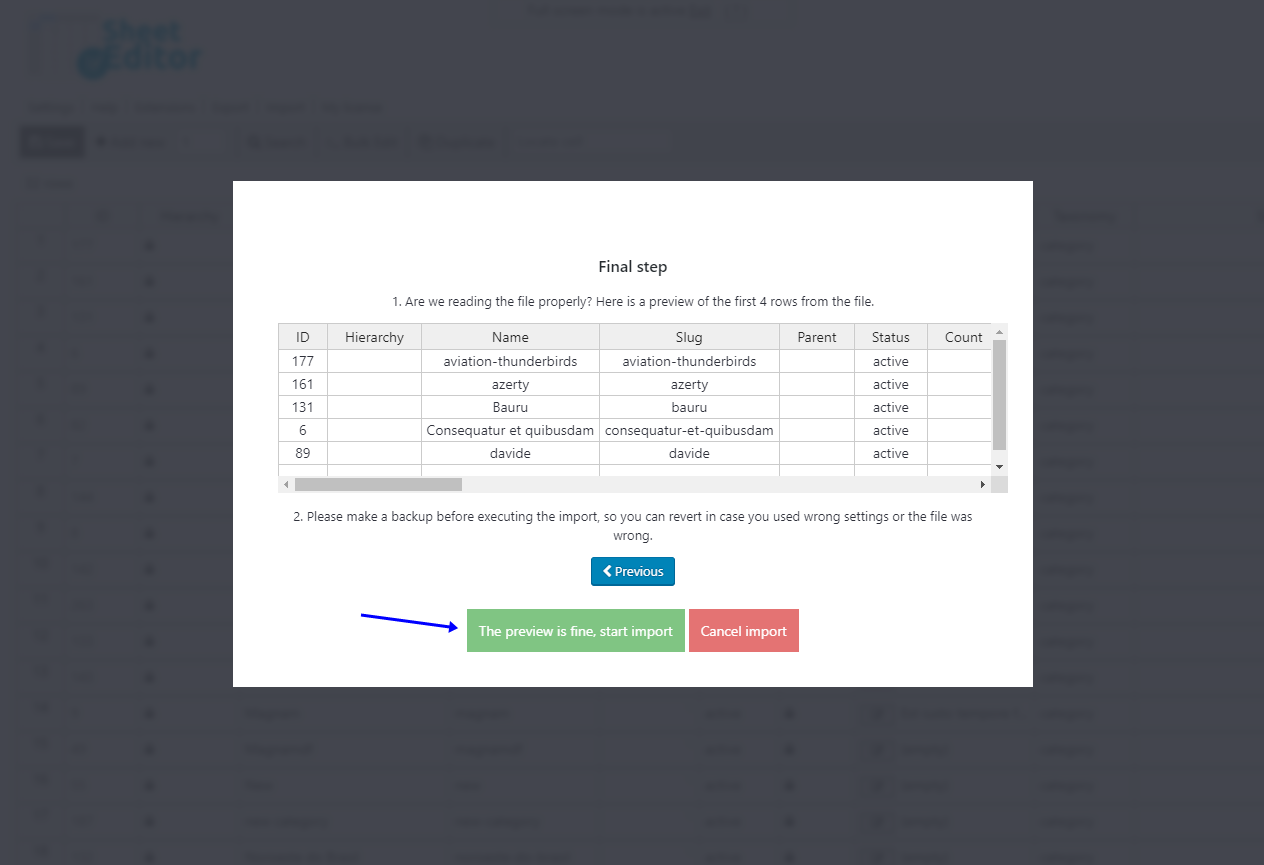
You’re done!
Your WooCommerce category is successfully imported to your store.
It’s such a breeze, isn’t it?
Password Protect Your WooCommerce Categories
There comes a time when you don’t want to publicize your WooCommerce categories. You just intend to allow some specific customers to purchase listed products from your shop page.
At this point, you’ll need a method that specializes in securing your specific categories. Among several solutions out there, the PPWP Pro plugin and its Access Levels extension are worth your consideration. These plugins prove efficient in protecting your products against public eyes, which use passwords to protect the entire product categories, then set different access levels for the content.
To do so, simply follow the step-to-step guide as below:
Step 1: Create a Base
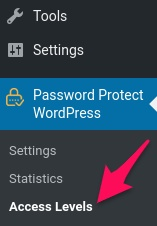
Once you get the PPWP Pro and its Access Levels extension, simply navigate to Password Protect WordPress > Access Levels to start setting things up.
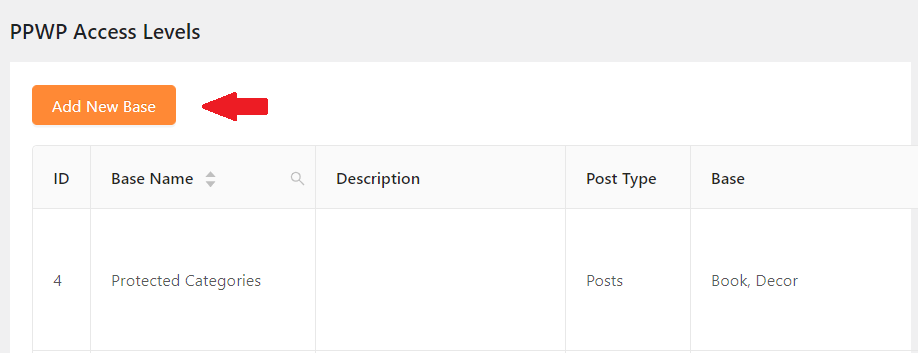
A new screen displays. Here, click on the Add New Base button.
A pop-up will appear where you can give your base a name and a description.
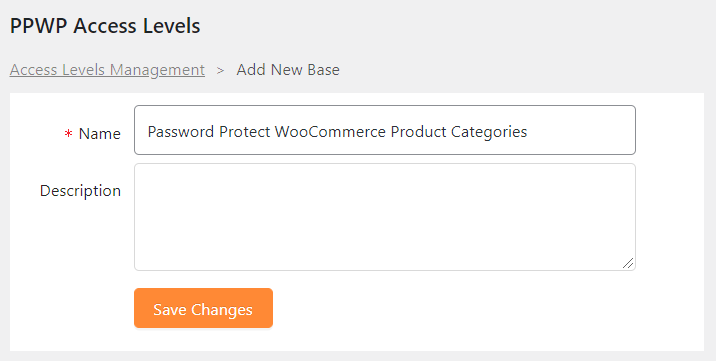
Click on Save Changes when you’re done.
Step 2: Add WooCommerce Product Categories to Created Base
Once a base is created, it’ll bring you back to a list of created bases. Here, click on the Edit Levels, which is in the same row as the base you want to edit.
Here, you can choose the WooCommerce categories that you want to protect.
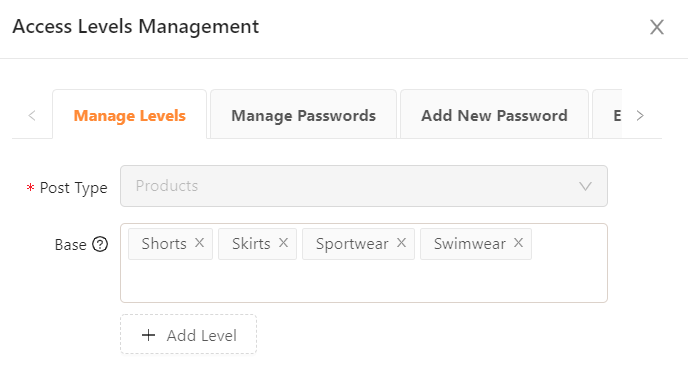
You can also set them by levels. It means categories under a specific level will be unlocked by a password in the same or higher levels.

Step 3: Add Passwords to Unlock Protected WooCommerce Categories
Once you’re done setting a base, switch to the Add New Password tab to create passwords to unlock your category.
Here, you can set the usage limit as well as password expiry.

All generated passwords will be displayed under the Manage Passwords tab, where you can edit or even delete them.
That’s it!
Now your selected WooCommerce categories are being hidden under a password form. Only authorized customers with the correct password can access and purchase your products.
Let’s Use the Introduced to Import WooCommerce Categories!
We’ve walked you through how to import WooCommerce categories into your shop page using the Categories, Tags, Product Attributes, Taxonomies Spreadsheet plugin developed by WPSheet Editor.
Though it looks like a cakewalk, do remember to back up your data before doing anything. Just in case something goes wrong during the implementation process, you can restore the data quickly.
If you’d like to protect your imported WooCommerce categories with passwords so that only unauthorized customers can make purchases, consider using the PPWP Pro plugins and its Access Levels extension.
Want to know more about that feature? Check out our article here!
