Make the most of your business proposals
Business proposals are often considered the key step to help you get closer to closing the deal with your customers. So it’s important that you know how to create effective and interesting proposals to attract and better persuade your clients.
Regardless of what industry you’re in, you must be tired of spending a lot of time creating and sending your proposals to all prospects using traditional ways.
Instead of sending lots of PDF files, it’d be much more time-efficient for you to let your clients access the customized proposals from a live website with images, videos and all. Not only will you differentiate your business from the rest but you can also entice your customers to make the purchase more quickly.
Create Custom Proposals
There are many ways to make the most of your business proposals in the digital world. Start by creating a special template for your proposals using WordPress – one of the most user-friendly applications in the market.
If you don’t know where to begin, fortunately we’re here to help. Simply follow these steps to shorten your road to success.
1. Create custom proposals
First, you can start with creating custom post types for your business proposals.
2. Set up ACF fields for your proposals
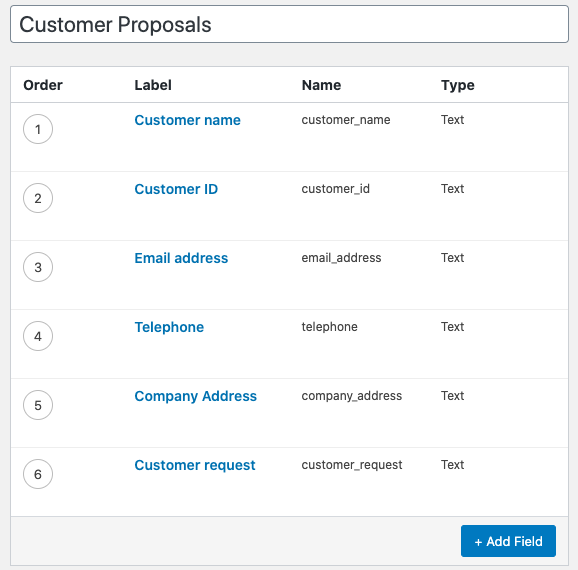
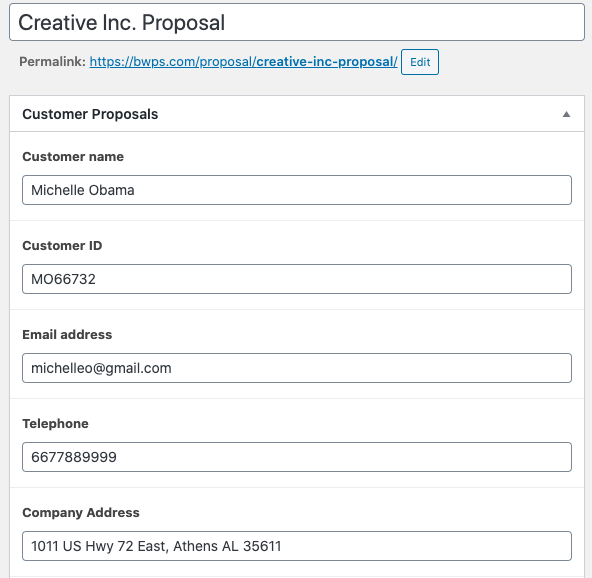
Since each client and their proposals should be unique, you will need to create Advanced Custom Fields (ACF) with all the required information, such as customer name, email, telephone, and more.
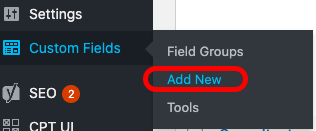
Under WordPress settings, you will see the Custom Fields tab, click Add New.
Based on the customer information will be displayed on your proposals, you can add as many fields as you like. See our example below.
Once you created your ACF fields, go ahead and create your Elementor templates.
3. Create Elementor templates
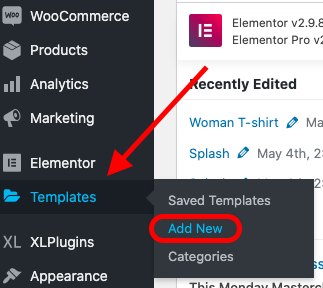
Elementor is very simple and easy to use. Go to Templates right under the Elementor tab and hit Add New.
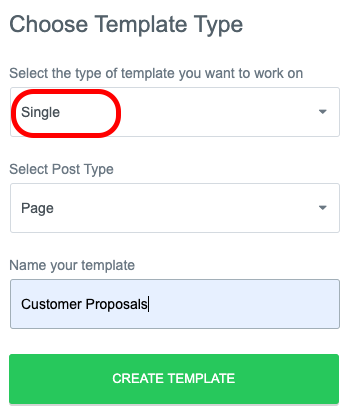
- First, choose Template Type
Select Single type in the popup.
- Next, design your template
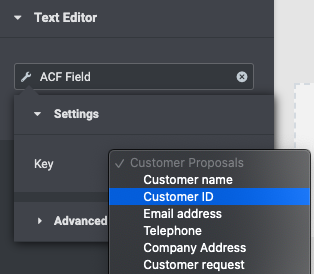
- Link the value to the desired ACF fields
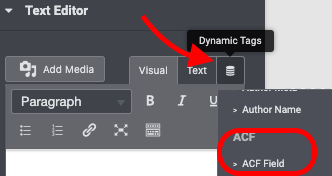
From the Text Editor menu, click on Dynamic Tags to link each value to its ACF field that you’ve created before.
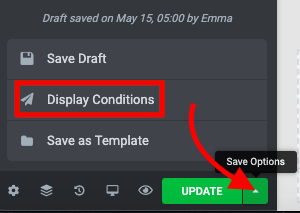
- Set Display Conditions
Once you’re done creating your Elementor template, select Display Conditions under Save Options to add it into your custom proposals, e.g. Business Proposals.
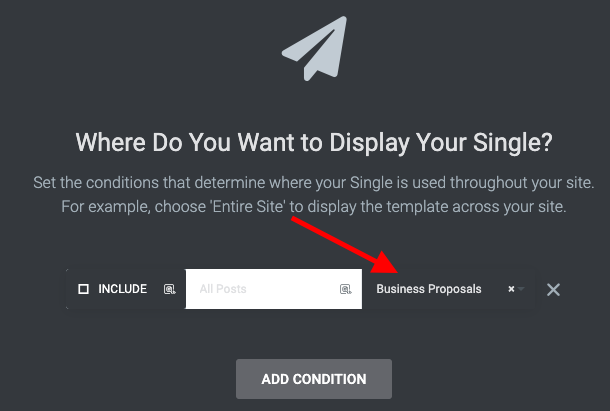
With this setting, new posts created under your custom proposals will automatically use the same template. You only need to change the customer information of each prospect accordingly.
Password protect your custom proposals
Now that you have your beautiful proposals ready, it’s important that they are password protected.
Each proposal contains confidential and private information of your customers as well as your unique quotes. Certainly, you do not want all these sensitive data to be shared publicly. It’s when our Password Protect WordPress (PPWP) Pro plays its part.
With a friendly UI, you can protect your custom proposal with just a single click. Our PPWP Pro then allows you to generate a quick access link for each individual proposal to be sent to its intended customer.
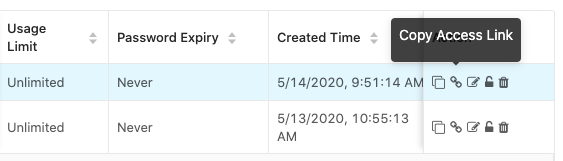
Only those with the links will be able to see the private proposal that you have prepared for them. What’s more, you have total control over setting usage limit and expiry time for your access links.
Get Password Protect WordPress (PPWP) Pro now to secure your valuable business proposals without any hassle.
