Having a staging environment is essential for every WordPress site ower. It gives you a similar place to your live site to do tests without worrying about affecting the main website.
As a WordPress beginner, you might struggle with finding an easy way to have your own testing sites. Don’t worry though. It’s just a cakewalk with our guides today.
In this article, we’ll show you the benefits of WordPress staging environment as we as three simple ways to create one. A powerful PPWP plugin also wraps this post.
Now, let’s explore together!
- What’s a WordPress Staging Site?
- Benefits of WordPress Staging Environment
- 3 Simple Ways to Set Up a WordPress Staging Environment
- Protect WordPress Staging Sites with PPWP Plugin
What’s WordPress Staging Environment?
A WordPress staging environment is a clone of your live site that isn’t available to the public. It gives you a secret area to try out different setup ideas before implementing the best one on your live site.
Staging environment proves a great way to test plugin’s new versions before updating them on your live one. In this way, you can easily measure issues such as potential conflicts without impacting your live site’s performance.
Benefits of WordPress Staging Sites
A WordPress staging site offers a bunch of advantages for business owners:
- Providing an almost alike live environment to test any changes such as adding or removing plugins, adding custom codes, switching themes, and redesigning your site before they are operated on your real website. You can try out new functions without worrying about changing any parts of the site.
- Assisting you in fixing bugs. For instance, you encounter an issue with a plugin installed on your site. Their support team might ask for access to your site. In this case, a cloned website is the best option since troubleshooting directly on the live site is always risky.
- Simplify the web development and designing process. It gives you a chance to experiment or try out everything before.
3 Simple Ways to Set Up a WordPress Staging Environment
There are many methods for you to set up a staging site. However, the following three ways will make your process easier and quicker.
Let’s check out and pick your own way!
#1 Create WordPress Staging Sites Using Web Host
Many hosting providers now provide an option to create staging sites at no time like Bluehost, SiteGround, Kinsta, Flywheel, WP Engine, just to name a few.
The following instruction will guide you on how to achieve that with SiteGround – one of the most popular hosting providers so far.
Step 1: Log in to your SteGround account then navigate to Site Tools > WordPress > Staging.

Step 2: Select a site to clone from the drop-down menu.
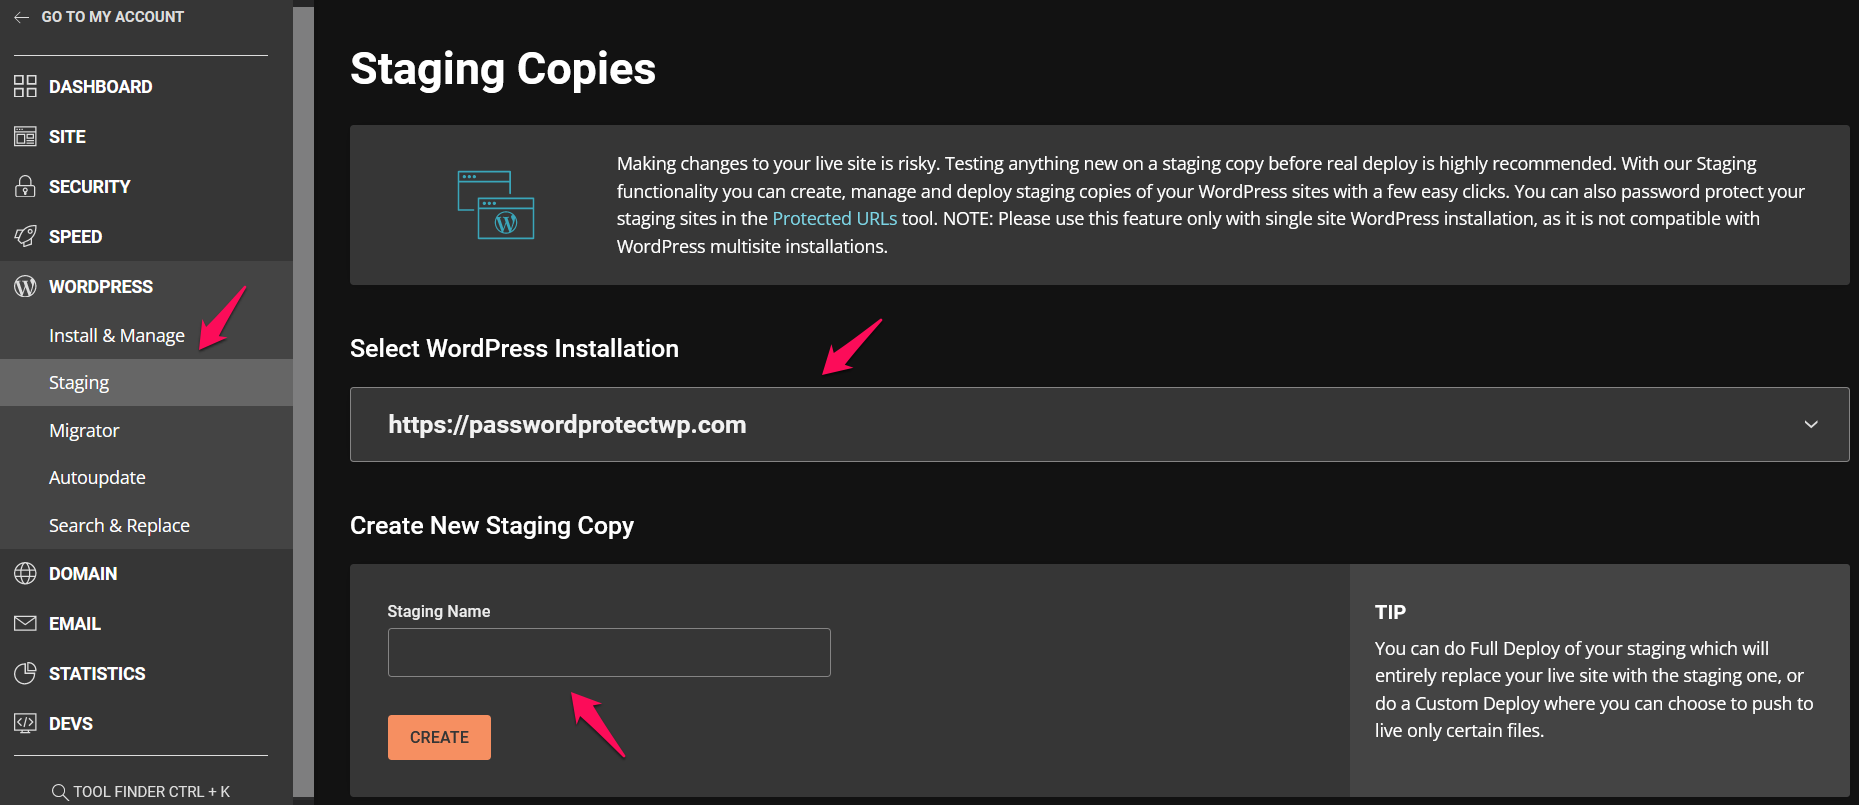
Don’t forget to give your staging site a name.
Step 3: Select items to include in the staging site.
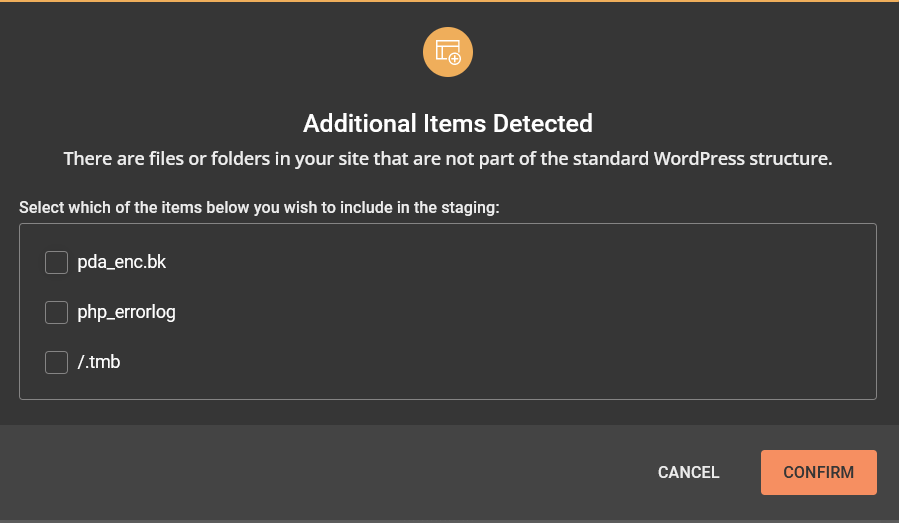
Once done, click on the “Confirm” button and you’re all set to move on.
#2 Clone WordPress Sites Using Plugins
What if your hosting provider doesn’t allow you to set up a WordPress staging site?
You may need help from WordPress staging plugins such as BlogVault, WP STAGING, WP Time Capsule, and WP Stagecoach.
Let’s take WP STAGING as an example. To create a WordPress staging site, simply follow our steps below:
Step 1: Install and activate the plugin
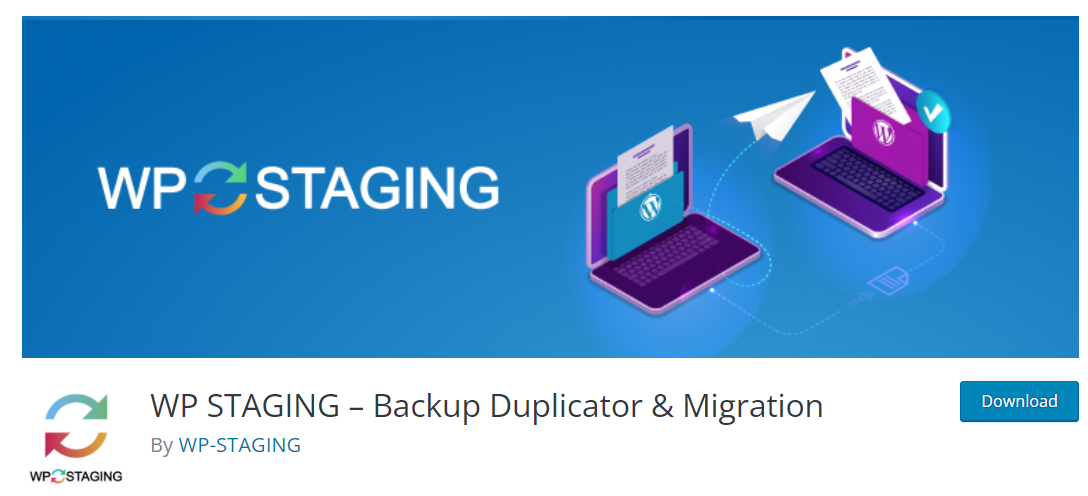
The plugin is totally free and can be easily downloaded from WordPress plugin directory.
Upon installation, go ahead and activate the plugin on your site.
Step 2: Create a new staging site.
Go to WP Staging > Staging Sites, select “Create New Staging Site”.
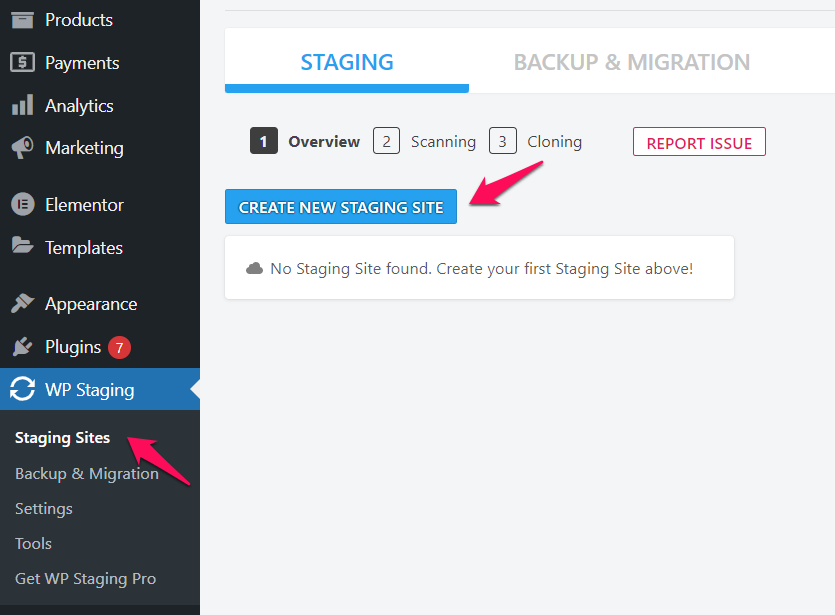
In the next step, give your staging site a name and select which items to be cloned. Once you’re done, press “Start Cloning”.
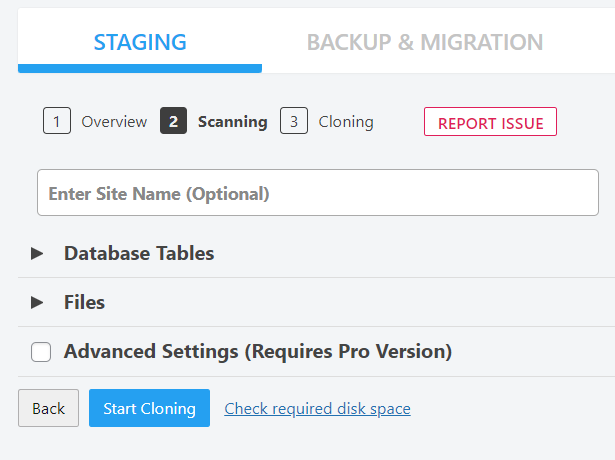
Now, let’s take a coffee while waiting for the process to be done.
#3 Create WordPress Staging Sites Manually via FTP
This is the most complicated way in the three methods of this article. Manually creating a staging environment requires your accomplishments about how WordPress works and knowledge of the WordPress database. Therefore, this method is suitable for tech-savvy only. If you’re a beginner, let’s utilize the 2 above solutions instead.
Before starting things off, make sure you back up your WordPress site.
Once done, you can set up a clone site following steps:
- Log into your FTP account.
- Download the files and database from your original website.
- Upload your WordPress files and database to your staging site.
- Update wp-config.php to reflect your staging site.
Protect WordPress Staging Sites with PPWP Plugin
We’ve just walked you through a complete guide on how to create staging sites. In this section, we’ll show you the method to hide your staging site from public view using the PPWP plugin.
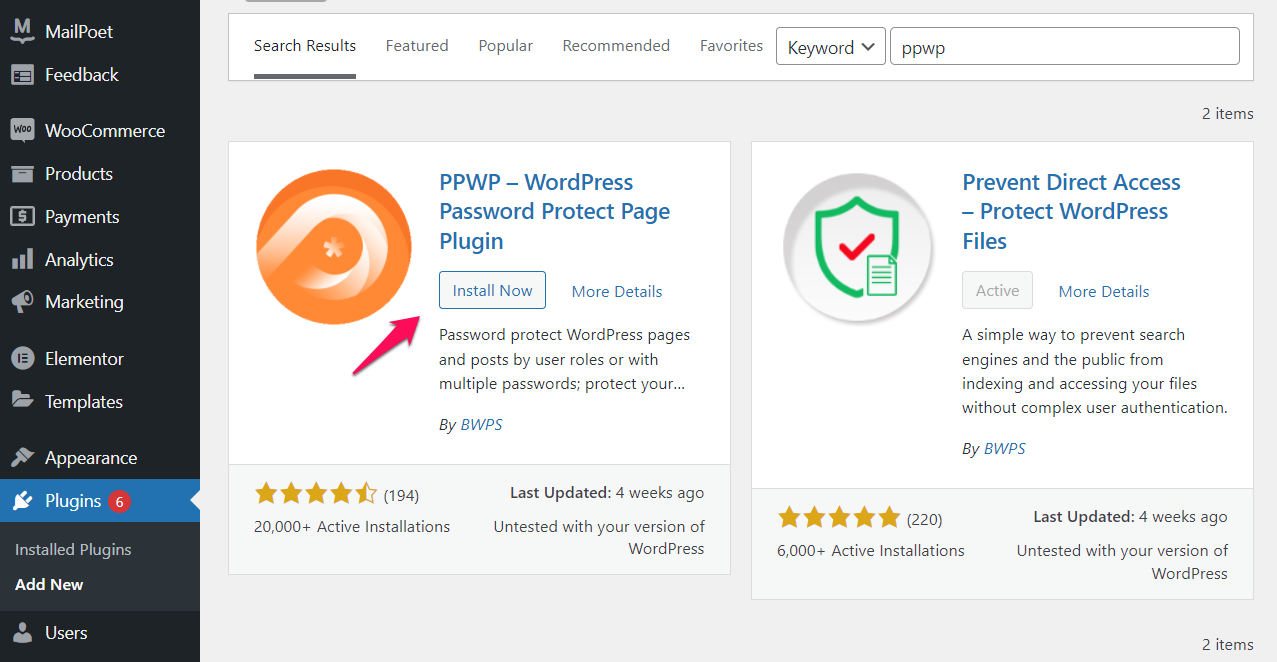
Step 1: Install Password Protect WordPress (PPWP) plugin on your site. It comes with a free version that is available in WordPress directory.
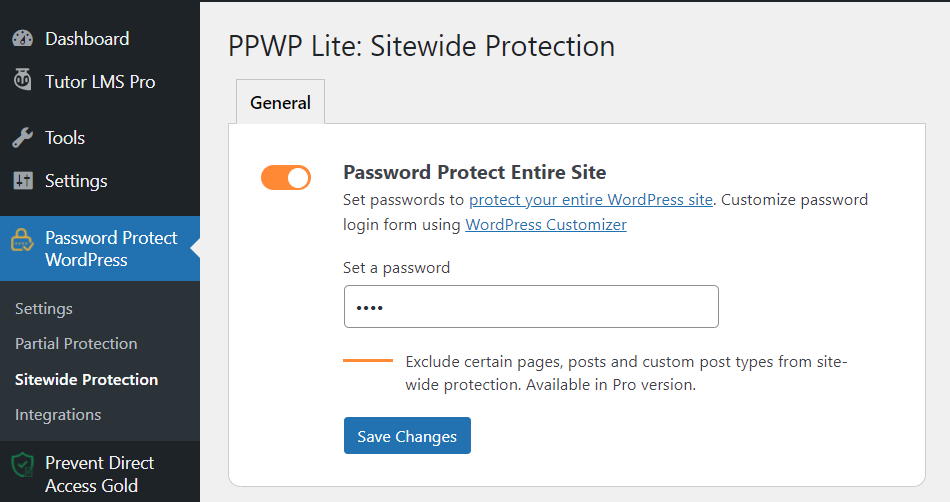
Step 2: Navigate to Password Protect WordPress > Sitewide Protection.
Here you can
- Enable “Password Protect Entire Site” option.
- Create a password to unlock your protected staging site.
- Click “Save Changes” if you’re all good.
That’s it! Your staging site is hidden from public view now.
Create Your WordPress Staging Environment Like a Pro
We’ve gone through 3 different methods to set up a WordPress staging site. It depends on your condition and tech skills to choose the right solution.
Many hosting providers now offer an option to clone your live site with just a click. If they don’t have one, make use of WordPress plugins.
What if you’re tech-savvy and wanna handle everything via codes? Manually creating staging sites via FTP is worth your consideration.
To ensure your testing environment won’t be accessible to the public, it’s highly recommended to hide the whole site under a password form. You can do that using PPWP free plugin.
Have you successfully created your own staging sites yet?
Let us know if we can be of any further assistance. In case you want to learn more about hiding your WordPress site under development, check it out here.
