Navigation menu plays a vital role in your website’s success. A good navigation menu matters so much to visitors since it allows them to navigate your site and the information they’re looking for more quickly. Take an example, if your website is for selling products, displaying pricing plans in the navigation menu would help increase the chance of converting your visitors to purchased customers.
In this article, we’ll guide you through how to create a custom WordPress navigation menu for your site.
Let’s begin!
- What is a Navigation Menu?
- Create Custom WordPress Navigation Menu
- Customize WordPress Navigation Menu
- Add Your Menu to Your Site
- Add Your Menu to Sidebars and Footers
What is a Navigation Menu?
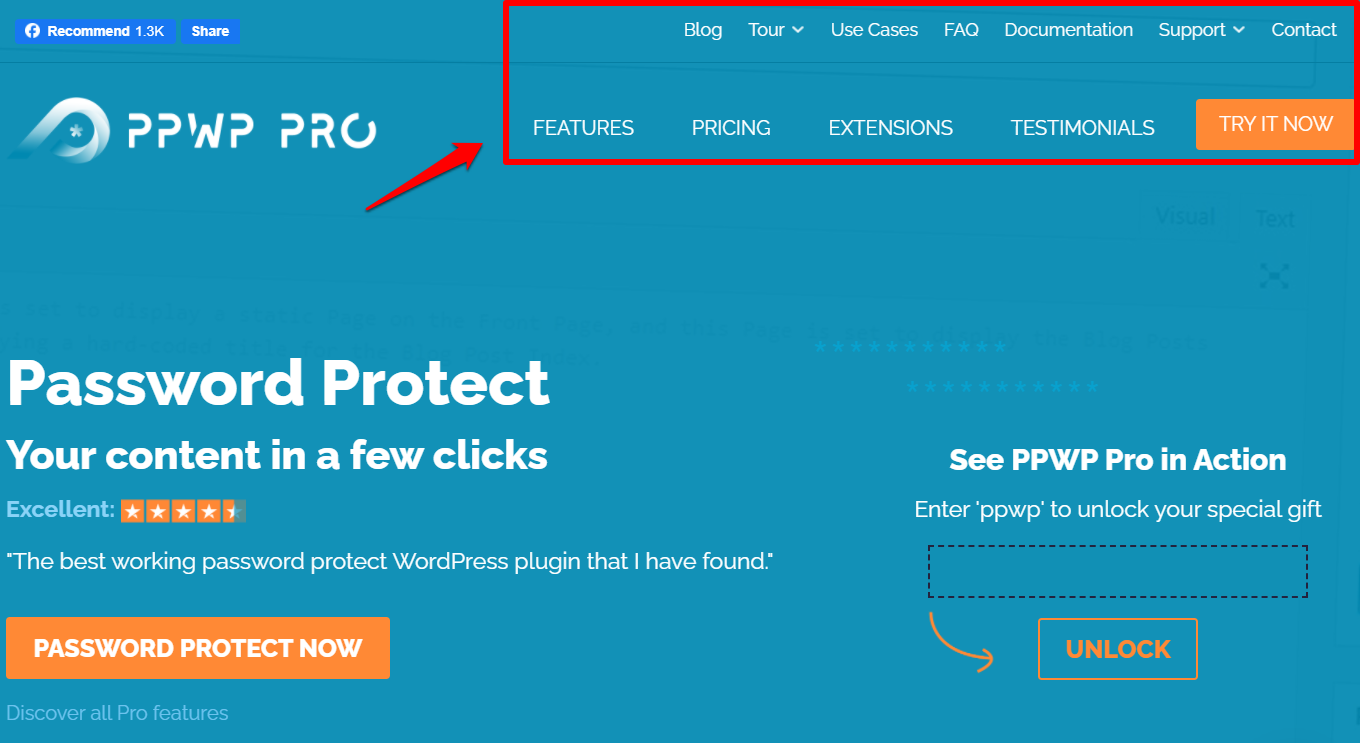
On a website, a navigation menu is an organized list of links to other web pages, usually internal pages. Navigation menus usually appear in page headers or sidebars across a website, making it easy for your visitors to find their way around your site’s pages and other content.
Create Custom WordPress Navigation Menu
WordPress’s built-in function allows you to create and manage your site’s navigation menu. This guide to the WordPress Menu system covers the basic tasks that you may carry out when using the built-in menu editor.
Firstly, log in to the WordPress Dashboard.
From the Appearance menu on the left-hand side of the Dashboard, select the Menus option to bring up the Menu Editor.
Select Create a new menu at the top of the page.
Name your new menu in the Menu Name box then click the Create Menu button.
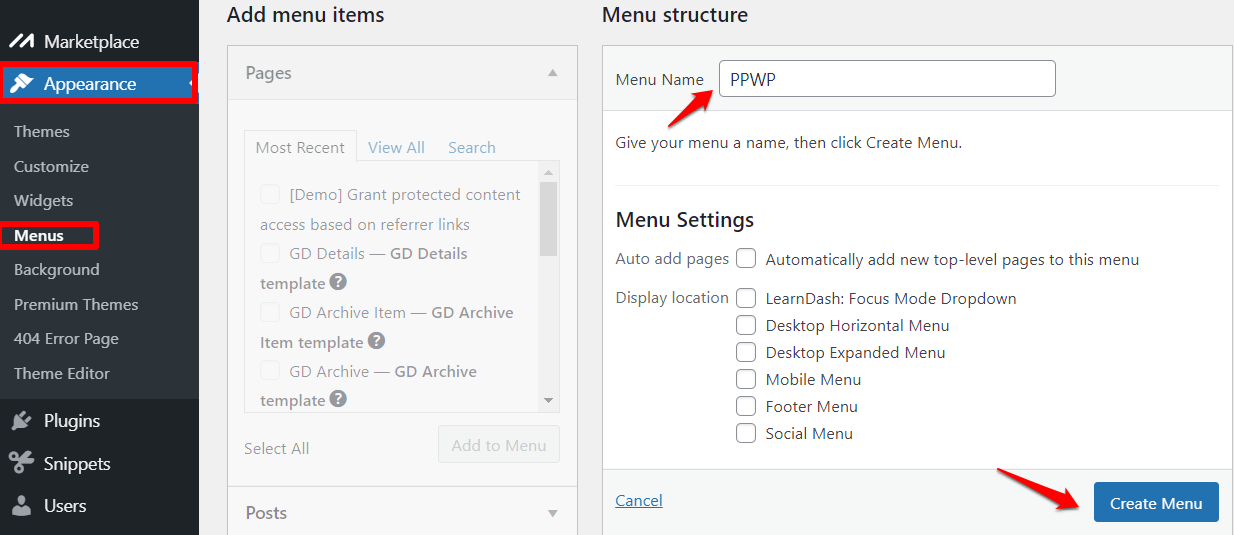
Your new custom menu has now been defined. It’s time to add items to your created menu.!
Customize WordPress Navigation Menu
This guide will include all tasks that you might need to be involved in to customize your own WordPress navigation menus.
Add Items to Your WordPress Navigation Menu
You can add different link types into your menu, these are split between panes left of the menu you’re editing.
Add Posts/Pages
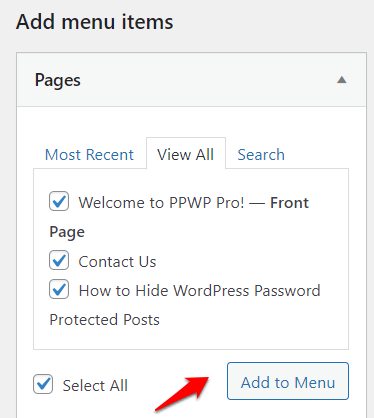
In the pane entitled Pages, select View All to open the list of all the currently published pages on your site.
Select the pages you want to add to your menu by clicking the checkbox next to each Page’s title.
Click the Add to Menu button located at the bottom of this page to add your selection(s) to the menu.
Click the Save Menu button once you’ve added all the desired items to the menu.

Add Categories or Tags to WordPress Menus
If you’re using WordPress to run a blog, you might want to add your blog categories as a drop-down in your WordPress menu.
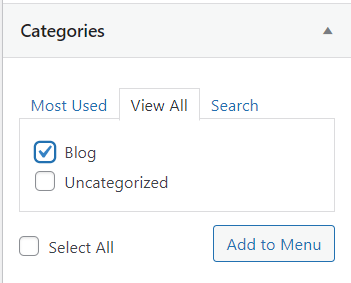
To do that, click the Categories tab on the left side of the Menus screen. Click the View All tab to see all your categories.
Simply select the categories you want to add to the menu, and then click the Add to Menu button.
The categories will appear as regular menu items at the bottom of your menu.
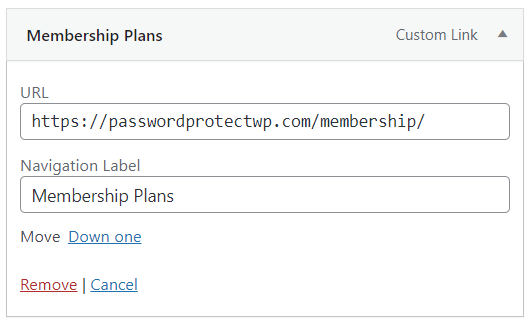
Add Custom Links to Your WordPress Navigation Menus
Aside from categories and pages, WordPress also assists you in adding custom links so that you can link your social media profiles, online stores, or other websites that you are operating to the menu.
To achieve that, open the Custom Links tab on the Menu screen, and insert the link along with the label you want to show in your menu.
Organize Your Menu’s Structure
Don’t forget to adjust the items’ order after adding them to the menu. You can hover over an item and drop it into any place you want. Take similar actions with the rest to have your menu arranged.
You’re able to create sub-menus here as well. Just drag an item to the right slightly, and it will automatically become a sub-element of the item right above it.
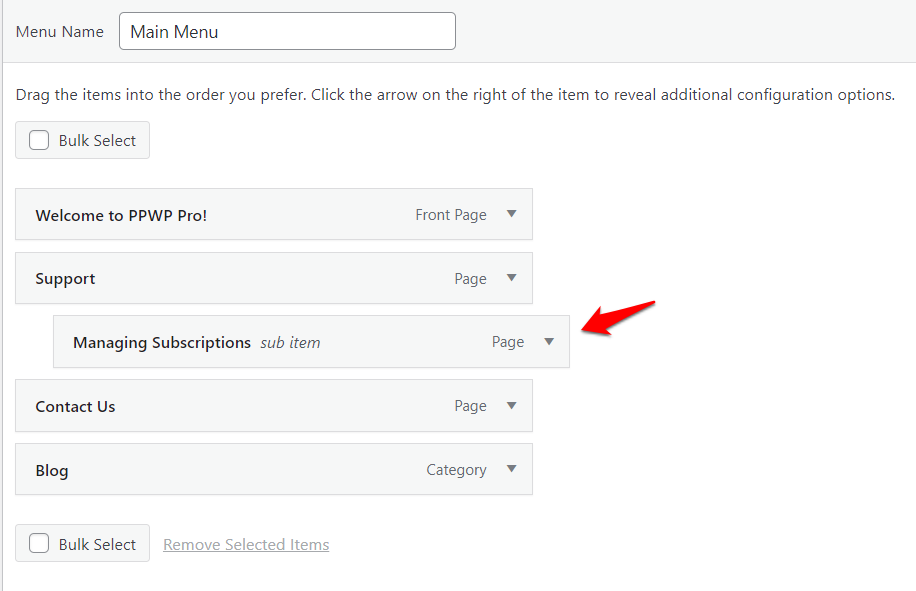
When you’re ready to move on, click the Publish button at the top of the page to save your changes. Alternatively, you can select Save Draft or Schedule if you don’t want your new menu to be implemented immediately.
Add Your Menu to Your Site
The menu location determines where on your site your menu appears. You can set it up under the Menu Settings section.
The options in the Menu Settings can be different depending on your site’s theme.
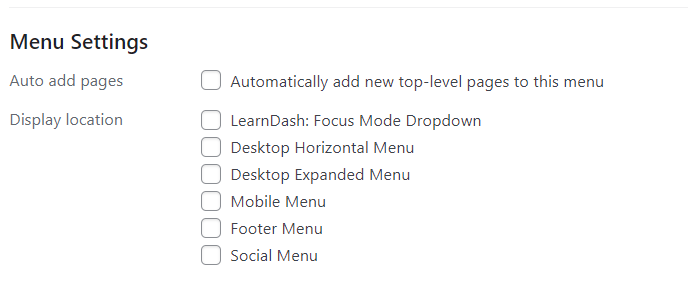
Make sure to check at least one box under Menu Locations. For your site’s main menu, the location is commonly called Primary, Header, Top, or Main Menu.
If your current theme does not support custom menus, you can add your new menu via the Custom Menu widget in the Appearance Widgets screen.
You may also see a social links menu which is another type of menu used for displaying links to your social media pages. Typically, you might not want to check this box for your main menu.
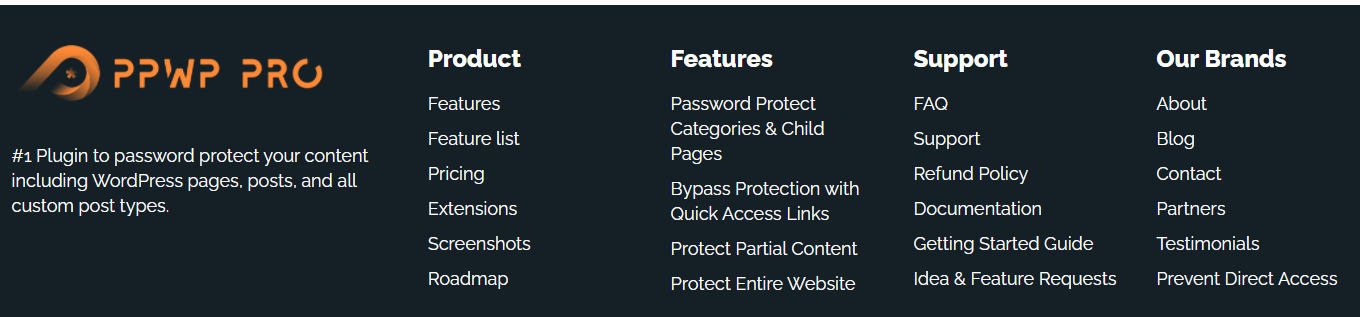
Add Your Menu to Sidebars and Footers
You can add navigation menus in any area that uses widgets, like your sidebar or footer.
To do that, simply go to Appearance > Widgets and add the Navigation Menu widget to your sidebar.
Next, add a title for the widget and choose the correct menu from the Select Menu drop-down list.
Here’s an example of a custom WordPress footer menu built on our PPWP Pro website.
Ready to Create Custom Menu in WordPress?
In this article, we’ve walked you through a detailed guide on how to create and customize a WordPress navigation menu, consisting of 2 clear actions:
Firstly, create a new menu and add items to that menu.
Secondly, decide how and where your menu will be shown in the front end by organizing its structure and locations.
Do you need any assistance in creating a nice navigation menu on your site?
Let us know in the comment section below so that we can help!
