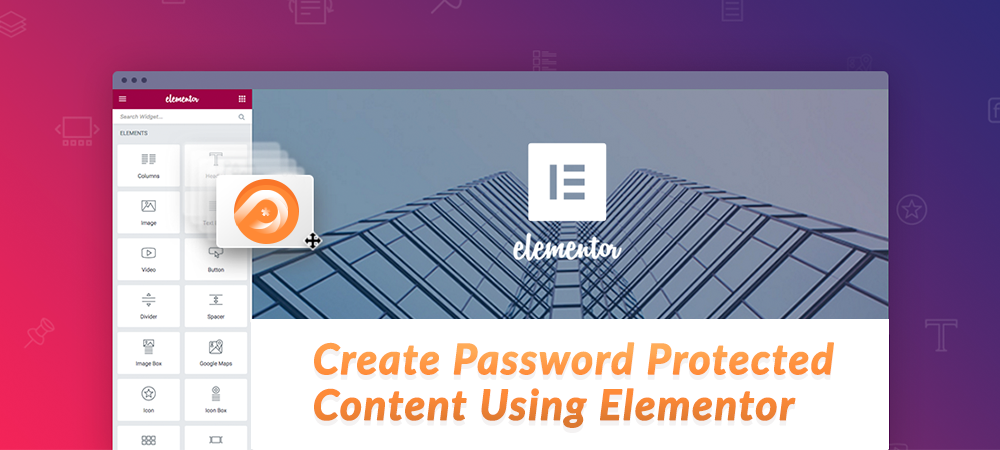
Recognized as the top-choice WordPress page builder, Elementor provides the most powerful solution to create beautiful pages and websites. With a visual editor, this plugin makes it easy for both non-coders and developers to drag and drop text blocks or add bars.
It’s also possible for you to create restricted content areas using Elementor. This content can be used to reward your loyal audiences, gain more subscribers, and monetize your site.
However, Elementor doesn’t support password protecting pages by default. You have to install its paid add-on namely EA Protected Content.
If you plan to look for another free and effective solution that is compatible with Elementor to protect your private content, Password Protect WordPress (PPWP) would be ideal.
In this tutorial, we’ll look at how to create an Elementor password protected page with PPWP. Before digging into details, let’s cover the effectiveness of both plugins.
What Can You Do with Elementor?
Besides default landing page templates, you’re able to set up sales pages, promotion pages, custom forms with Elementor, and even customize the WooCommerce shop page. On top of that, the plugin assists all types of professionals in your team, from non-tech savvy to developers in creating eye-catching pages quickly.
The visual editor helps non-code designers build pages by adding content blocks, buttons, star ratings, and progress bars within seconds. For developers, they can use script optimization, custom attributes, and rollback versions.
Why Should You Use the PPWP Plugin?
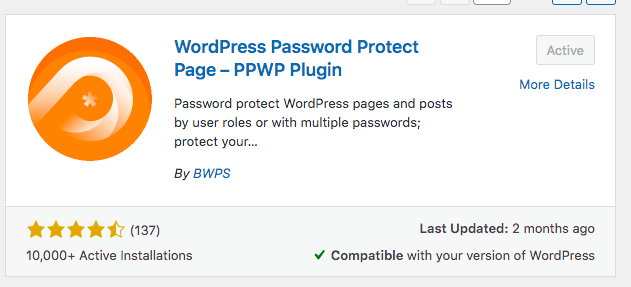
Primarily comes as a WordPress page and post password protection plugin, (PPWP) allows you to lock sections of a WordPress page or post with a password. This feature is available in the plugin’s lite version.
While editing a page or post, you can find and add a protected content element right in Elementor widget. There is no coding required.
Aside from Elementor, the plugin is compatible with many other page builders such as Beaver Builder or Visual Composer too.
Before starting to password protect your WordPress page using Elementor and PPWP, let’s equip them for your site first.
How to Create an Elementor Password Protected Page with PPWP Plugin
Since both plugins offer lite versions, you can follow the same steps to get 2 of them for your site. We’ll show you how to install the PPWP plugin first.
- Head to Add New under Plugins in your WordPress admin dashboard
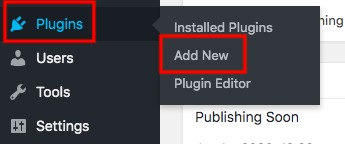
- Type “password protect wordpress page” in the keyword box

- Install and activate the plugin
How to Restrict WordPress Content using Elementor
There are 4 main steps you need to take to password protect page sections of your WordPress pages and posts.
Step 1: Find the Password Protection element under the “Search Widget” field
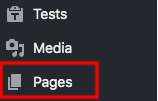
- Visit the Pages or Posts section in your WordPress navigation menu
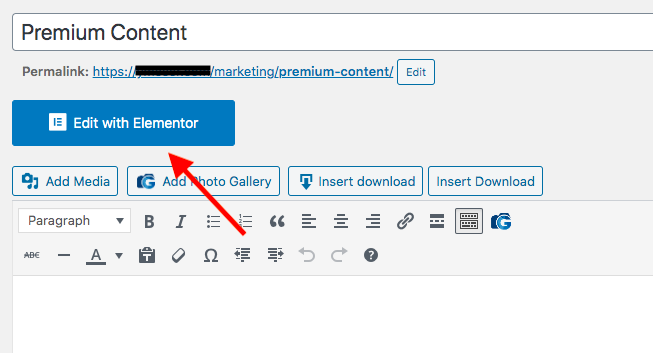
- Add a new WordPress page or edit an existing one
- Hit the “Edit with Elementor” button under the post’s title
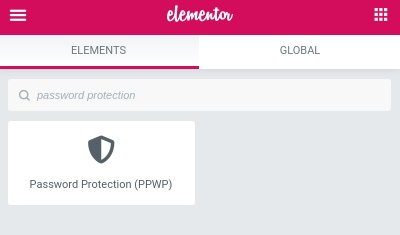
- Search for the Password Protection element under the Elementor’s search widget
Step 2: Set passwords and roles
- Replace the default passwords “password1”, “password2” with yours. You can protect a content section with more than one passwords
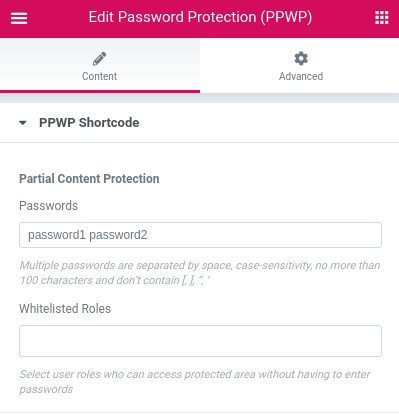
- Set whitelisted roles who can view the secure content without having to enter passwords
For example, it’s not necessary for admins or editors to provide passwords whenever accessing protected sections.
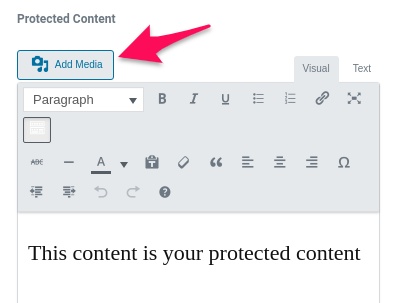
Step 3: Insert private content
- Scroll down to the Protected Content section
- Enter your private content. You’re enabled to insert both text and files.
Step 4: Style the password form
The Password Form section helps you customize elements in your password forms such as the headline, button text, and description.
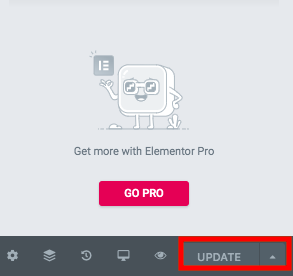
Finally, preview and update your post.
Get PPWP Pro to Expand Password Protection Functionalities
You can upgrade the Password Protect WordPress plugin to its Pro version to explore more useful functionalities.
The paid plugin permits you to save user’s cookies in a given time. This means that users don’t have to reenter passwords when visiting your protected content again.
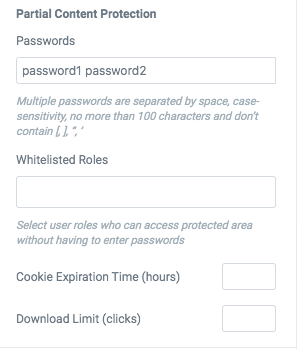
What’s more, there is an option to limit access to the private portions by setting the maximum password usage. To take one example, you set the Download Limit to the password “@jfdH7jdDK” by 5. Then, users won’t be able to unlock the content after the 5th time.
You can watch our tutorial video below for better visualization of the guide.
Make Use of Elementor and PPWP to Create WordPress Protected Content
Elementor proves the leading page builder plugin to create WordPress pages and posts. With a user-friendly UI and easy-to-use widgets, you can build and edit any of your pages quickly.
You’re enabled to create an Elementor password protected page by clocking sections of your post using PPWP plugins. The PPWP plugin is integrated seamlessly with Elementor so you can drag and drop the content protection fields anywhere in your content. Password Protect WordPress also allows you to secure portions of your content with multiple passwords.
Install Elementor and PPWP plugins to have your content protected now!
