Regulations about age-restricted commerce keep changing. It is the responsibility of businesses to stay their adult products and services out of underage youth’s eyes.
As a business owner, do you manage who is visiting your website effectively? You can make sure all of your buyers are appropriately-aged, can’t you? Maybe not. Then, you might need an age verification, also referred to an age gate, to hide your adult intended content from underage users.
Before digging into how to create an age verification with a plugin, let’s discuss when you need to restrict access from underage users first.
When Do You Need an Age Verification?
Since digital technology is rising and always accessible, anyone with an IoT (Internet of Things) device is able to gain access to your website. While having a lot of visitors on your site is great, there remains a simultaneous problem: how do you stay children away from your adult content?
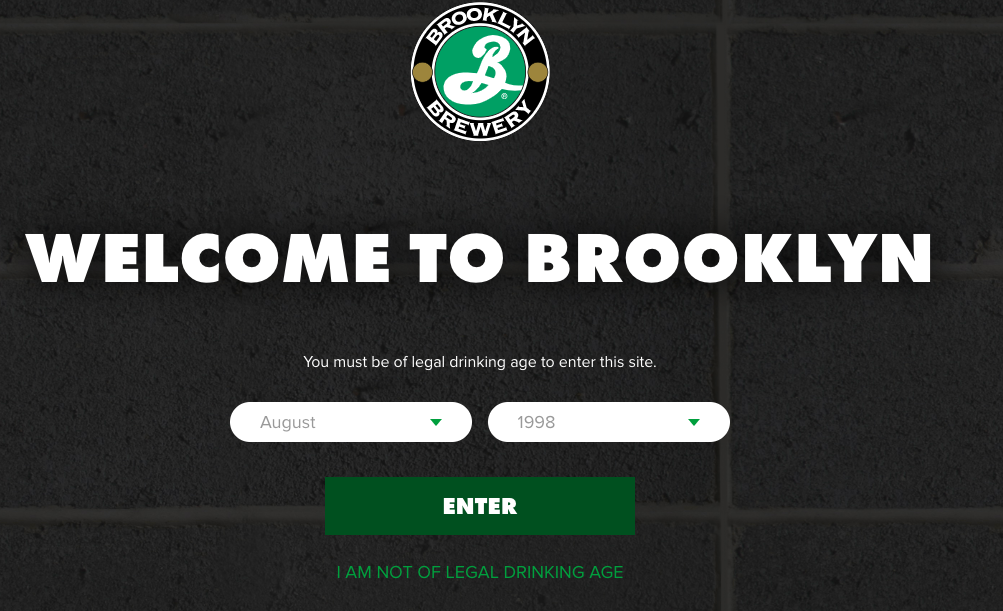
If you’re looking for an answer to this question, you might be in one of these industries: alcohol, tobacco, online gambling, and more. These products are really harmful to adolescents. That’s why most brands put a minimum age restriction on their sites to discourage underage users from viewing their content or purchasing their products. Brooklyn Brewery’s website, for instance, will redirect visitors to the Got Milk website if they enter that they aren’t of legal drinking age.
Another case of adding age verification comes to offering a contest or membership that requires the winner or member to be of a certain age.
Those are common examples of when you need an age gate to prevent underage users from accessing your content. It’s time to explore how to create an age verification pop-up. You can install a plugin to easily set an age gate for your WordPress site.
Among numerous free plugins available in the WordPress repository, Age Gate proves one of the most popular tools. Now, let’s figure out a way to add an age gate with this plugin.
Verify User’s Ages with Age Gate Plugin
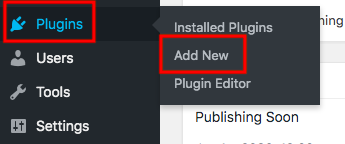
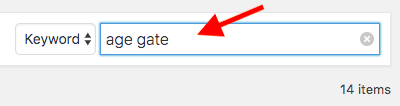
Age Gate offers a complete solution to verify users’ ages when they come to your website. Before taking any steps of creating an age verification, you need to install the plugin. Firstly, head to Plugins → Add New in your WordPress dashboard. After that, search for “Age Gate“, then hit Install and Activation.

Once activated, the plugin is added to your WordPress dashboard, right on the navigation menu. You can click on it to go to the Settings page. There are many setting options that need configuring, including main restriction settings, age verification message, pop-up appearance, advanced settings, and access settings.
Restriction Settings
You’re required to configure basic setups of an age gate in the Restriction Settings page otherwise your age check will follow the plugin’s default setting options.
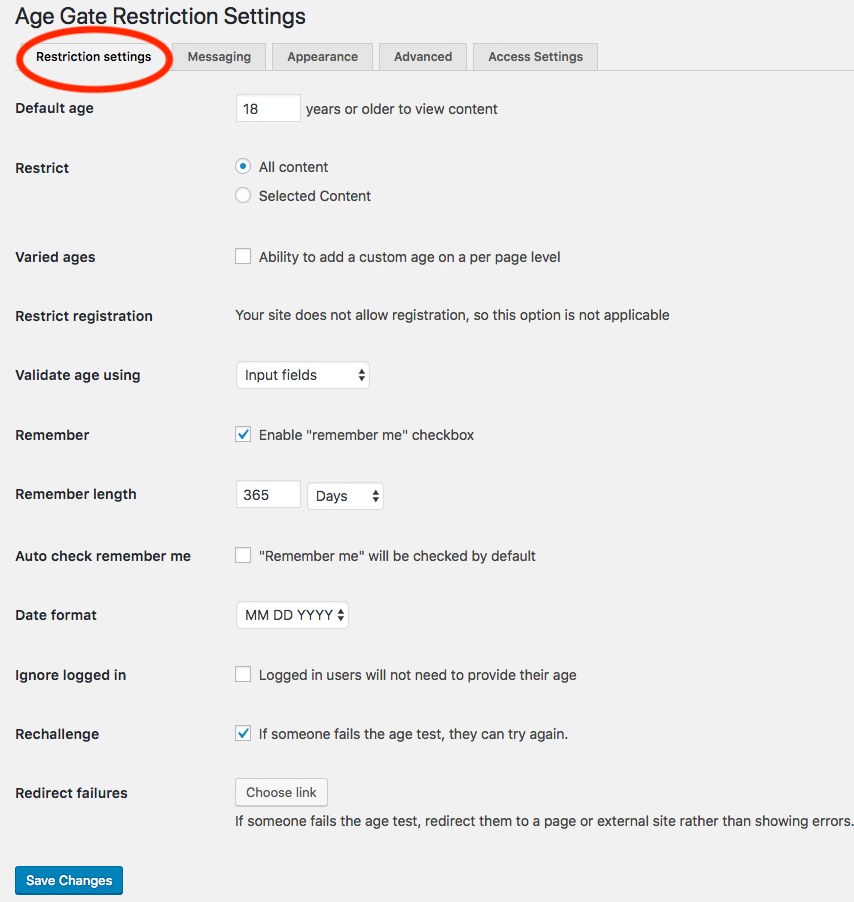
- Default age – The minimum age for verification. This number depends on the content you offer or the regulations you’re following. Tobacco websites, for instance, usually restrict people under 21 to view and buy their products.
- Restrict – You can apply the age verification restriction to either the entire site content or selected posts. To take one example, beverage websites would allow all visitors, including teenagers to view and buy their food and drinks. However, they will identify whether their consumers are old enough to read pages about alcoholic drinks and make purchases.
- Varied age – This setting option allows you to add a custom age to specific content. For instance, those older than 18 years can access some pages and posts while the rest of the website doesn’t permit U21 users to see the content.
- Validate age using – Visitors can confirm their ages in 3 different ways: entering the age, choosing the age from a dropdown list, or just simply clicking on Yes/No buttons.
- Remember – Don’t want your readers to keep telling their age every time they visit your site? Just enable the ‘Remember me’ option. Visitors, after the first verification, can freely view your website without confirming their age anymore. You can also save visitors from enabling that option themselves by checking the Auto check remember me checkbox.
Click the Save Changes button after you’re done configuring the settings. There will be an age verification pop-up displayed whenever someone visits your website. The pop-up will look like this:
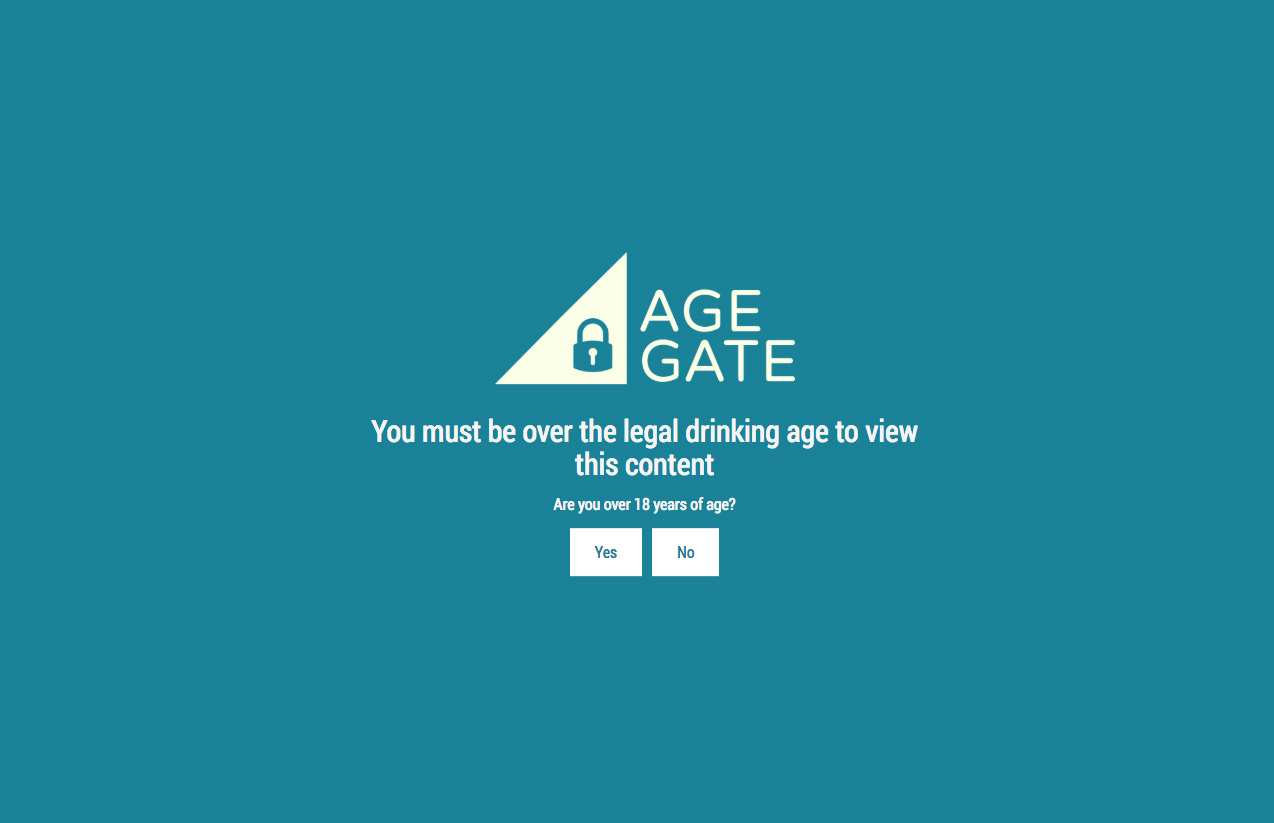
Since the default age verification screen isn’t really eye-catching, customizing your age gate pop-up will create a better user experience. That’s why you need to look at other setting sections.
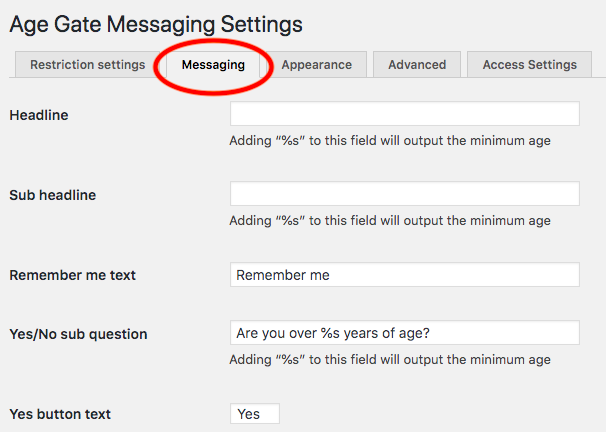
Age Verification Message Customization
Age verification screen and message configuration are available in the Message and Appearance tabs of the plugin settings page.
The Message setting options enable you to display a title, subheadline, terms and conditions, privacy policy, and any other information on your verification pop-up. There are some default validation messages you can take a look at such as Invalid inputs, Under age, or Generic error, etc. After making changes, remember to hit the Save button to keep your customized configuration.
The settings in the Appearance tab allow you to change the background color, foreground color, background image, text color, and so on.

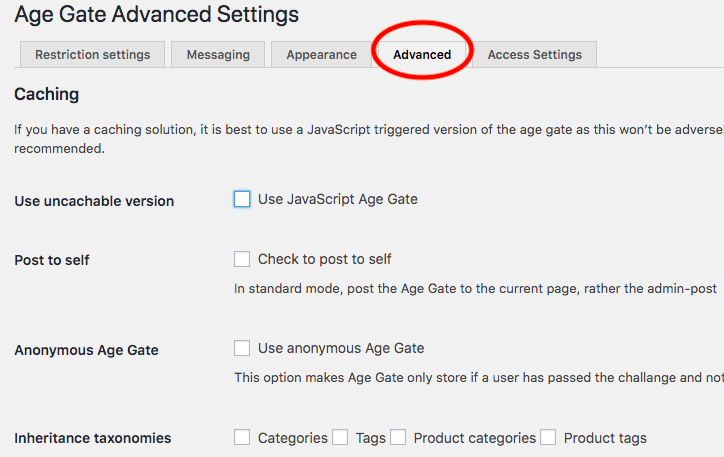
Advanced Age Verification Settings
It’s not really necessary to adjust settings in the Advanced tab unless you have trouble with your age verification screen page. Conflicts with WordPress caching plugins or WordPress hosting cache are the most common problems. Enabling the JavaScript version settles the issues easily.
There are other advanced settings such as Gutenberg support, anonymous age verification, and custom CSS rules.
Age Verification for Specific Posts
To add a custom age on specific pages and posts, follow the 5-step guide below:
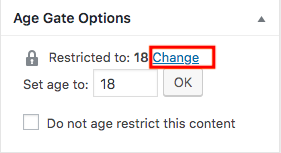
- Enable Varied ages option in the Restriction setting page
- Head to the edit screen of the post or page you intend to assign a custom age
- Click on Change in the Age Gate Options box
- Enter a custom age
- Hit OK and Update to save your changes
Do Age Gates Really Work?
Is age verification that great to prevent underage users from accessing your adult-intended website? Visitors might lie about their ages, so how can you control that?
In fact, confirming a customer’s date of birth is no longer enough to ensure he’s appropriately-aged. Tammy Jarbeau – a Health Canada spokesperson said that one simple click of “Yes” isn’t that powerful to prevent children and adolescents from accessing promotional content. You can’t stop underage visitors from lying through their teeth. They will simply click Yes or unhesitatingly enter “22” when being asked if they’re over 21.
In order to restrict the adolescents to adult content and products, businesses must associate age gates with deeper insight of submitted info identification. You can take further steps such as requiring visitors’ ID numbers or providing credit checks when making a purchase.
Create an Age Verification for Your Adults Intended Website Today!
If you’re selling products and services intended for adults or providing content presumed inappropriate for younger audiences, adding an age verification for your site should be a priority.
We’ve shown you how to use Age Gate plugin to add age verification to your WordPress website. Not only can you customize the verification pop-up, but you can also provide custom ages for specific pages and posts.
Please leave a comment below or contact us if you have any questions on how to add age verification to your WordPress site.
