WordPress offers categories to help you get up and short out related posts. Visitors can browse through your site content by topics rather than reading post-by-post. Different from tags, categories can be divided by levels, including parent categories and child categories.
In this article, we will dig deep into the reasons why you should create multilevel categories. Then, we will show you how to create and manage parent as well as child categories in WordPress.
Why Creating Multilevel Categories in WordPress
What Are Parent and Child Categories in WordPress?
Categories work as the general topics of your content. Unlike tags that describe specific details of your posts, categories identify what your content is about. If you don’t add categories to a post, it will be assigned the default one namely “Uncategorized” category.
Since categories are hierarchical, you can create sub-categories. Each category can have unlimited child categories. When a post belongs to a child category, you are able to decide if it can be displayed under the parent category archive page.
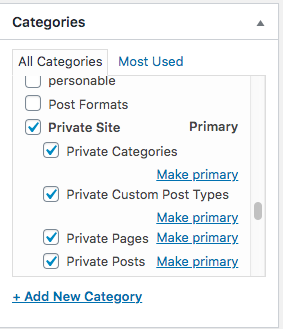
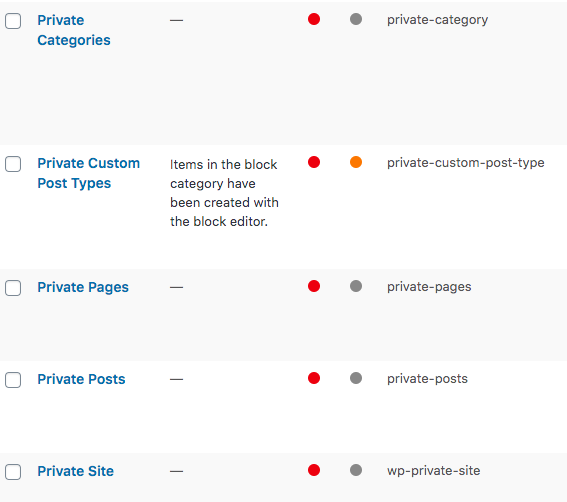
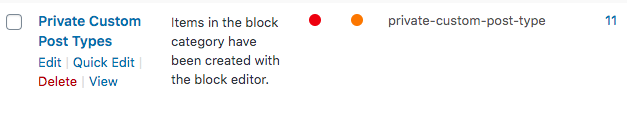
Here is an example of a main category and its sub-categories. The parent category Private Site has 4 child categories, including Private Categories, Private Custom Post Types, Private Pages, and Private Posts.
Reasons for creating multilevel categories
There are 2 main reasons for adding parent and child categories. The first cause comes to content structure and organization. Multilevel categories also help improve the website SEO effectively.
#1 Improve the user experience
Categories and sub-categories make it easy for users to find content on your site. After reading one post, visitors can land to another related one with ease. This also keeps them staying longer.
#2 Boost the site SEO
Search engines love the category URL structure. When adding a sub-category under the main category, your URL will look something like this: https:mysite.com/main-category/sub-category.
You can use important keywords as categories and sub-categories names. As a result, your content gets ranked on search results pages faster.
2 Ways to Add Parent and Child Categories to WordPress Sites
There are 2 different paths you can take to add categories to your WordPress site, either in the post edit screen or via the Categories page under the Posts section.
#1 Create categories and sub-categories in a post’s edit screen
The following guide shows you how to create the main category and its sub-categories while editing blog posts.
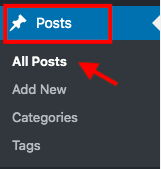
- Go to Posts in your WordPress admin dashboard and choose All Posts
- Select your desired post and click edit
- Look for the Categories section at the right side of the post
- Click the Add New Category link and enter your category name
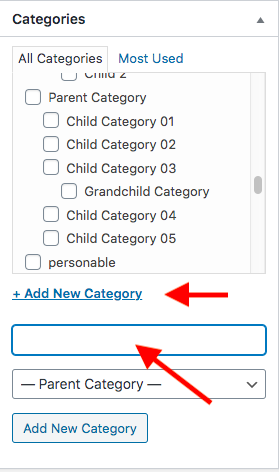
- Hit Add New Category button at the bottom of the box to save your changes
You can create a new child category in the exact same way as you do for parent categories.
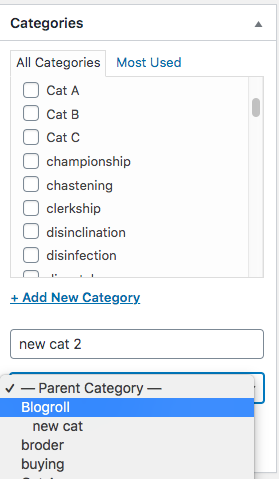
- Click the Add New Category link and enter your sub-category name
- Choose a parent category for it from the Parent Category dropdown
- Save your changes by clicking on Add New Category button
#2 Add multilevel categories in the Categories page
In case you want to create a category before adding content under it, simply
- Go to the Categories page under the Posts section
- Add details of the new category
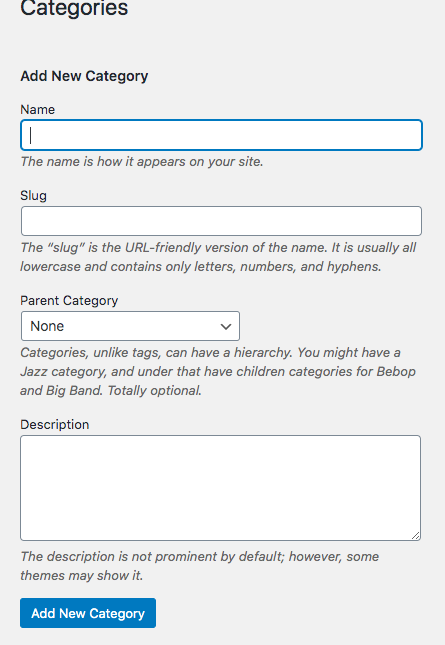
You should fill in the category name, its slug, and the category description. In case you want to make it the child of another category, pick one from the Parent Category dropdown.
You already have multiple main categories and you want some of them to become sub-categories of one another? For example, we’ve created 5 categories: Private Categories, Private Custom Post Types, Private Pages, Private Posts, and Private Site before. Now, I want the 4 categories Private Categories, Private Custom Post Types, Private Pages, Private Posts to belong to the Private Site category.
Follow these 3 simple steps to add sub-categories to parent categories in the categories page.
- Click on your desired category. In this case, we’ll choose one of the 4 categories mentioned above
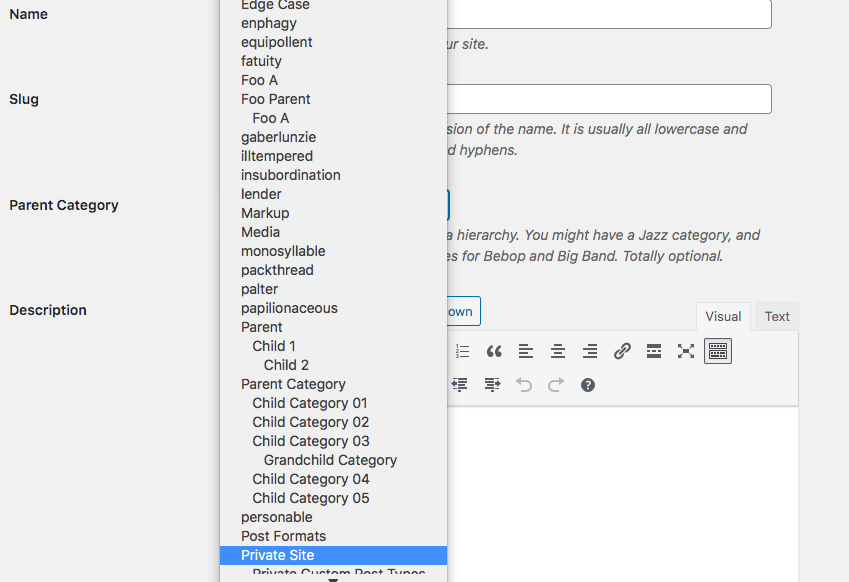
- Select its main category from the Parent Category dropdown
- Hit Update at the bottom of the page
The categories Private Categories, Private Custom Post Types, Private Pages, Private Posts from the example appear as child categories of the Private Site category now.
How to Manage Multilevel Categories
There are many things you can do with your WordPress multilevel categories. It’s possible for you to edit, delete, or password protect parent and child-categories.
Edit and deleting a category
You can edit the name, slug or description of a category on the Categories page. All you need to do includes:
- Head to Categories under Posts in your WordPress dashboard

- Hover the category name and click on Quick Edit
- Replace the category name and slug with the new ones

Simply click Delete when you don’t want that category to exist anymore.
If you want to make further changes, go to the Edit Category page. Besides options like Name, Slug, Parent Category, Description, you’re able to update the metadata for the category. Scroll down to the Yoast SEO section at the bottom of the page and add your focus keyword, title tag, and meta description there.
Please hit Update when you finish all the settings. The Delete option is placed next to the Update button. However, people rarely delete a category permanently. Whenever they don’t want to display a category, they just password protect that category or hide it from the homepage.
Password protect multilevel categories
Apart from standard settings like editing or deleting, you can password protect a private category too. WordPress category should be protected for many reasons. You create premium content for members or paying customers. Once password protected, all posts under a category will be assigned a password automatically. This saves you a lot of time instead of securing individual posts.
Since WordPress doesn’t support locking a category with passwords, you should look for a third-party plugin solution.
Password Protect WordPress Pro allows you to cover the main category as well as its sub-categories under a password form. To install and get started using the plugin, you need to:
- Download PPWP Pro plugin
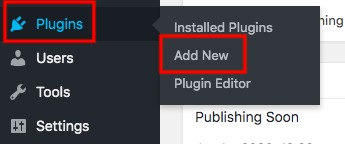
- Go to Add New under Plugins page
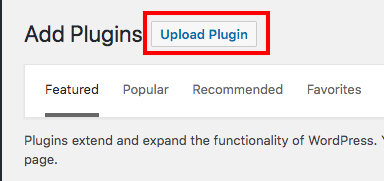
- Click Upload Plugin and select the plugin zip file you’ve downloaded
- Install and activate the plugin
- Visit the Categories page
- Find the category you’d like to protect and click on Protect category link
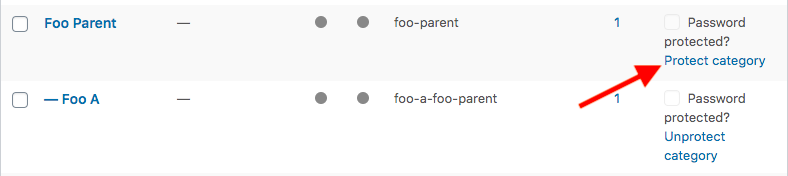
As a result, the main category Foo Parent and its sub-category Foo A have locked automatically. If you unlock the parent category, the child will become visible to the public too. However, when you make a child category private, its parent won’t be secure.
Make Use of WordPress Multilevel Categories!
Categories and sub-categories help you organize the site content better. They also improve the site SEO thanks to search engine friendly URL structures.
It’s simple to create and manage parent and child categories. You can add new categories and sub-categories in both posts’ edit screen and the Categories page.
Not only can you edit and delete the categories but you are also able to password protect multilevel categories. PPWP Pro plugin lets you secure all sub-categories and posts with a password at the same time. You can avoid spending a lot of time protecting single posts.
Still have a question about how to create as well as password protecting multilevel categories? Let us know in the comments below!
